Adding restrictions
The next step after creating your restrictions template is to add your restrictions. You can either add restrictions at an item level or by using the batch update tool to update multiple lines with the same restriction. Both methods have been described in this article, you can use the contents to navigate between the step-by-step process for each.
Adding a restriction at item level
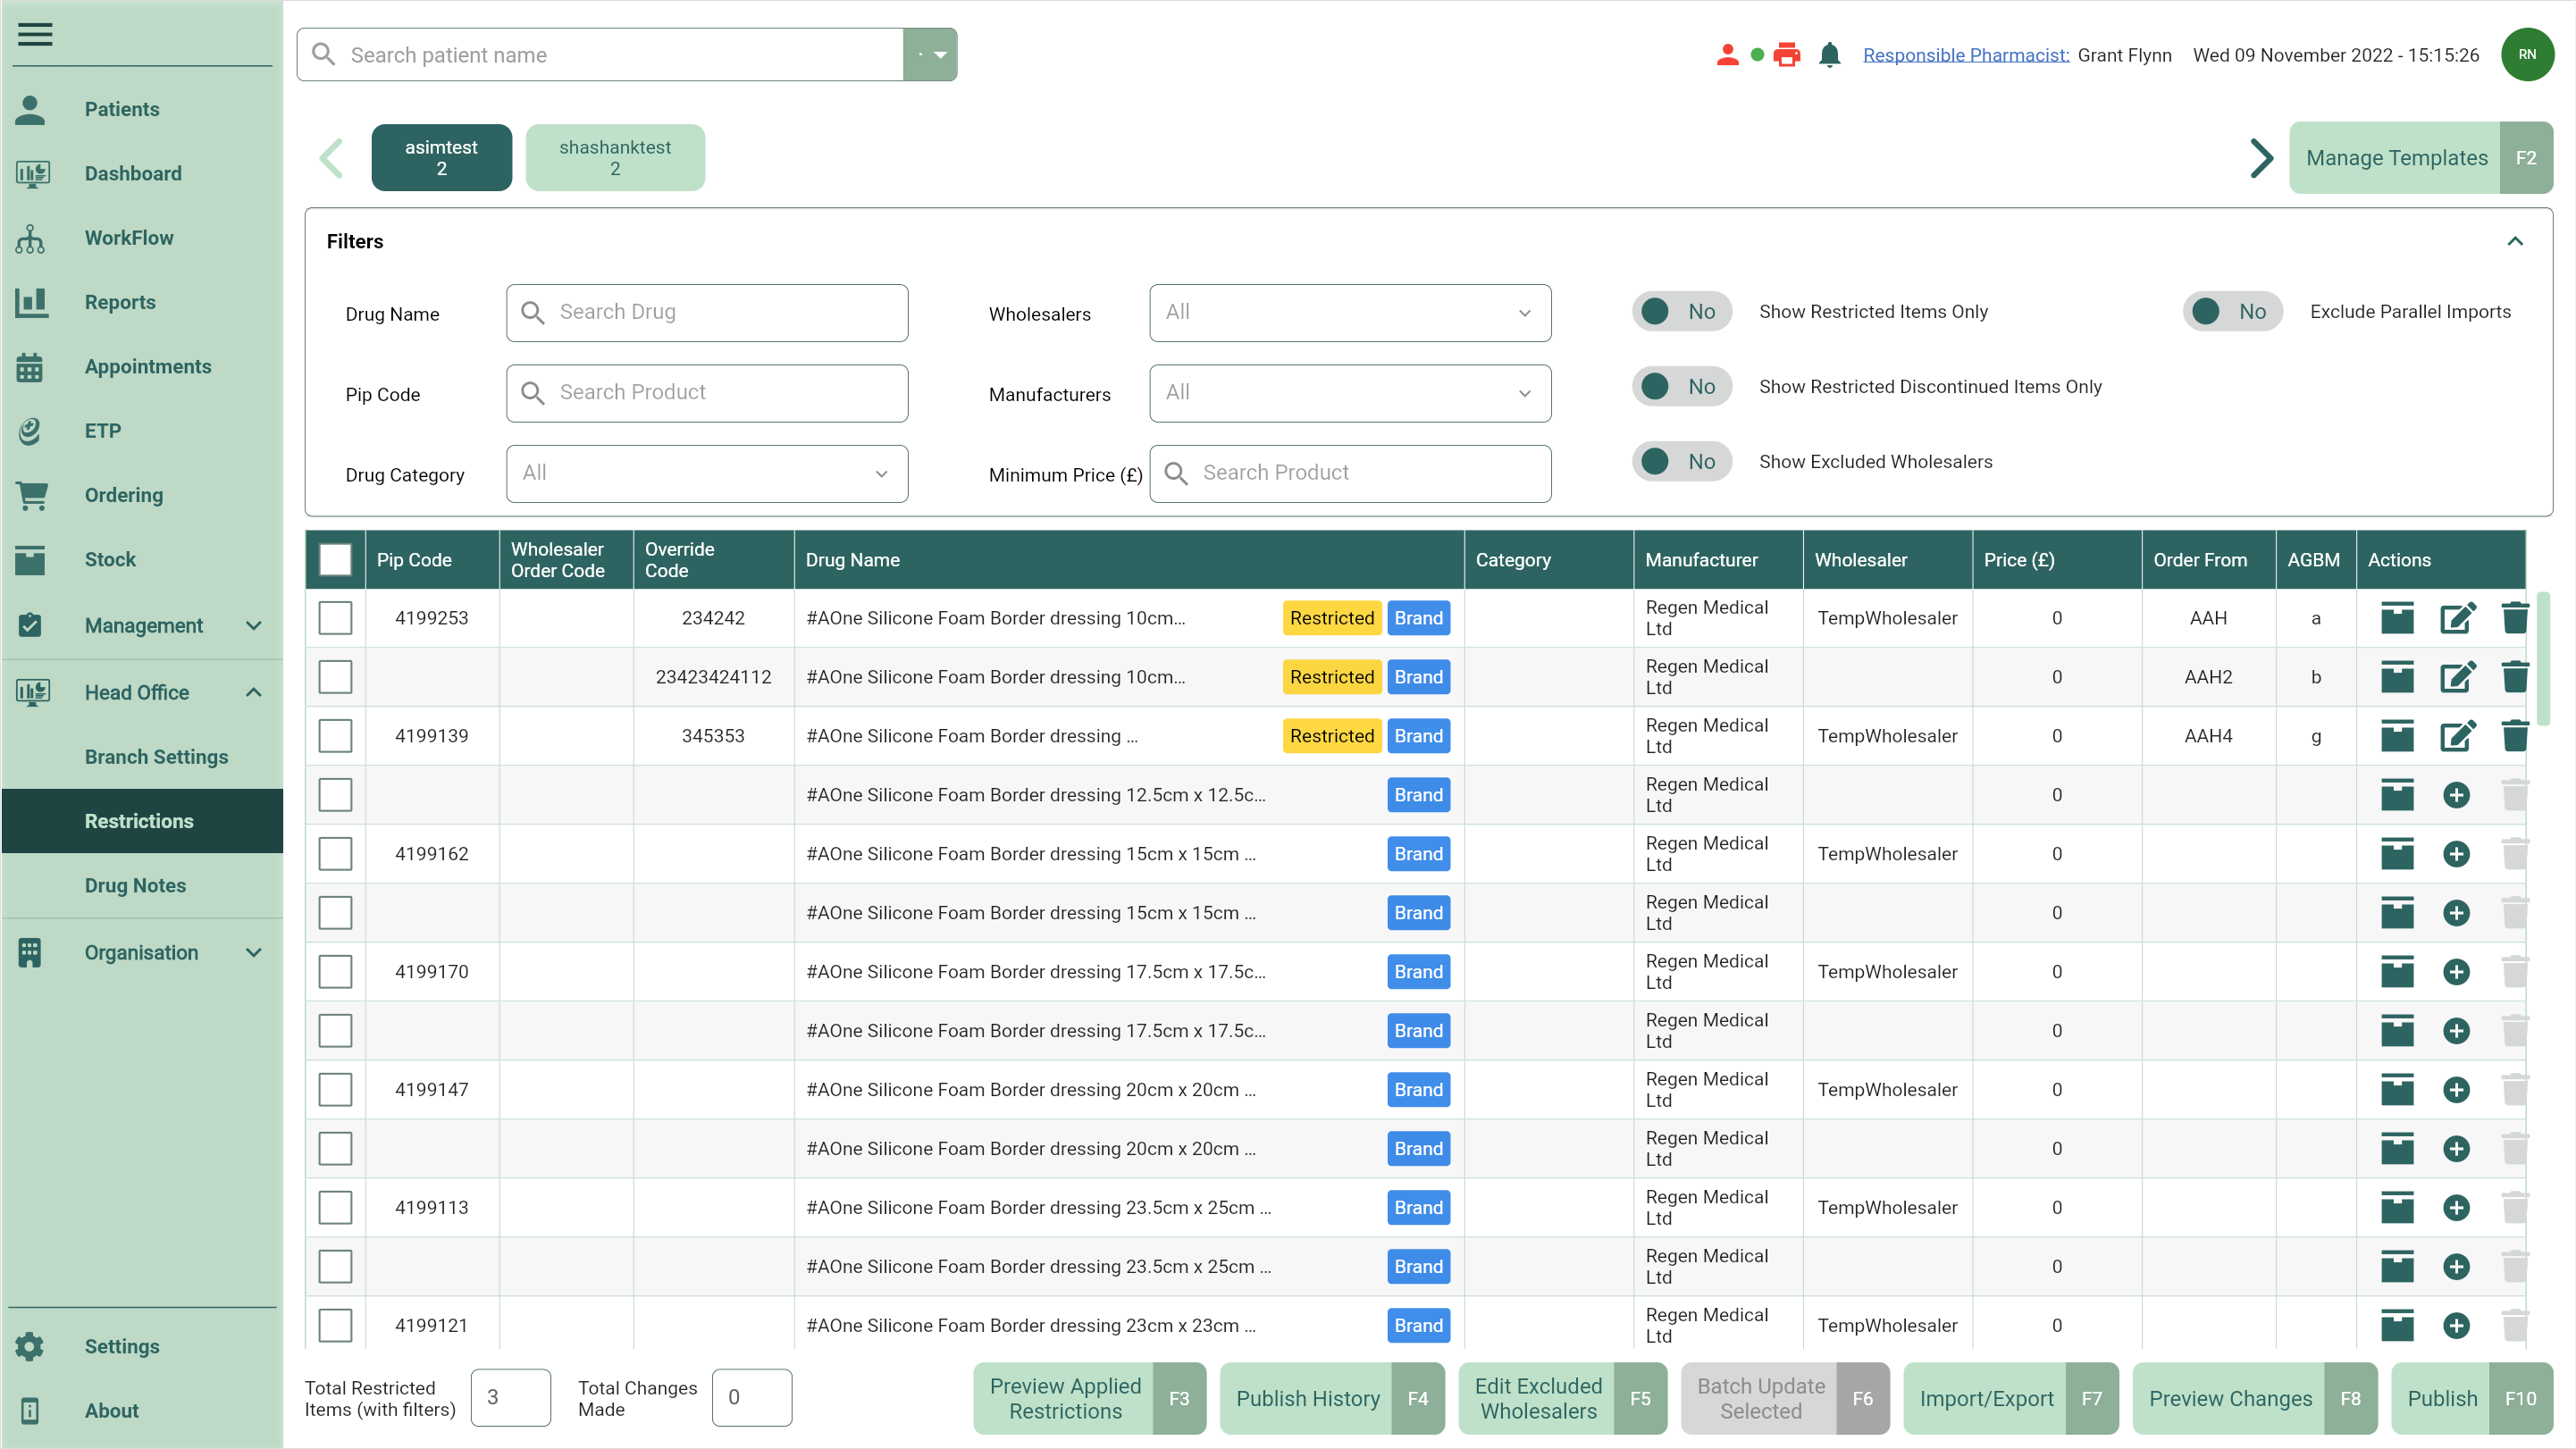
- To begin, open Head Office Restrictions by selecting the Head Office dropdown menu from the left-nav and the Restrictions menu item.
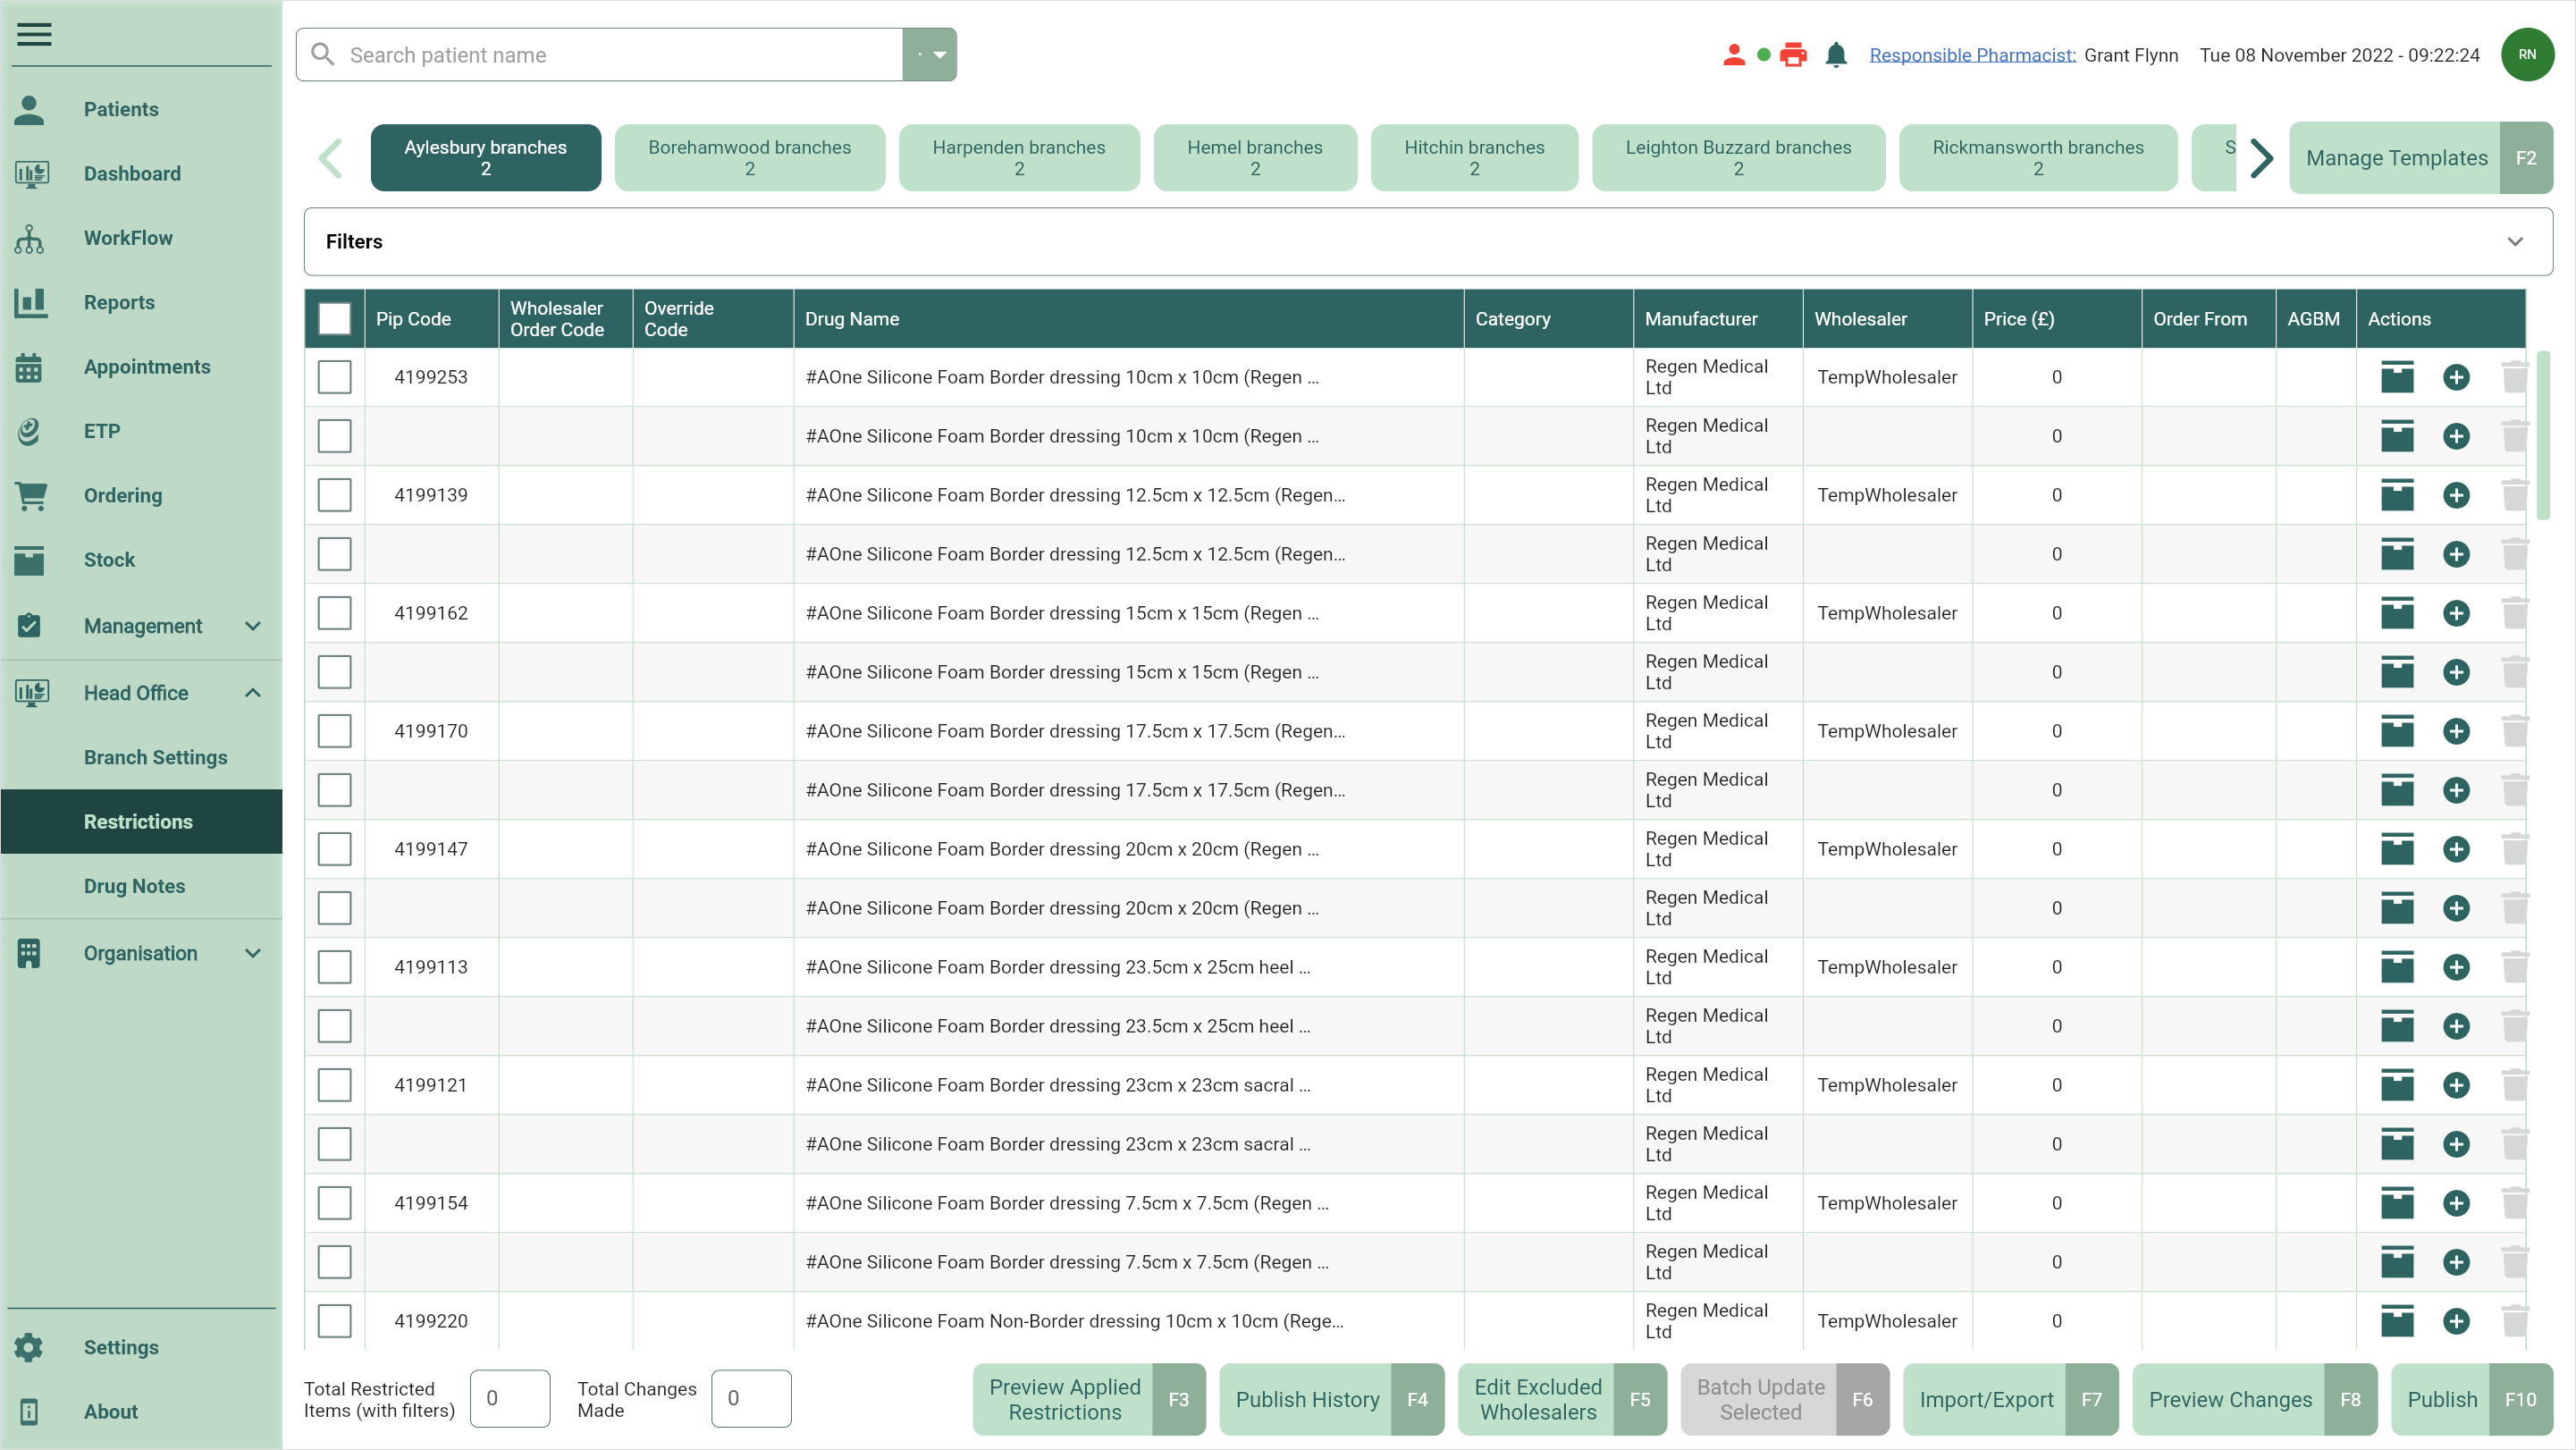
- Locate and select the template you want to add your restrictions to.
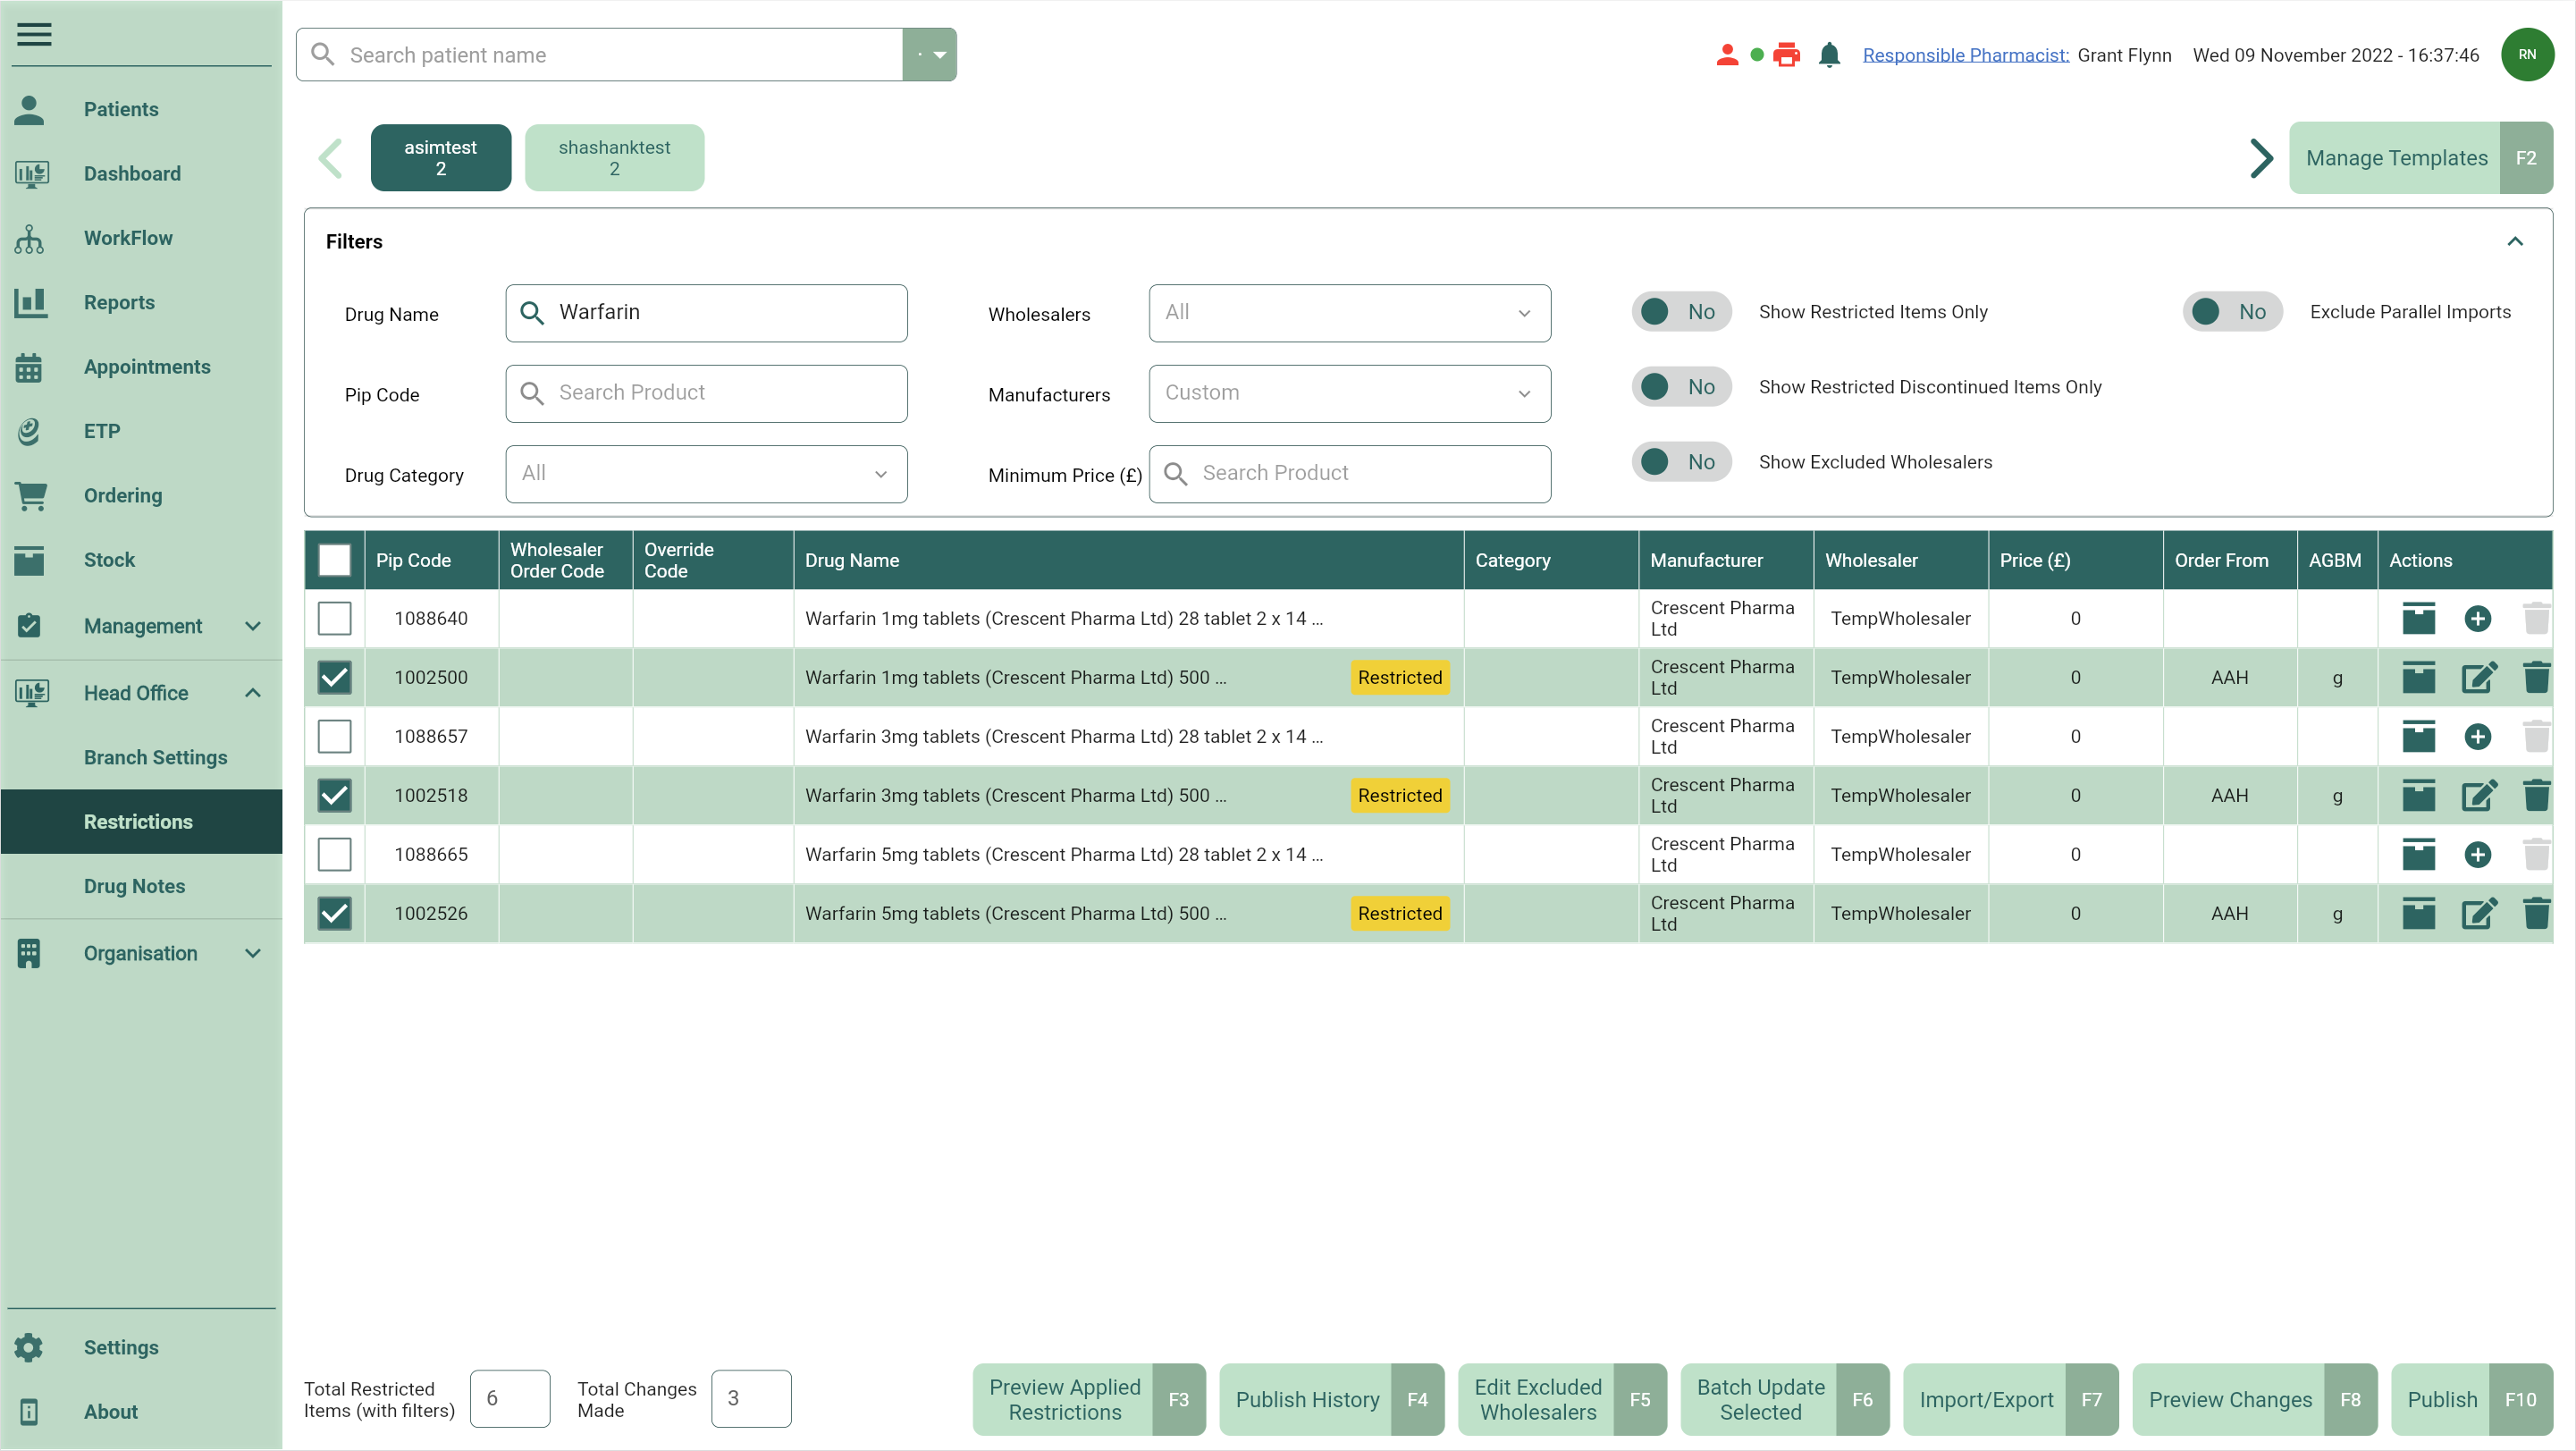
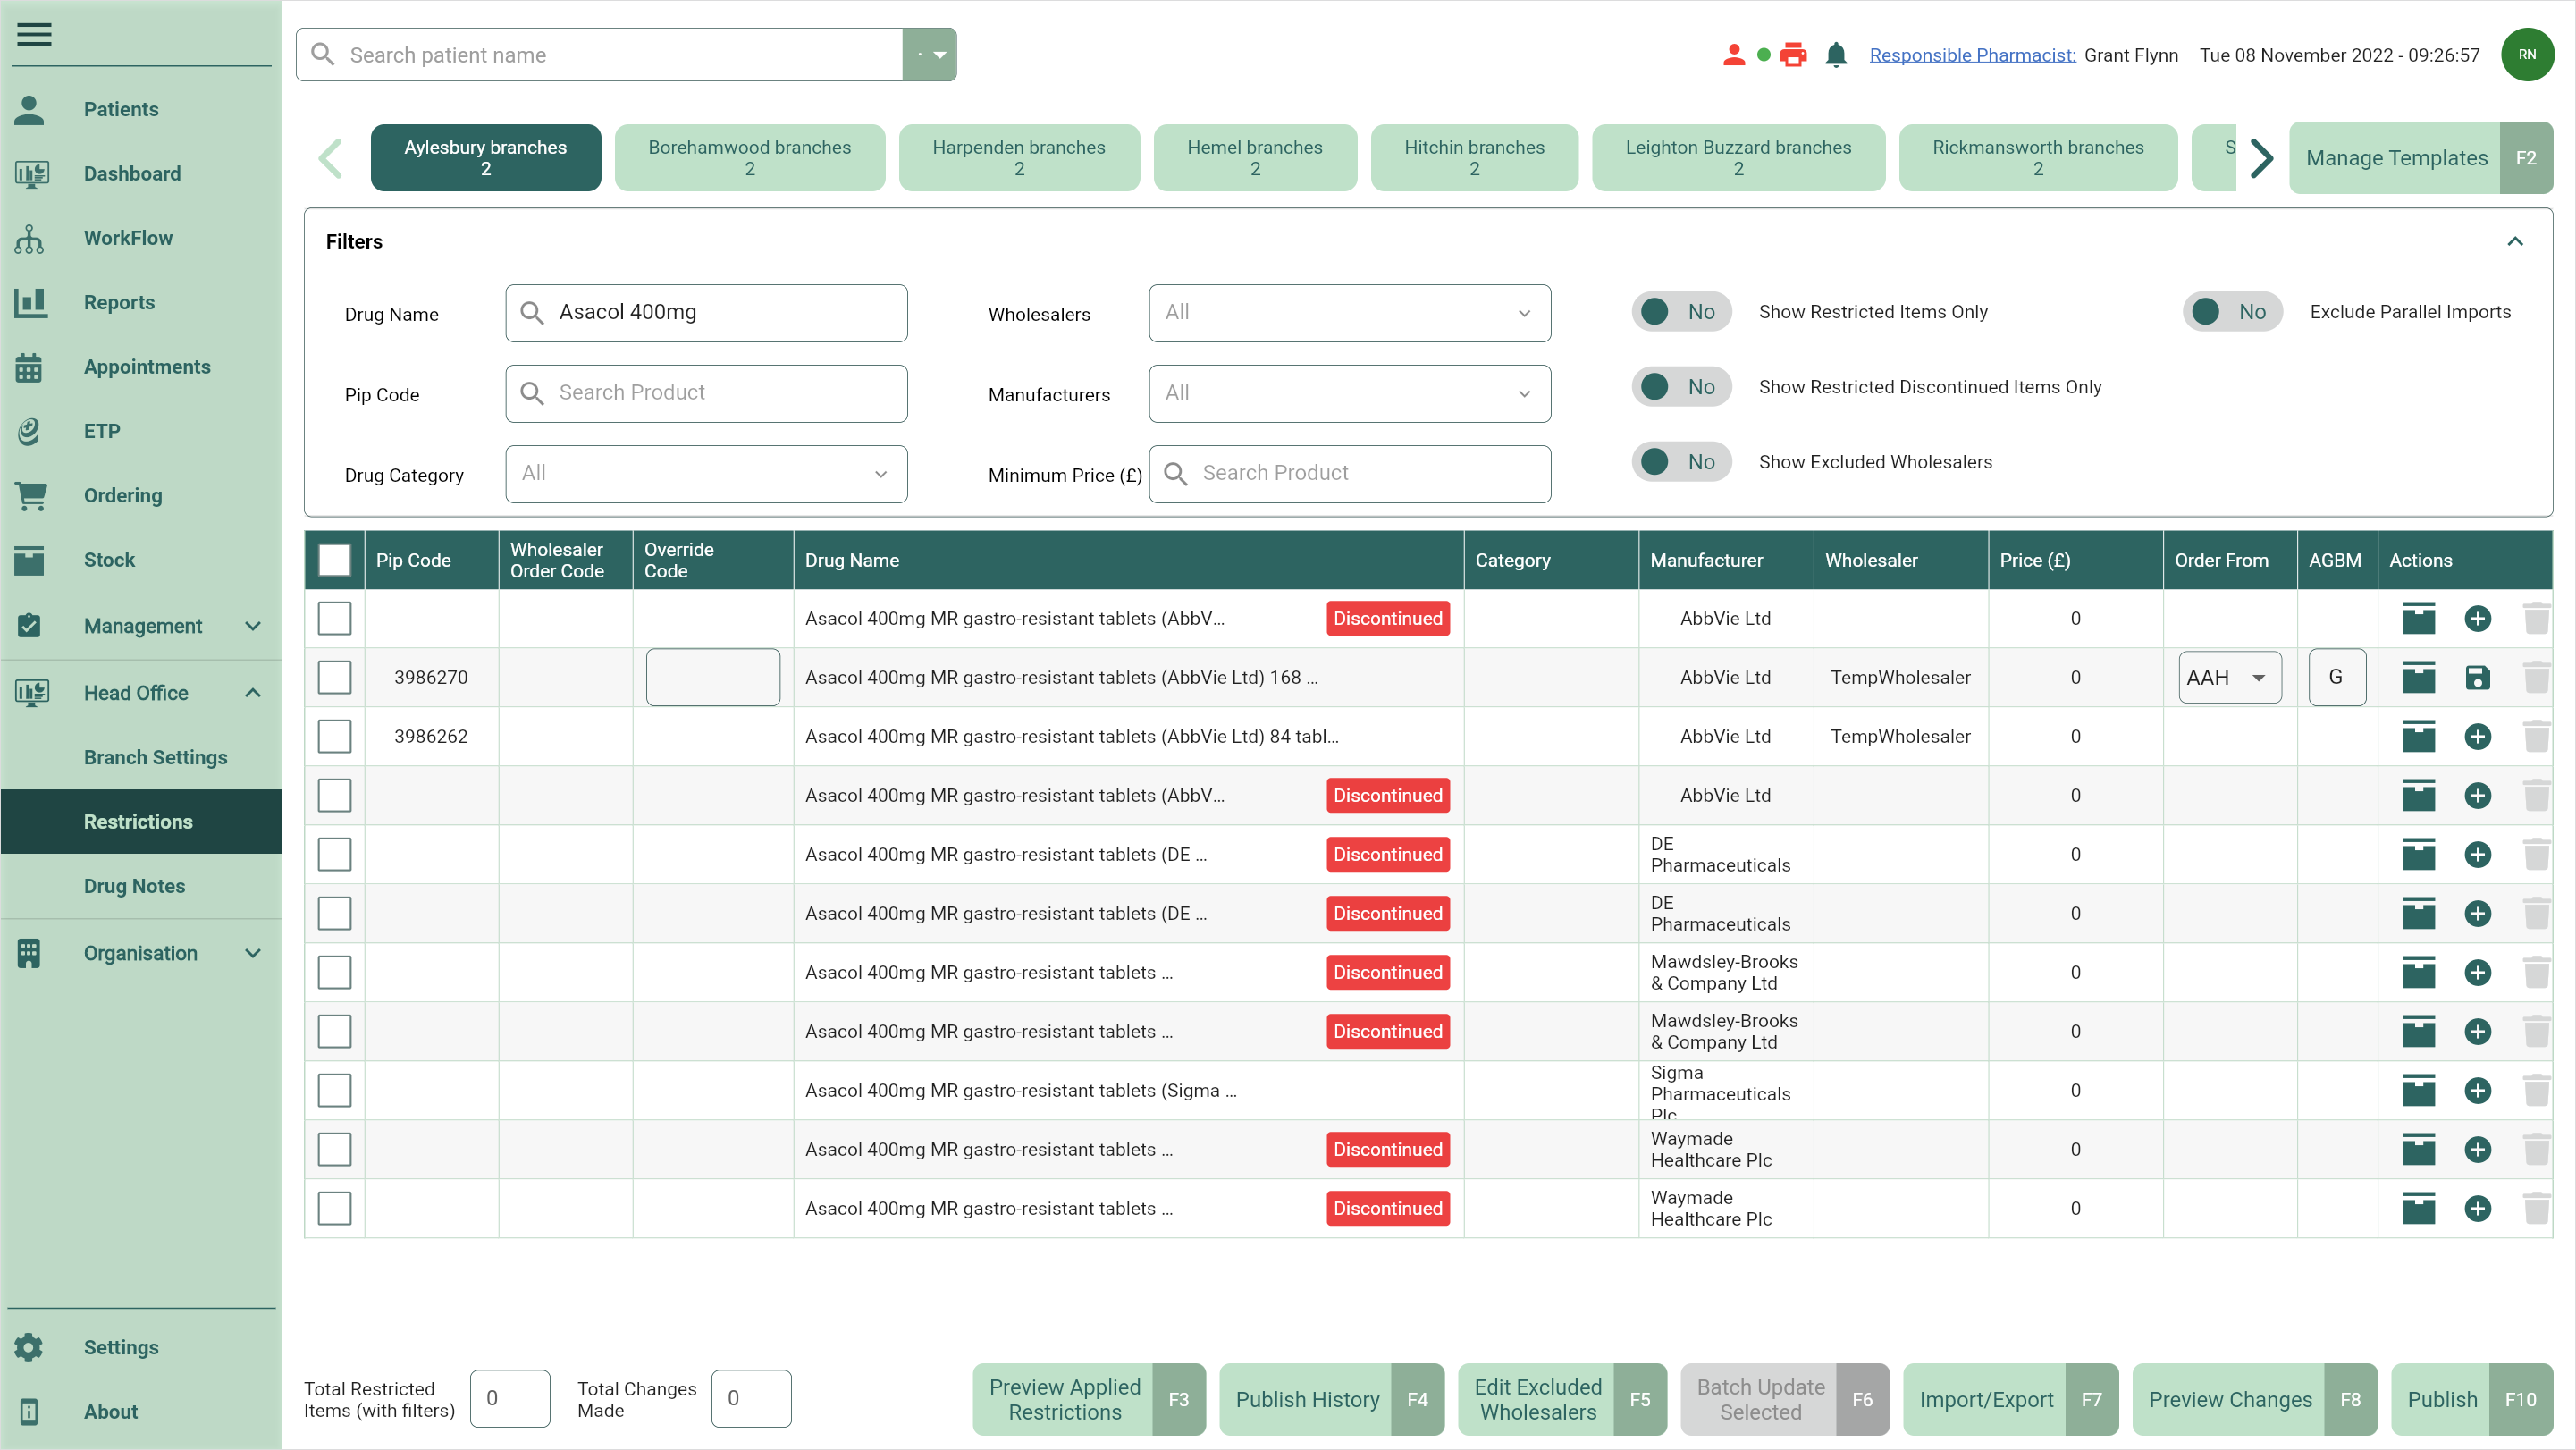
- Expand the Filters and toggle the Show Restricted Items Only switch to No to display all products.

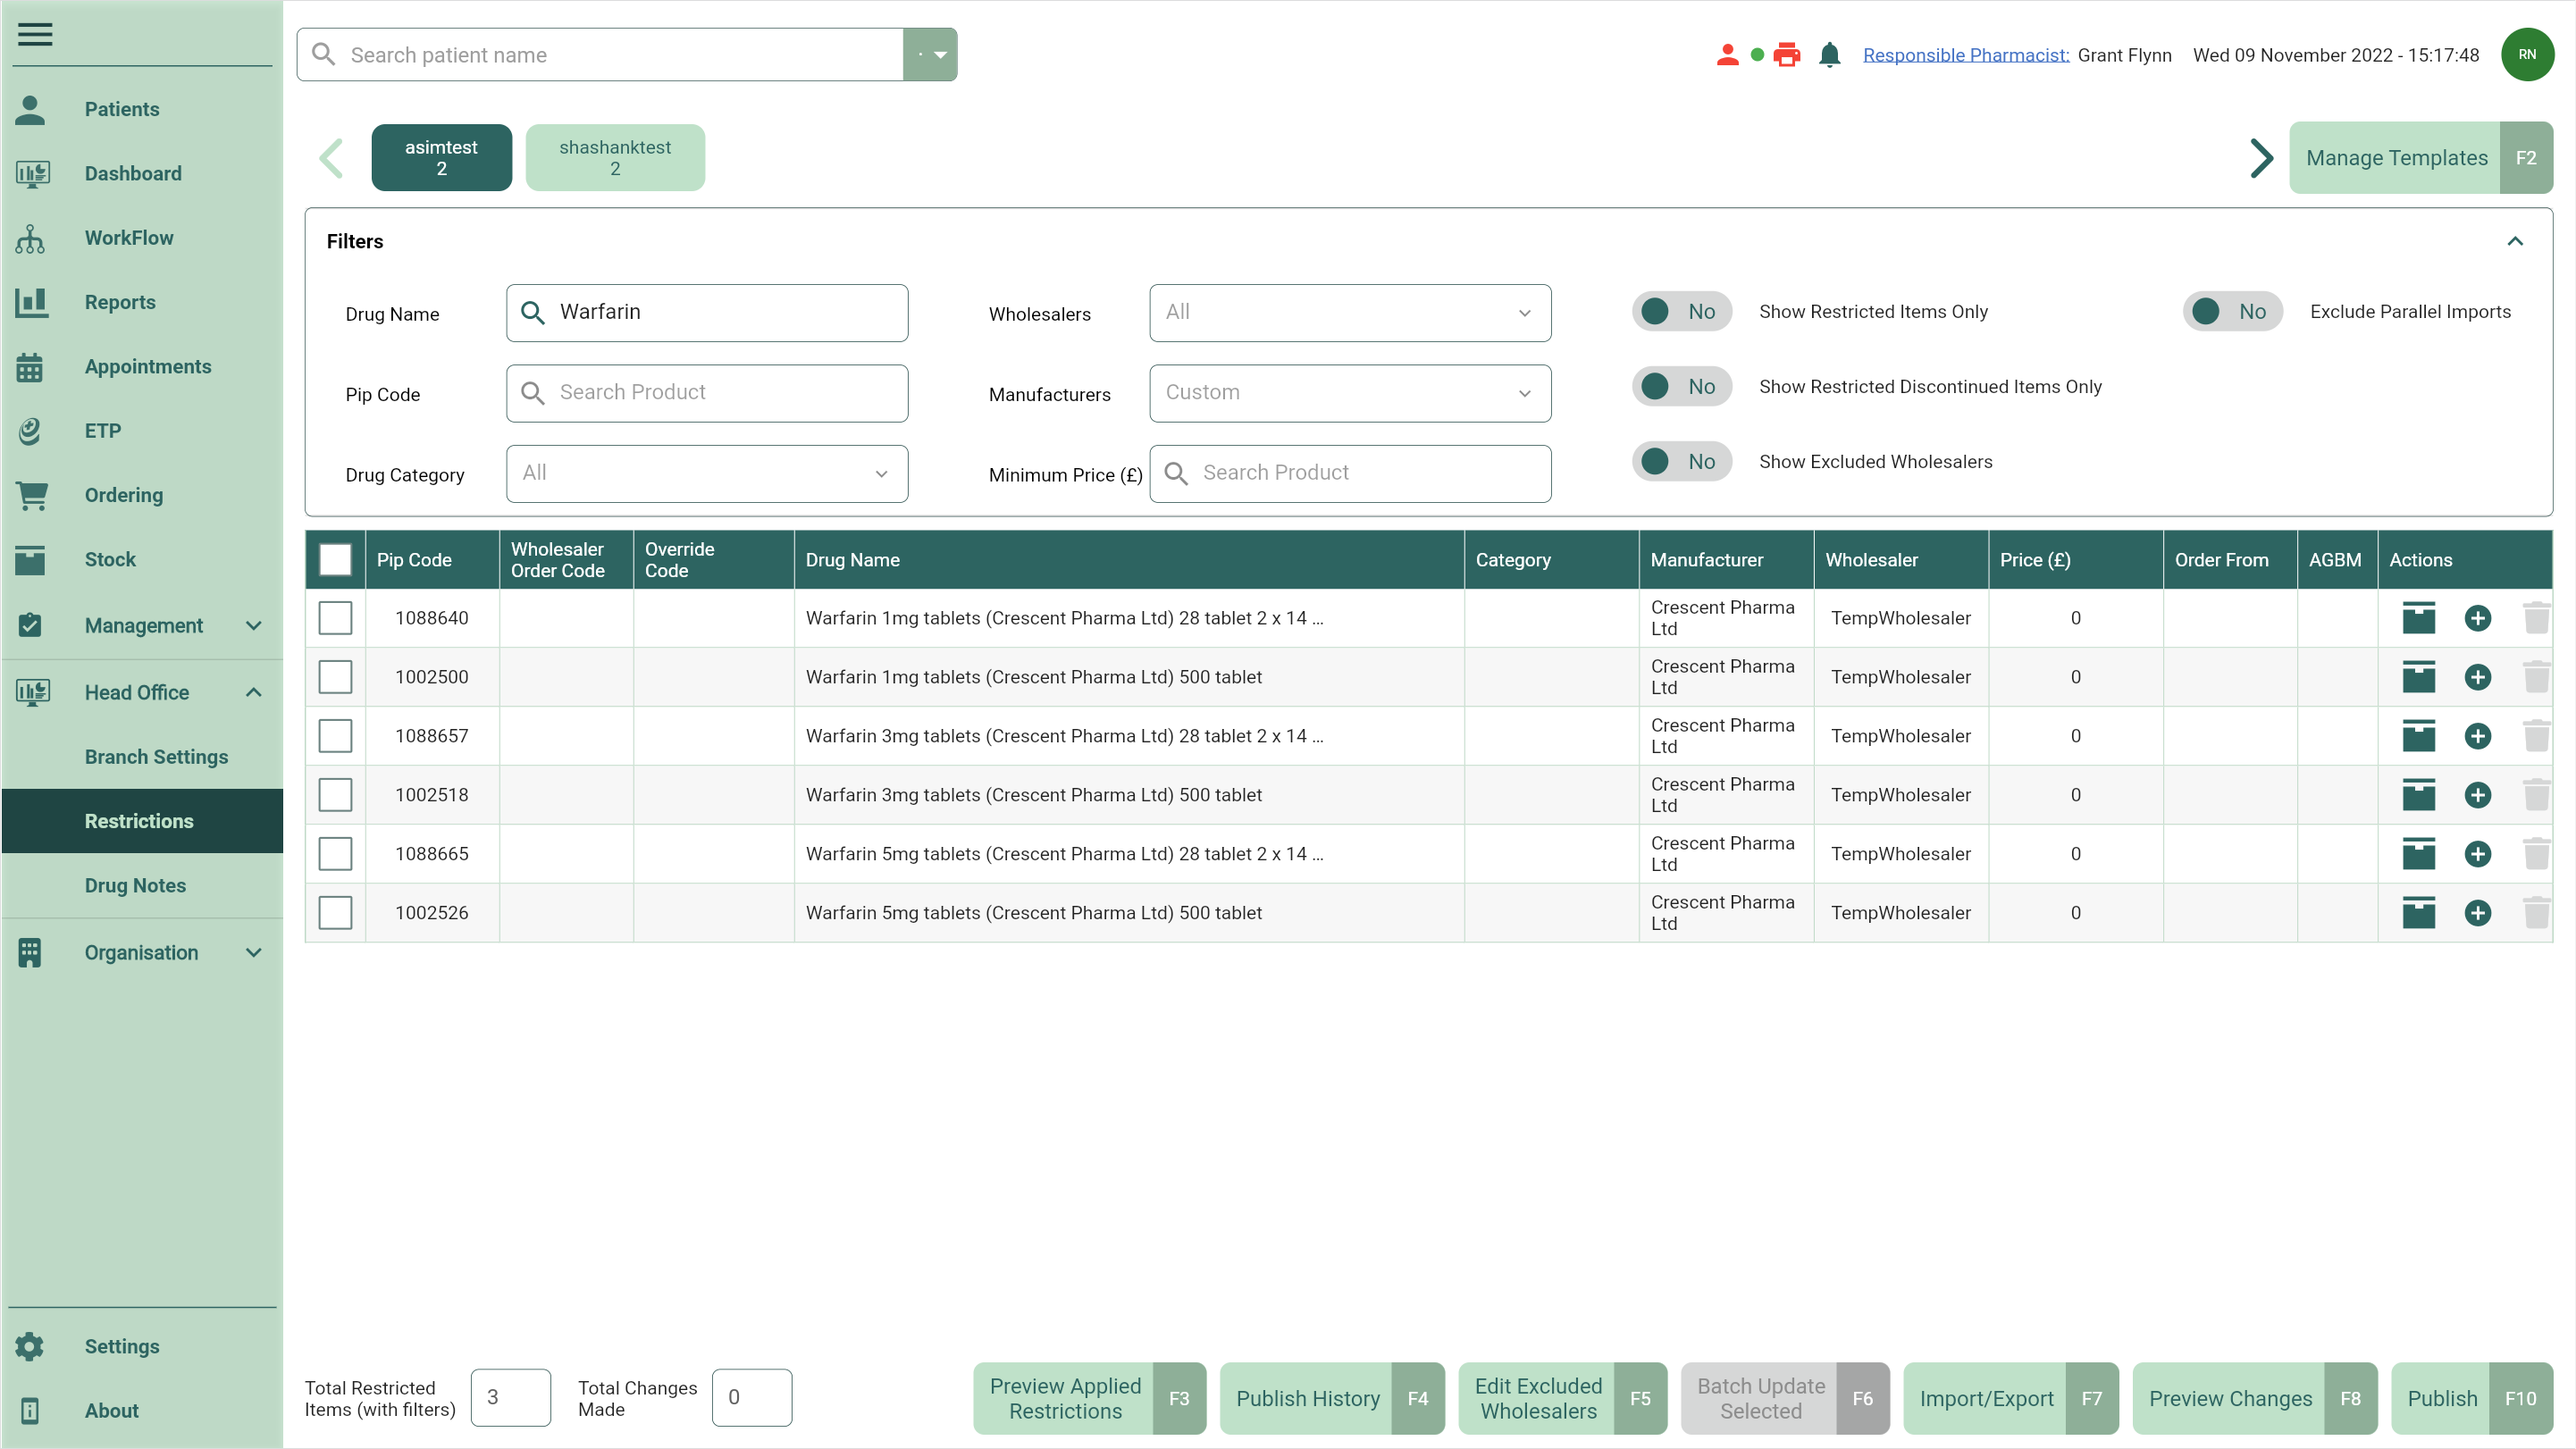
- From here, use the Filters to refine the grid to find an item you want to restrict.

- After locating the item you want to restrict, select the adjacent
 Add icon in the Actions column.
 - The Override Code, Order From and AGBM columns become editable. Complete these fields as required.
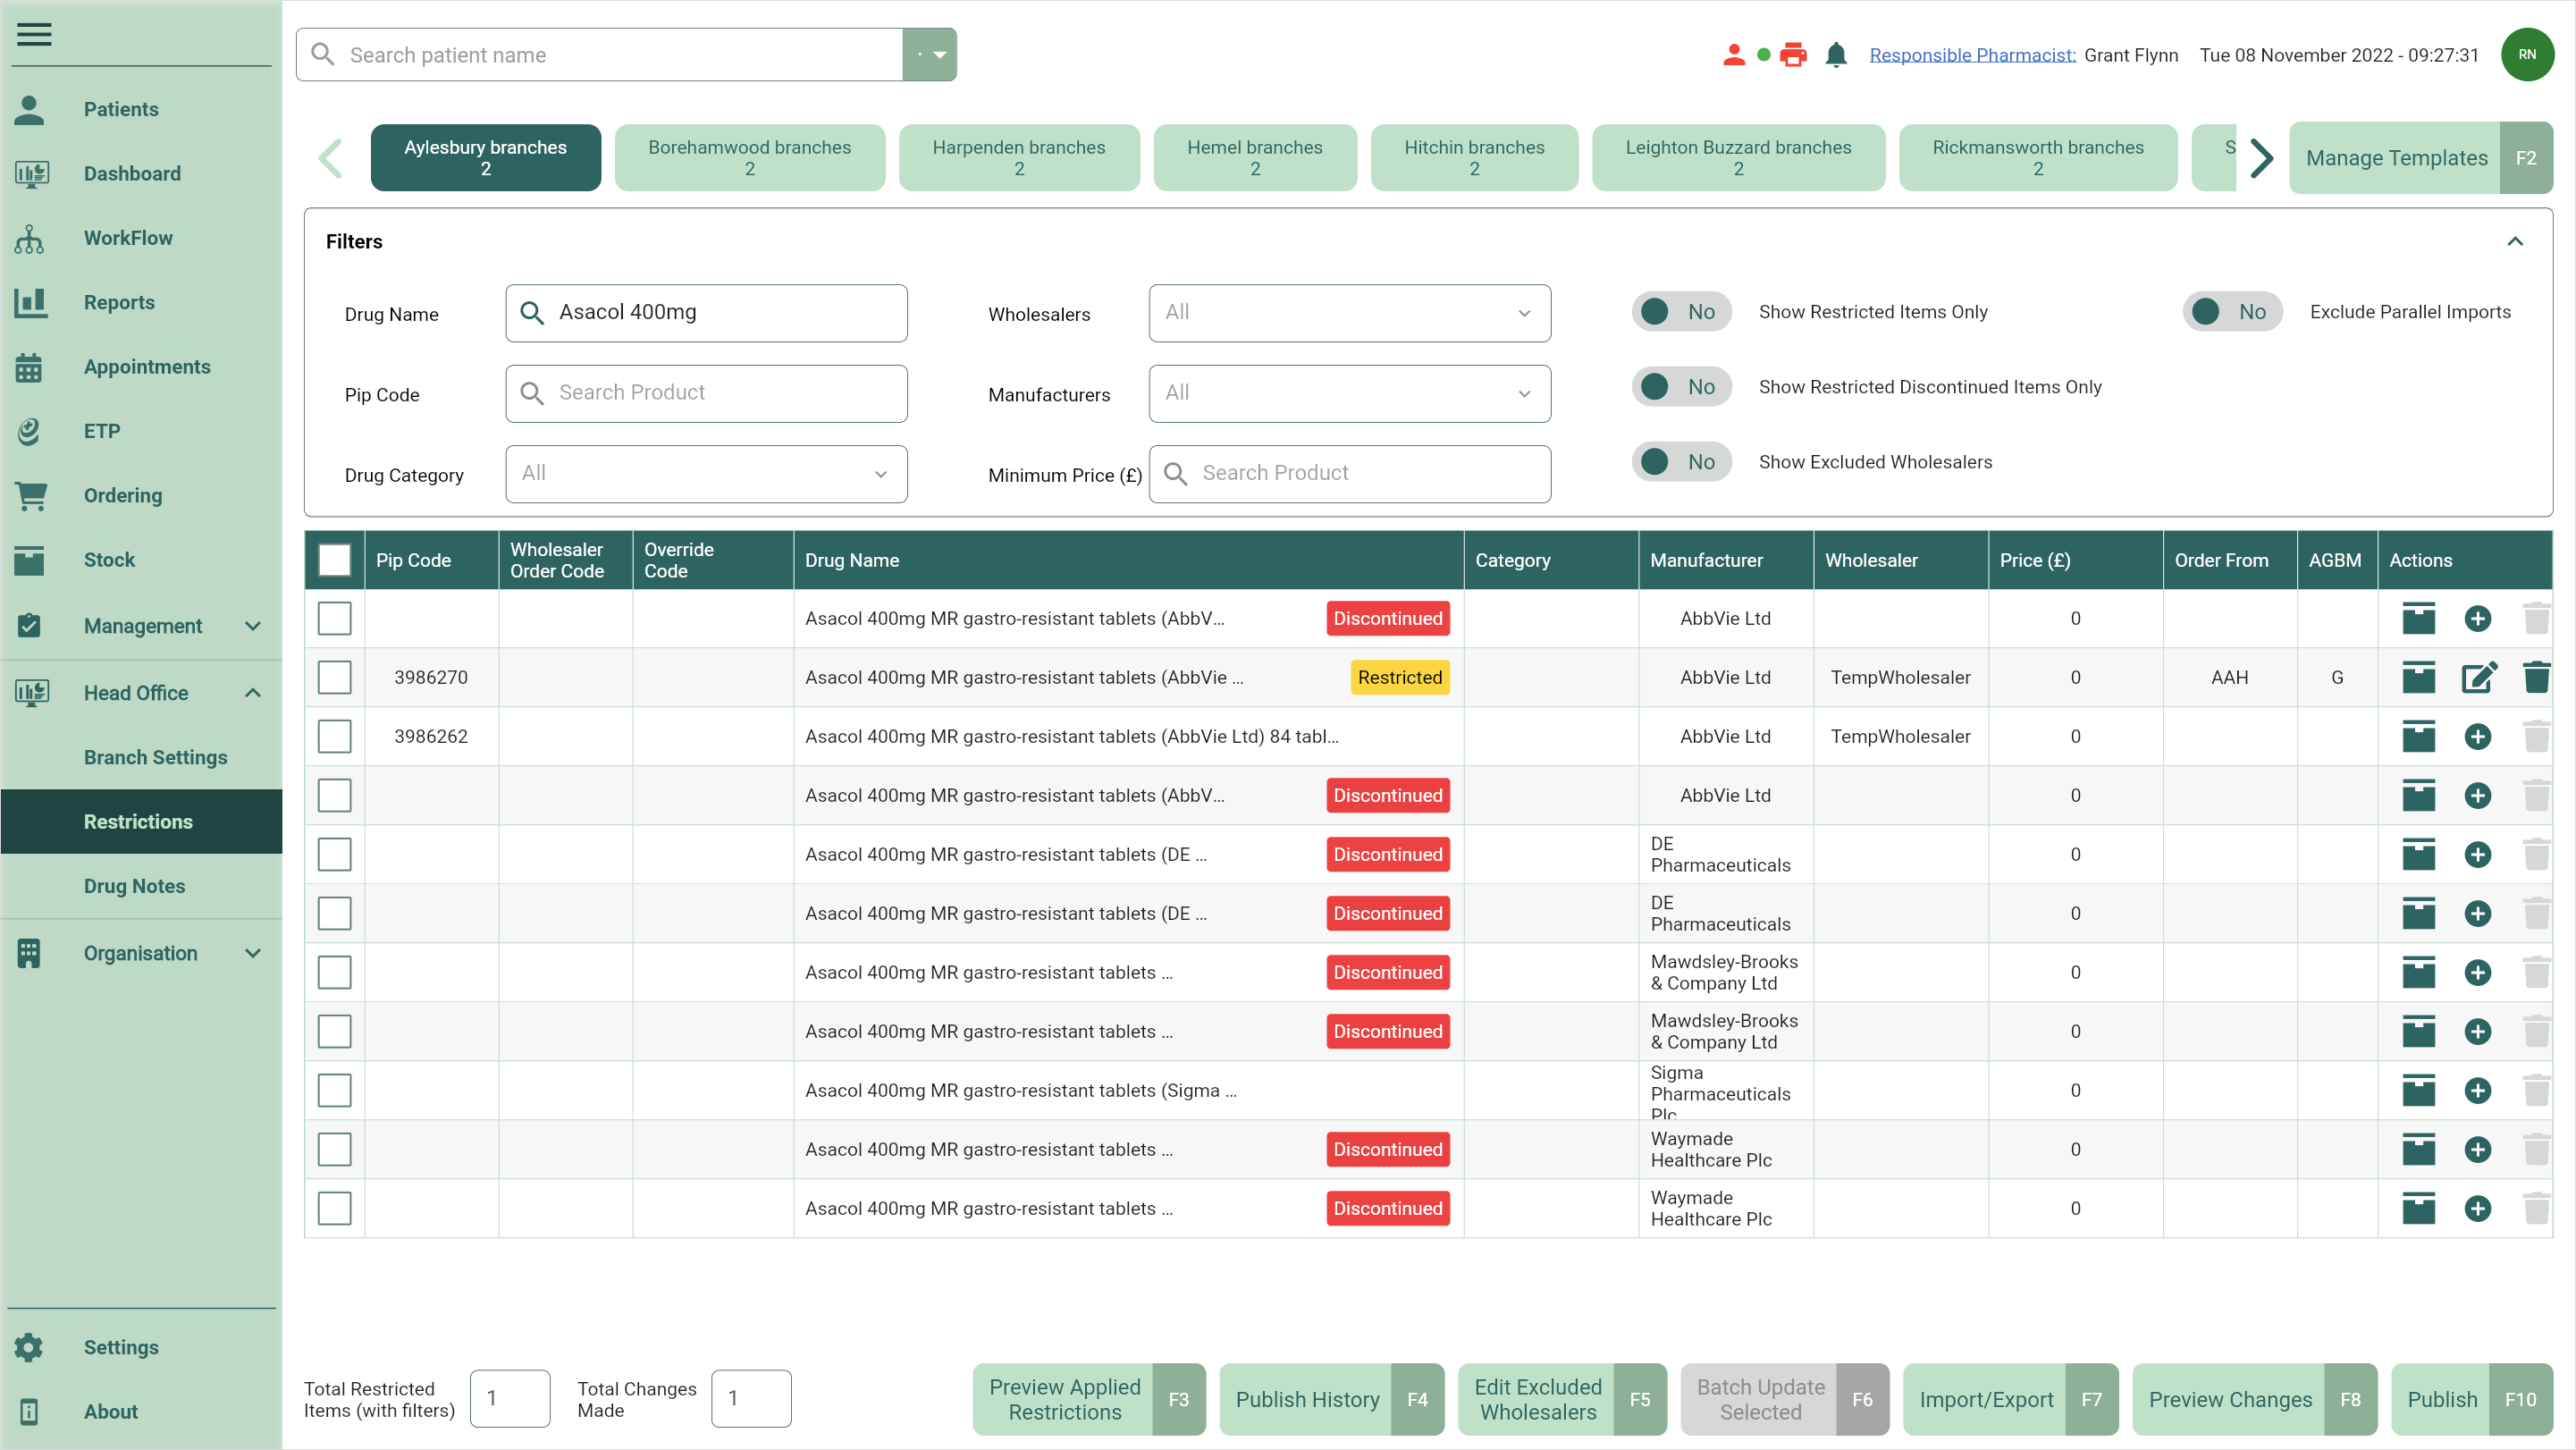
- Once all required editable fields have been updated, select the adjacent
 Save icon in the *Actions* column. The Restricted badge displays to confirm your restriction has been saved.
Batch adding restrictions
- To begin, open Head Office Restrictions by selecting the Head Office dropdown menu from the left-nav and the Restrictions menu item.
- Locate and select the template you want to add your restrictions to.
- Expand the Filters and toggle the Show Restricted Items Only switch to No to display all products.
- From here, use the Filters to refine the grid to find the items you want to restrict.
- After filtering the grid as required, select the items you want to restrict using the tick boxes.

- Select the [Batch Update Selected - F6] button.
- The Batch Update window displays. Complete the fields as required.
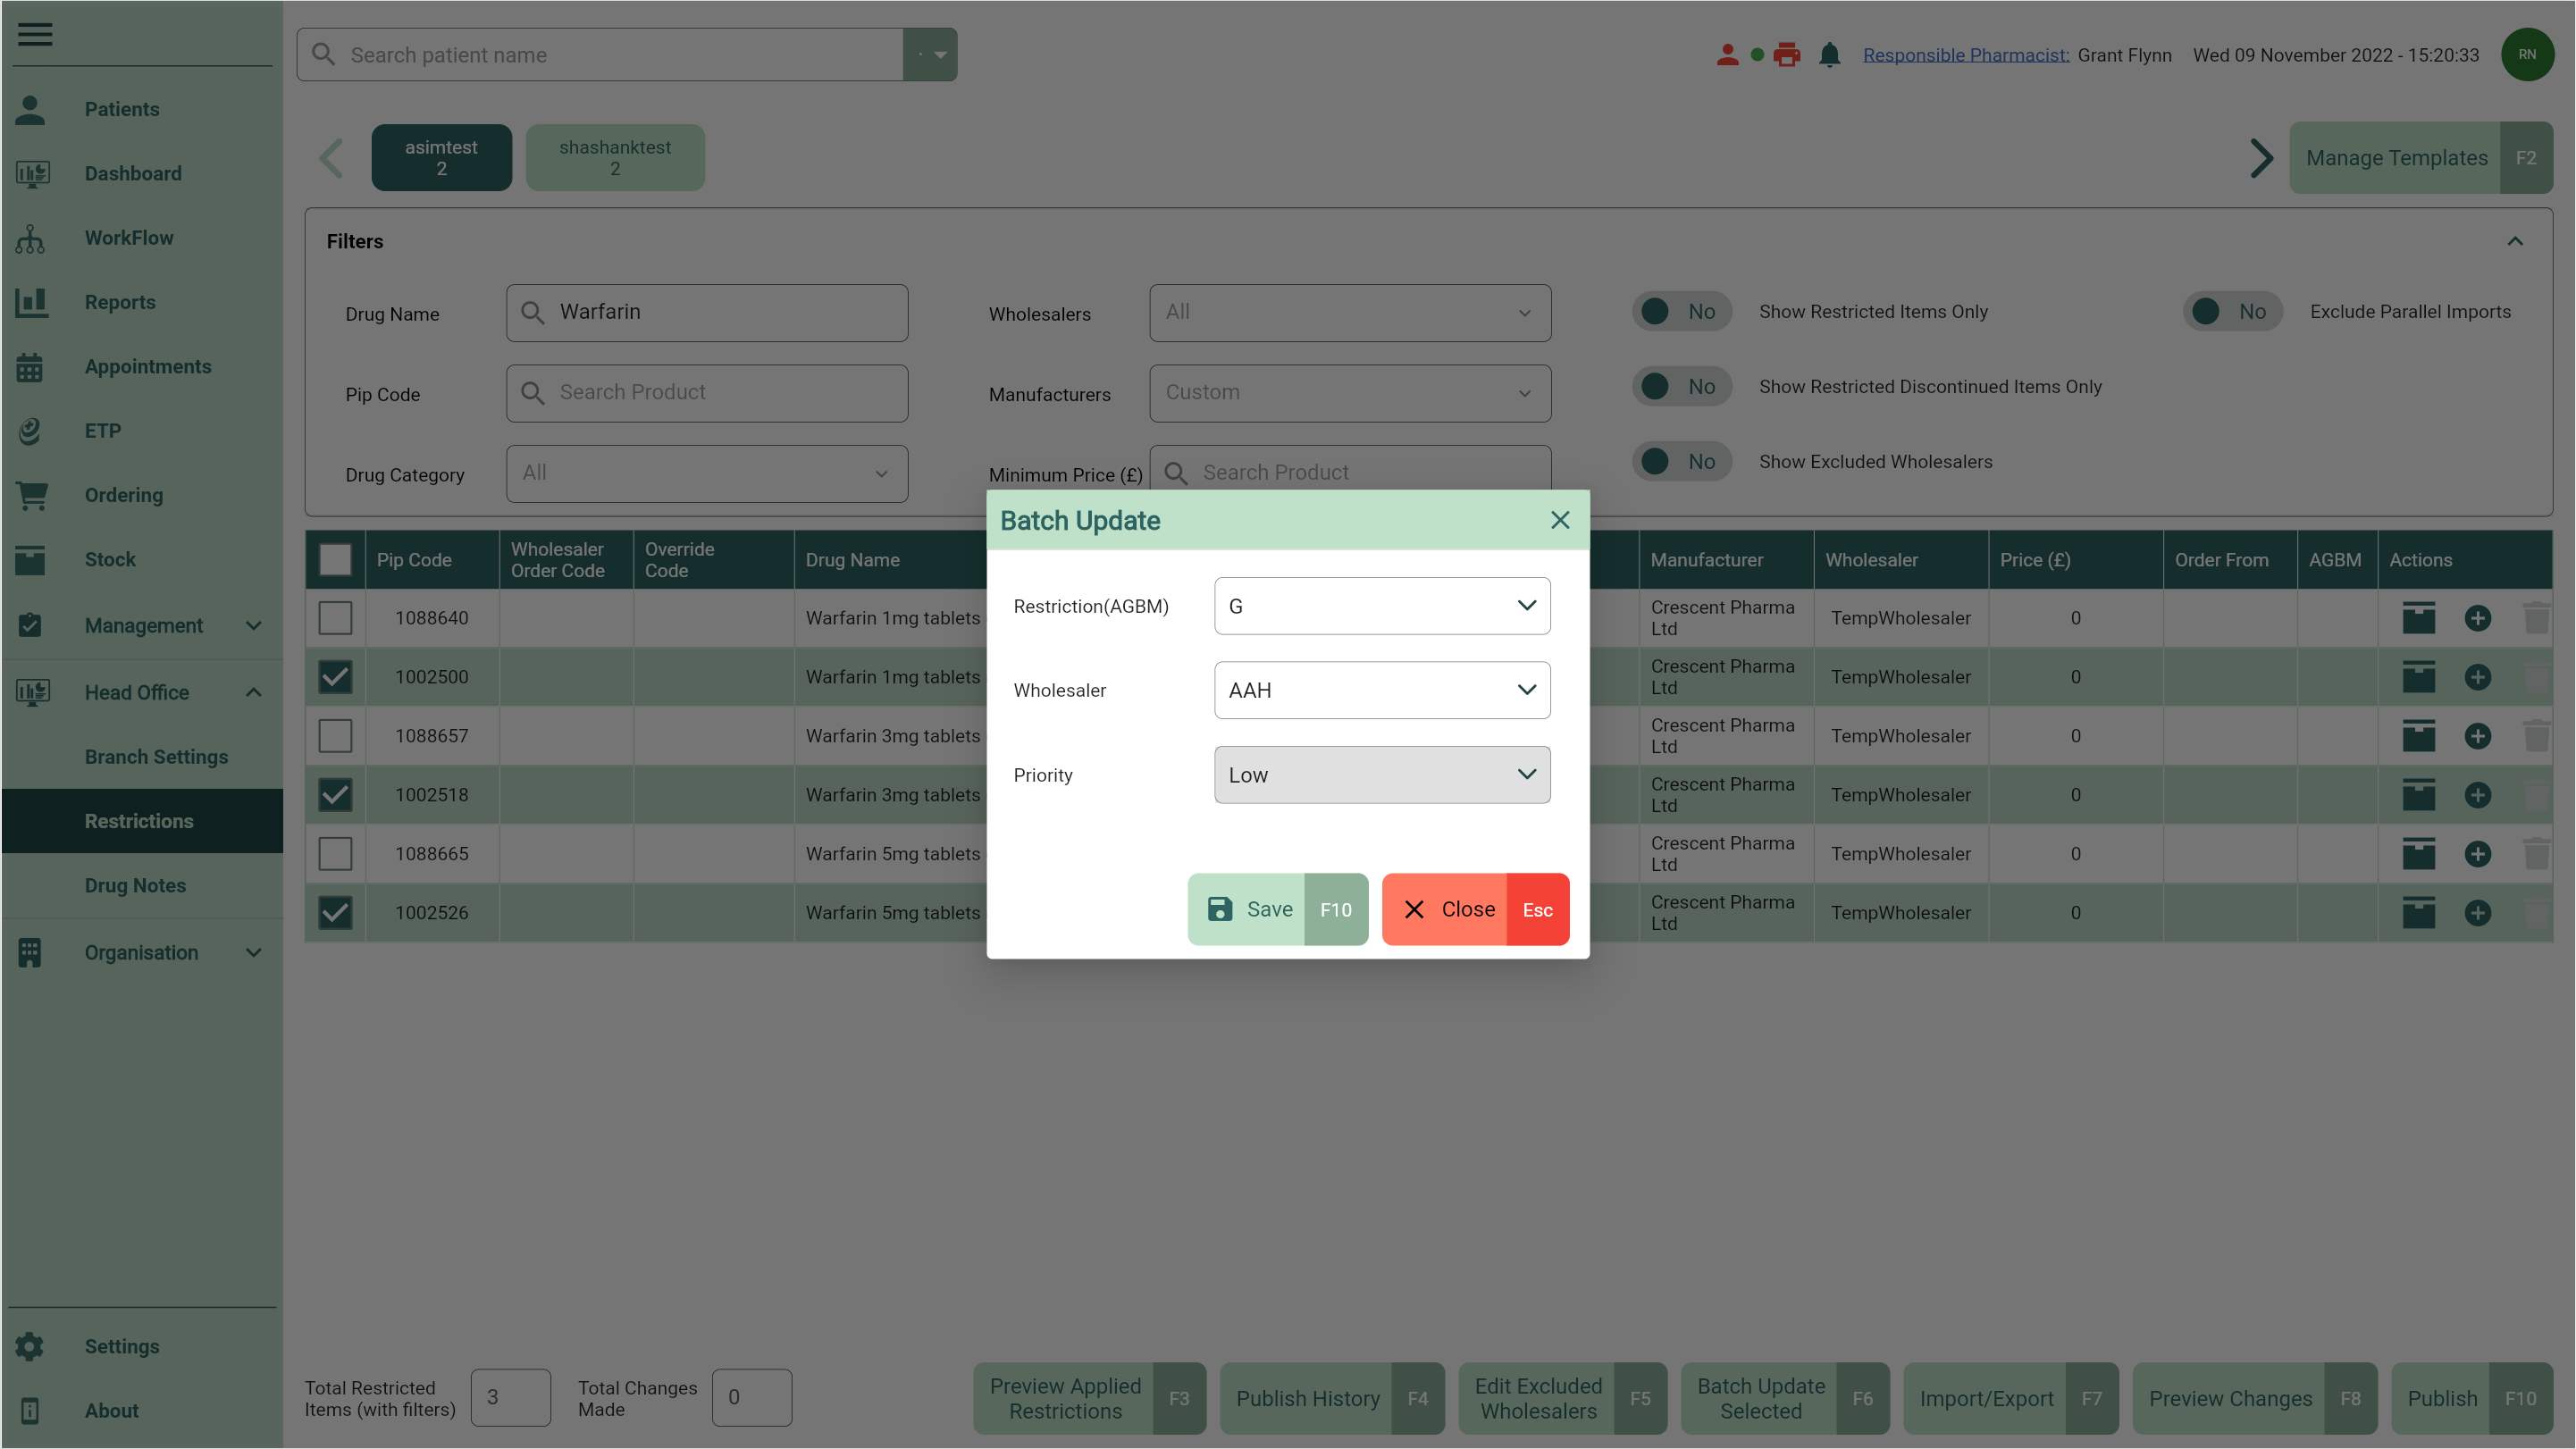
- Once complete, select the [Update - F10] button. The Restricted badge displays on all your updated items to confirm your restrictions have been saved.