Editing restriction templates
Once a template has been created, you can edit it by adding or removing branches.
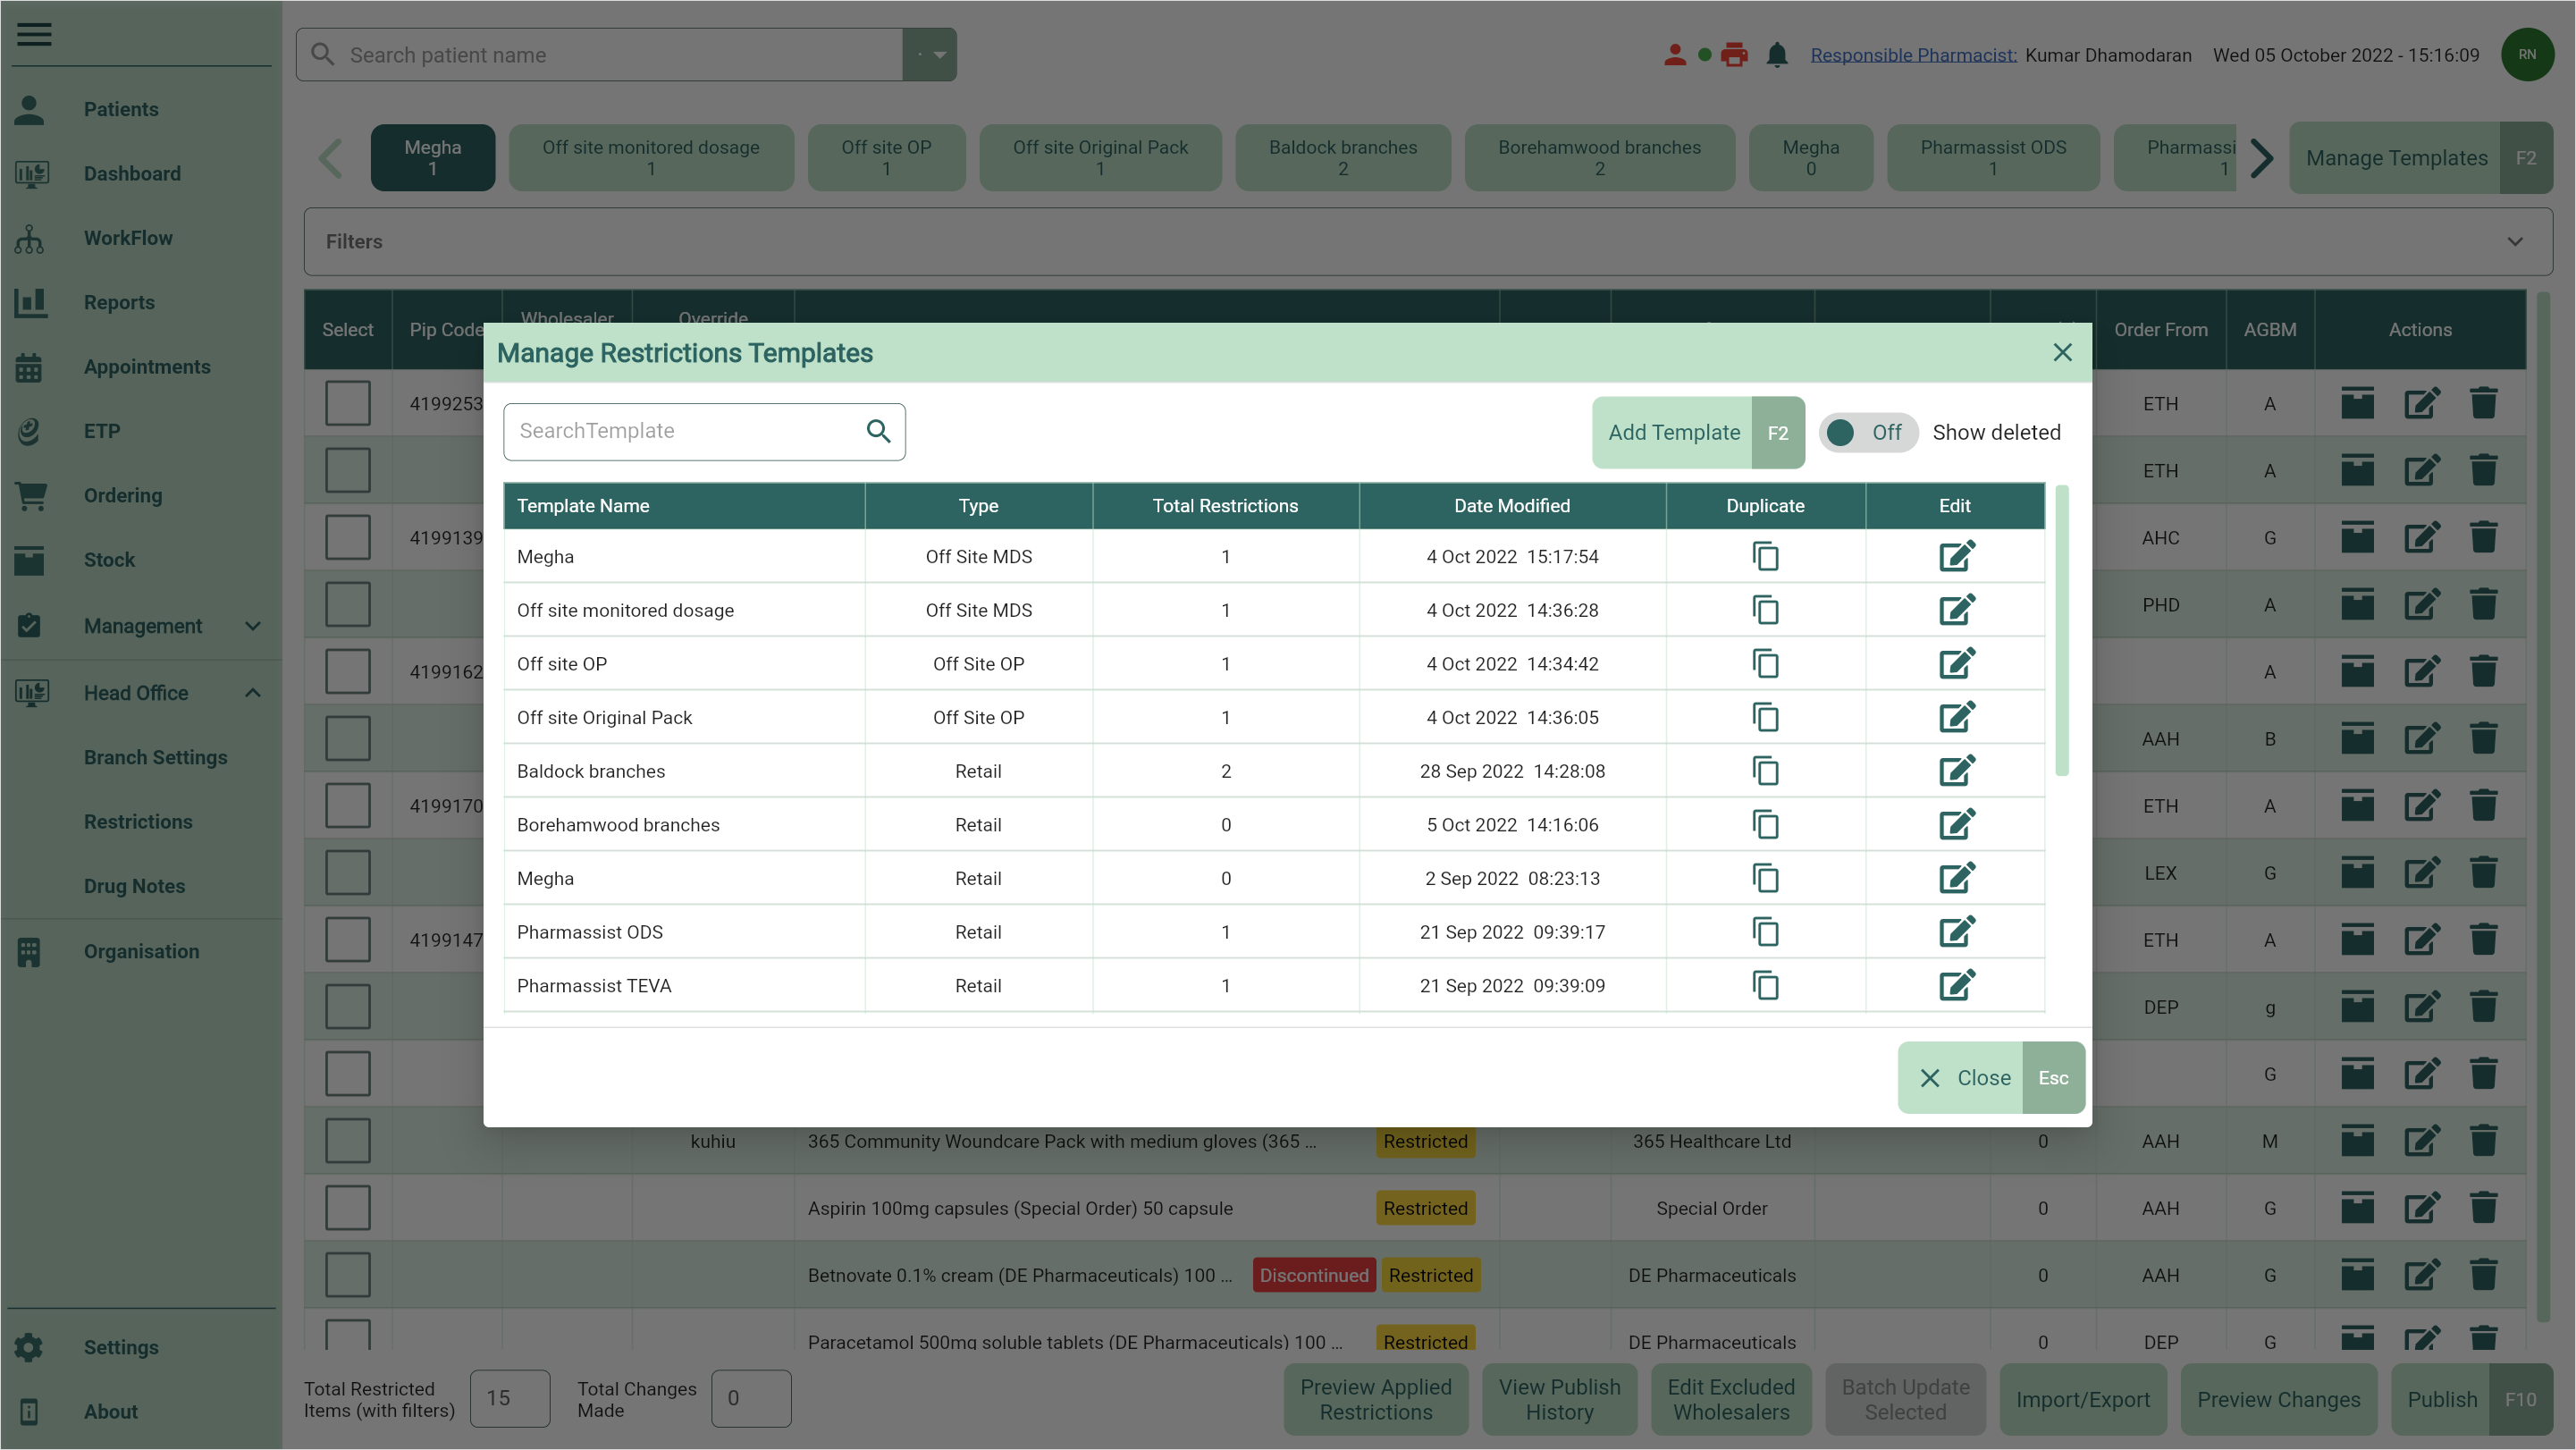
- To begin, open Head Office Restrictions by selecting the Head Office dropdown menu from the left-nav and the Restrictions menu item.
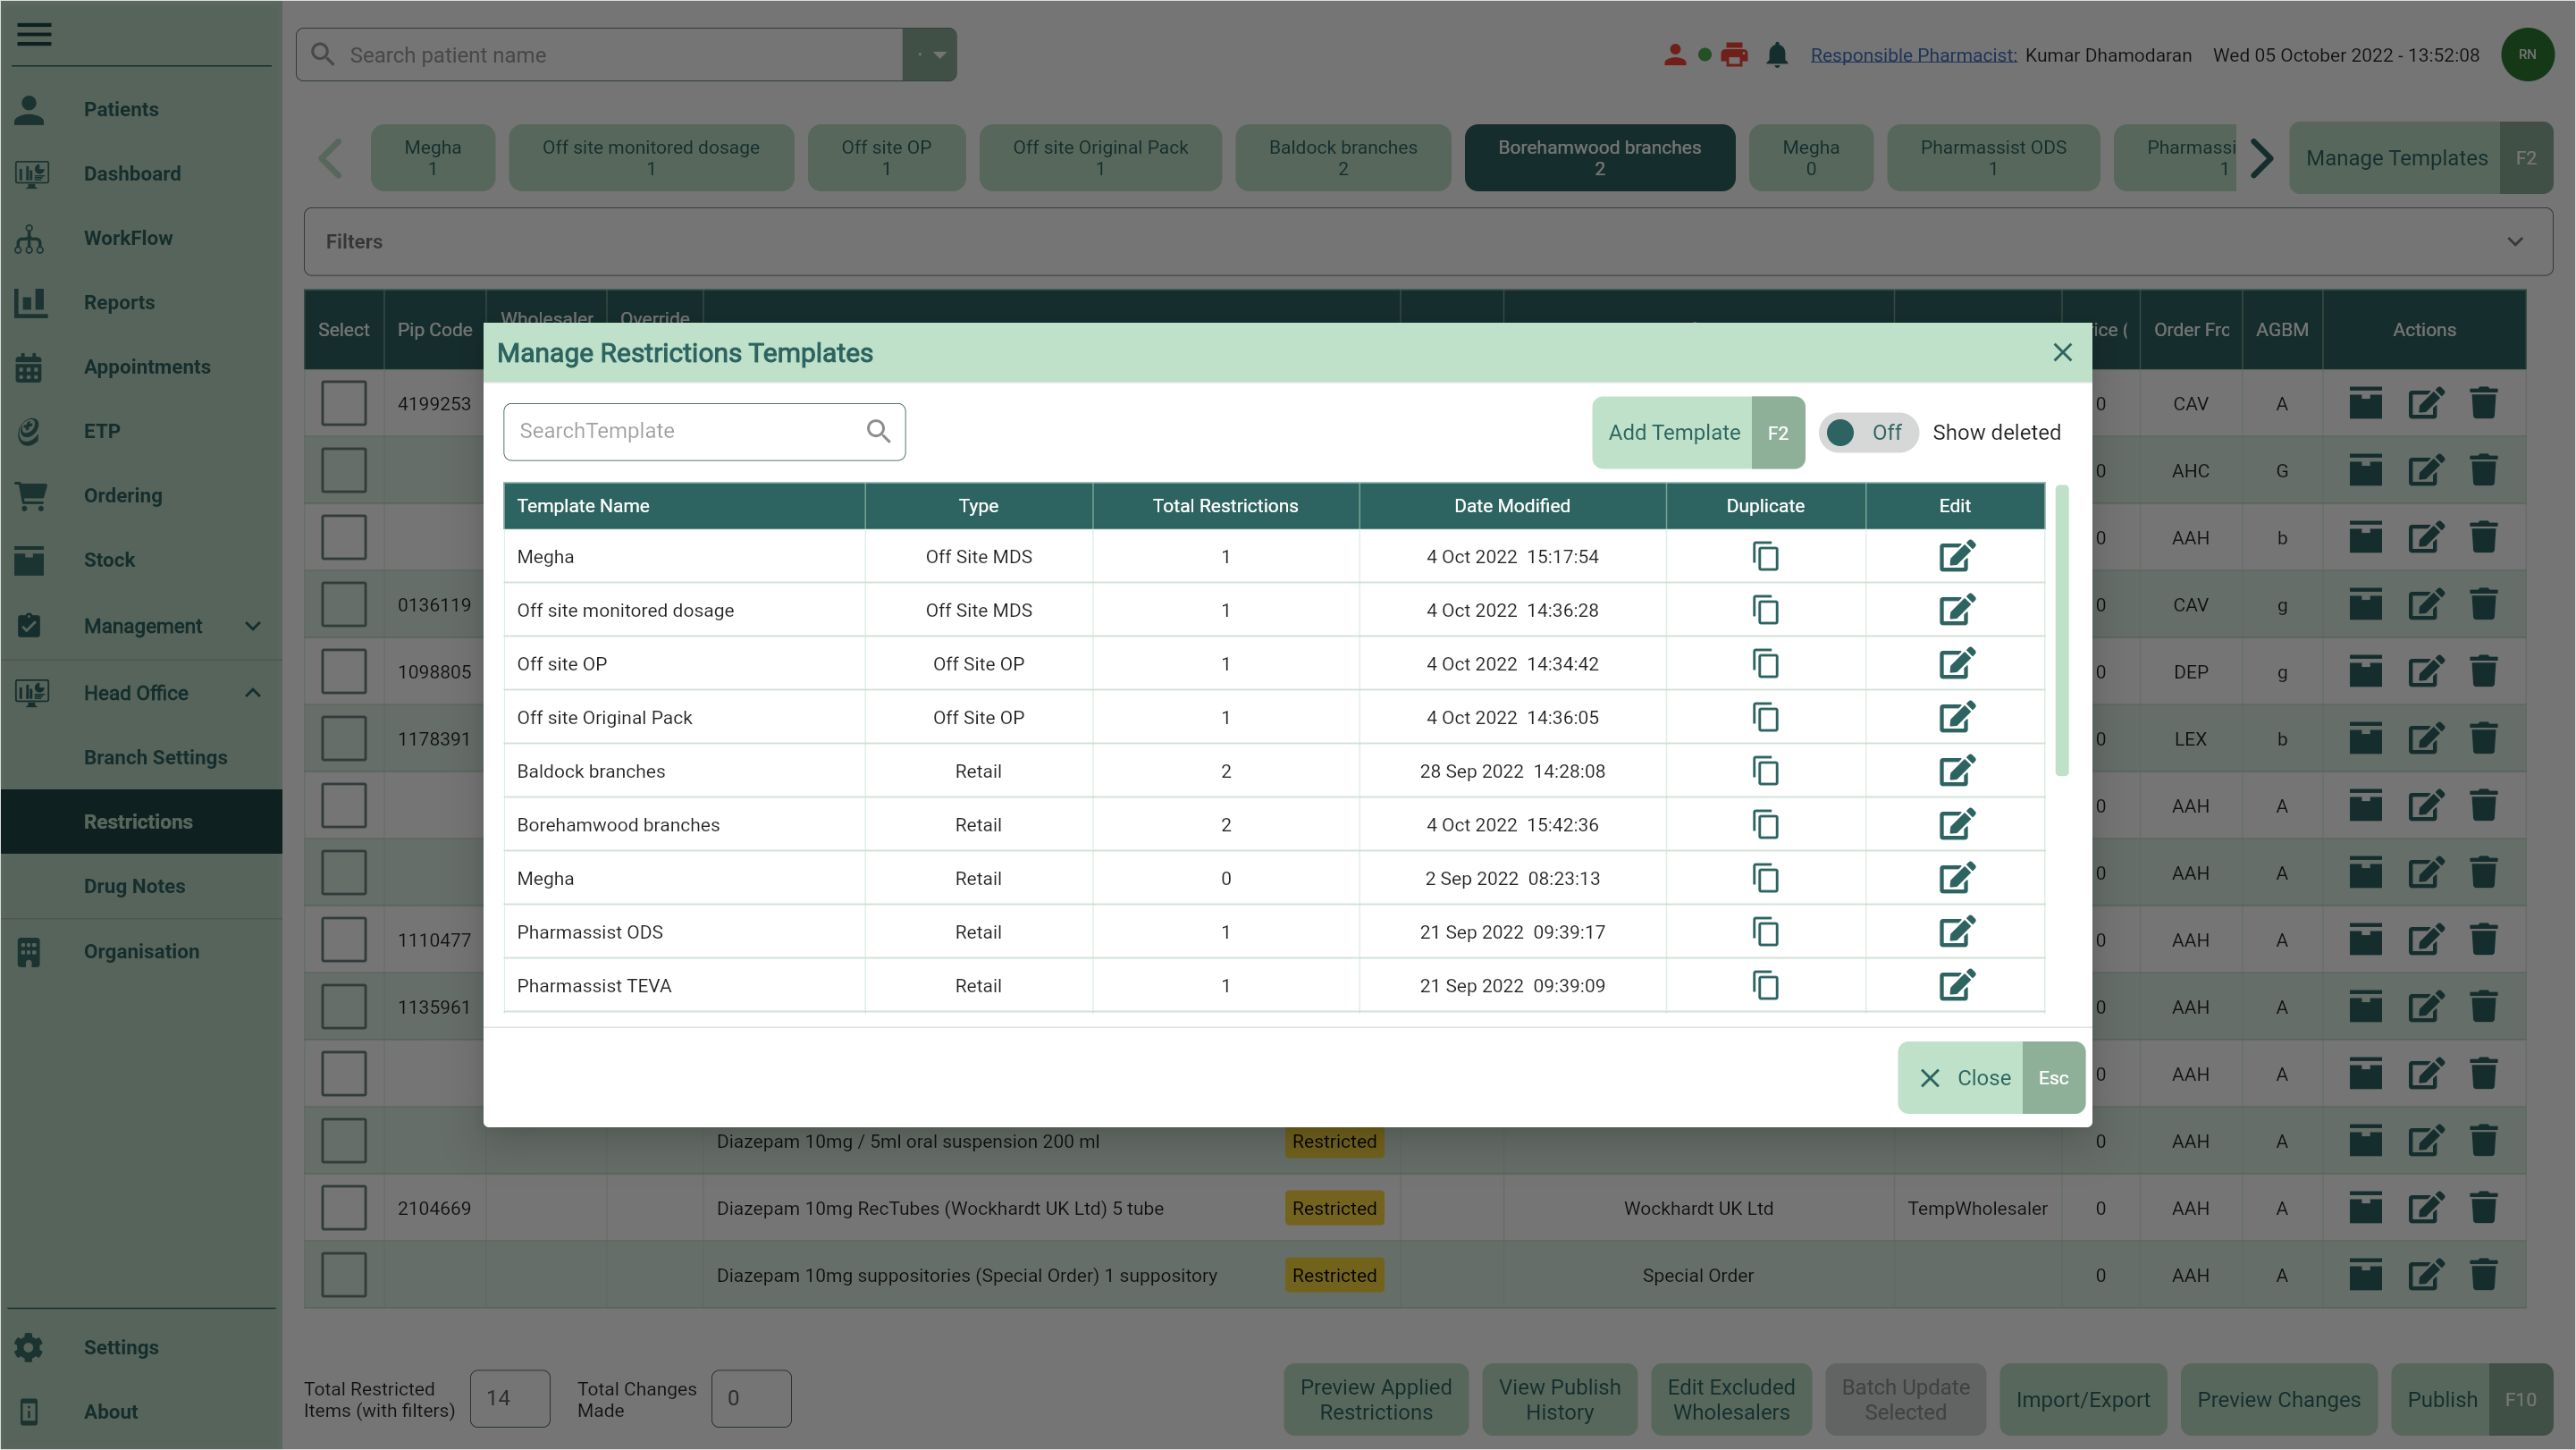
- Select the [Manage Templates - F2] button. The Manage Restrictions Templates window displays.
- Locate the template you want to edit and select the adjacent
 Edit icon found in the Actions column. The Edit Restrictions Template window displays.

- From here, you can perform the following actions using the fields below:
| Field | Action |
|---|---|
| [Select Branch - F2] | Open the Select Branch window where you can search for and select all the branches you want to add to the restrictions template. Select the [Confirm - F10] button to save your changes. |
| [Select Subgroup - F3] | Open the Select Subgroup window where you can select all the subgroups of branches you want to add to the restrictions template. Select the [Confirm - F10] button to save your changes. |
| Is Test column | Mark individual branches as test branches by selecting the checkbox in the Is Test column. |
 Delete icon Delete icon | Remove branches using the Delete icon in the Actions column. |
Note
It is mandatory to have at least one branch to your restrictions template.
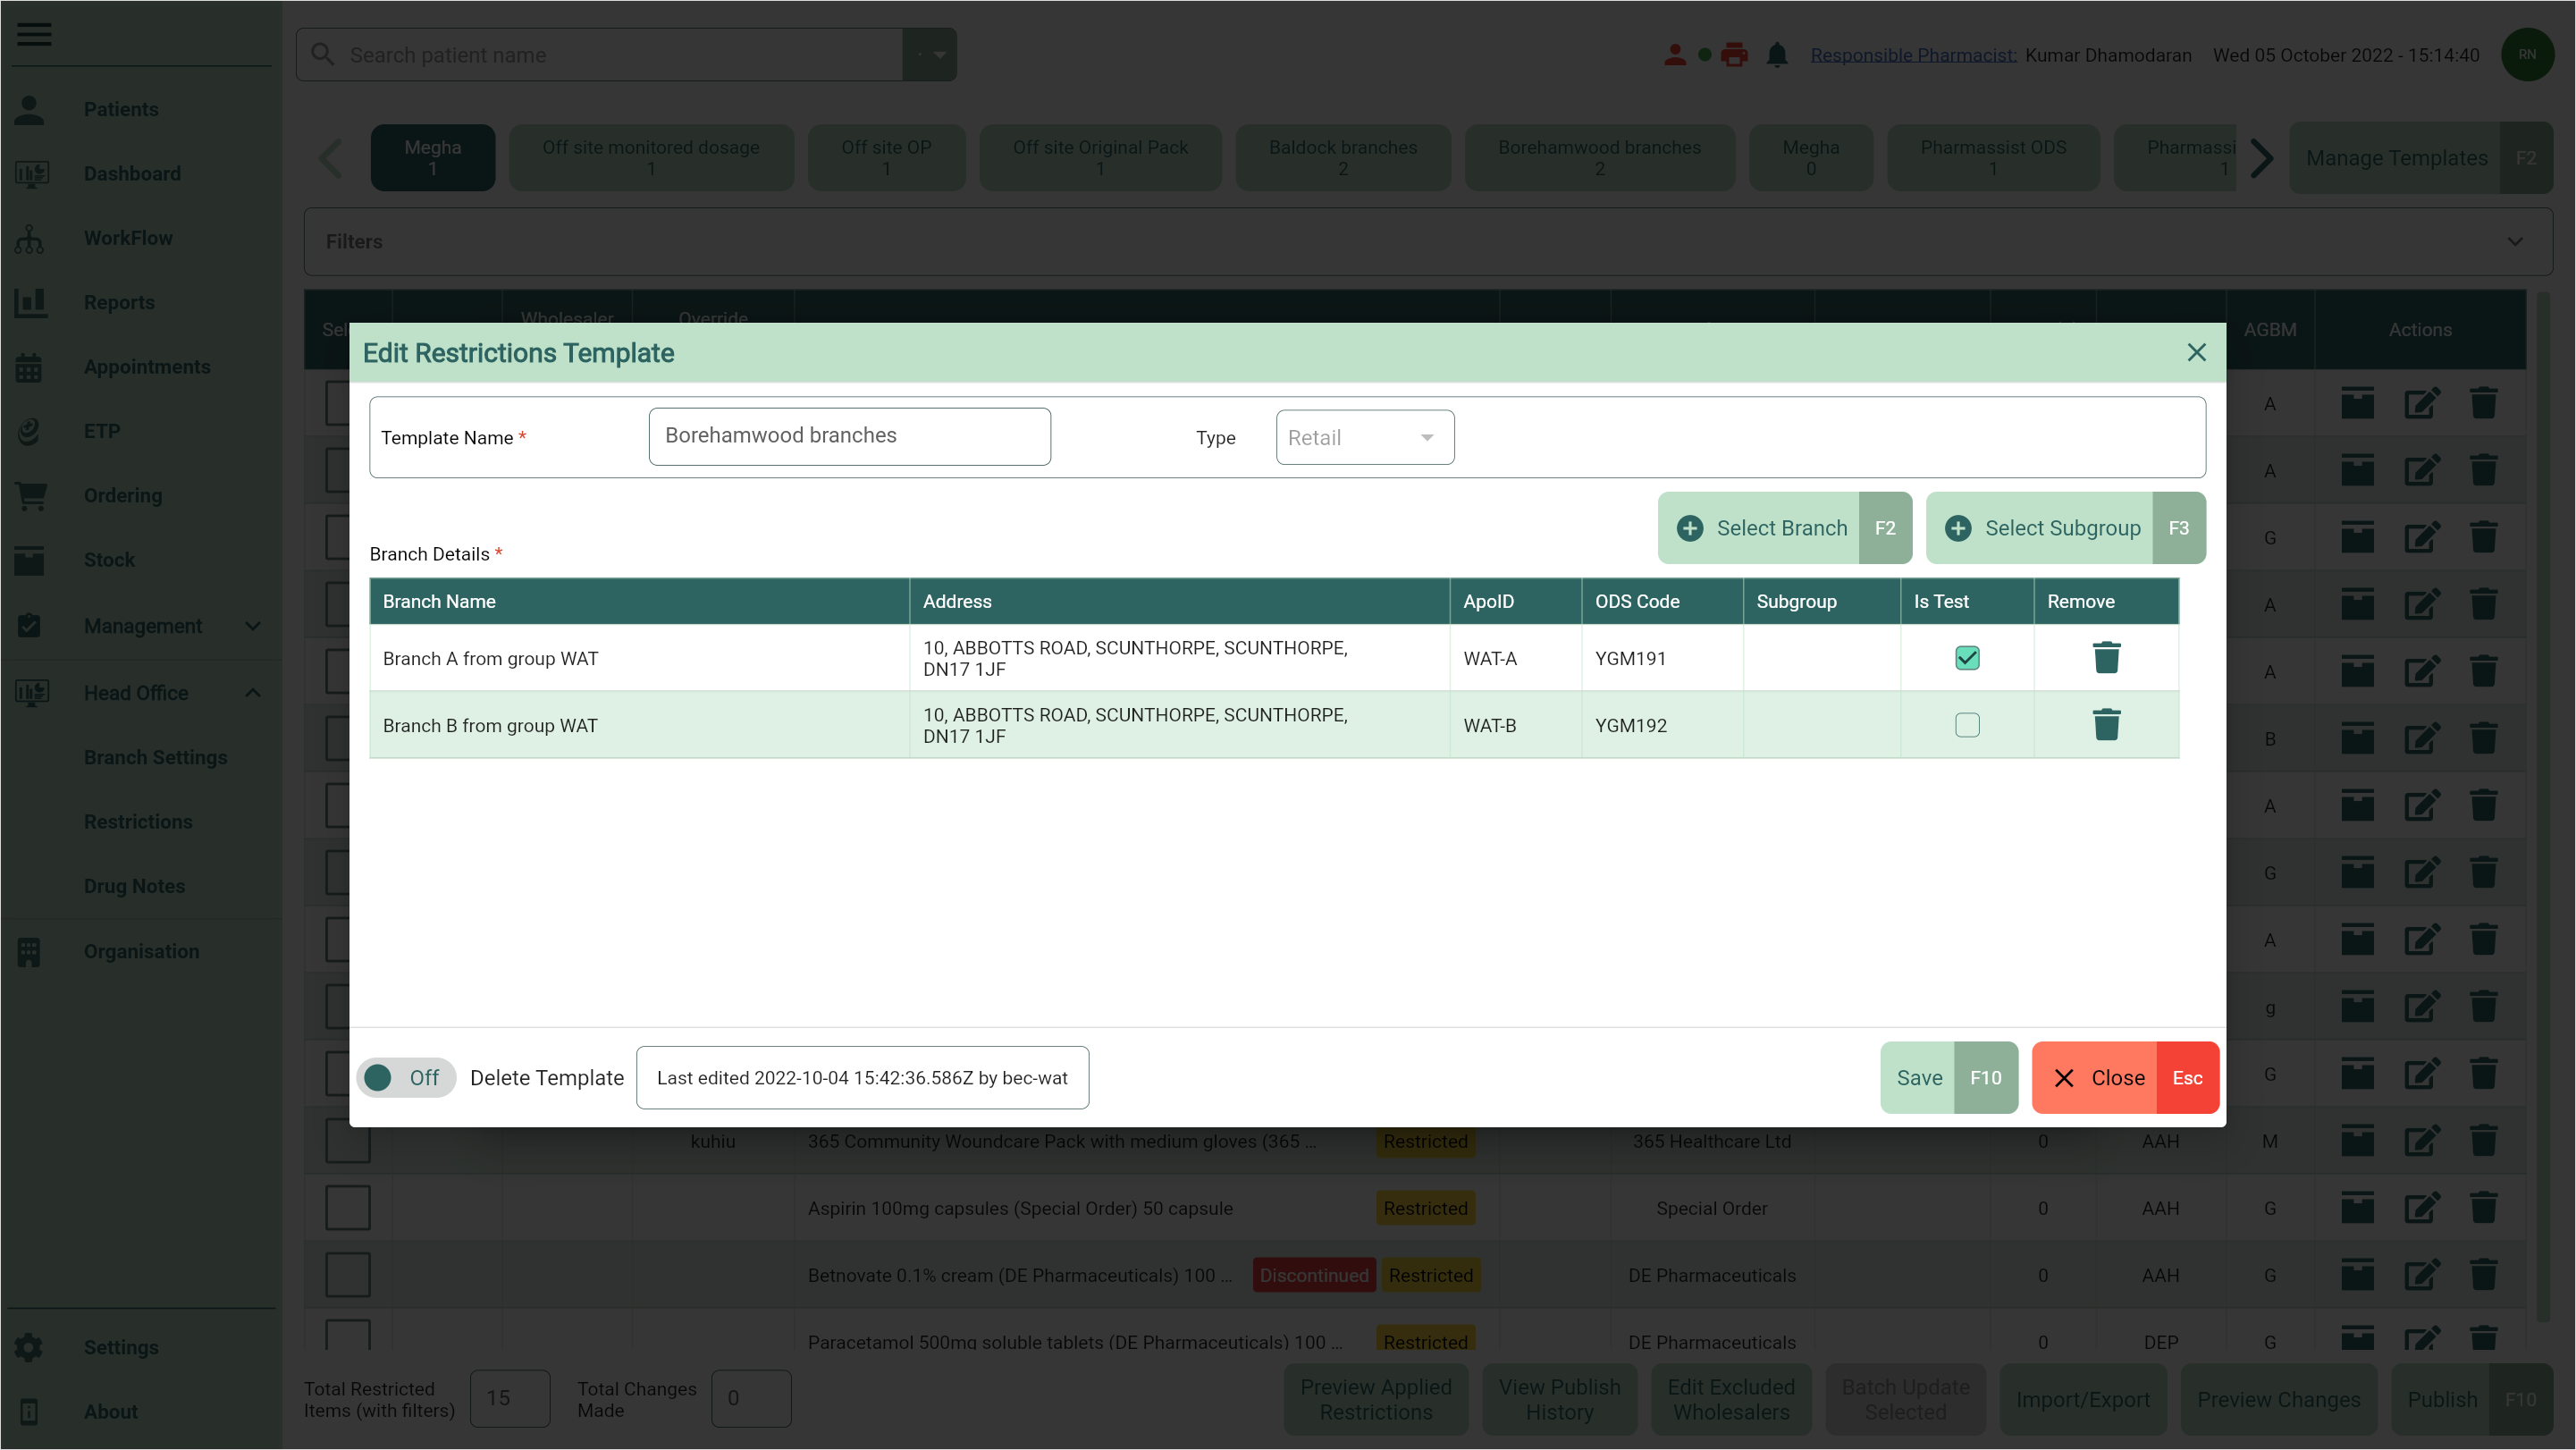
- Once you have completed all the required edits, select the [Save - F10] button to save your template. You're returned to the Manage Restrictions Template window.