Dispensing NMS items
If enabled in your settings, you will be prompted for all eligible NMS items by Apotec CRM after you have processed a script.
Additionally, you may receive a prompt after selecting [Hand Out - F3] in the Awaiting Collection tab, as well as after choosing [Send for Delivery - F3] in the Awaiting Delivery tab within the Workflow module.
Note
If the Order Basket is enabled you will be prompted for all eligible NMS items after the Order Basket is closed.
Accessing the New Medicine Service window
- To begin, access the New Medicine Service window via one of the methods below:
| Module/Area | Access |
|---|---|
| Dispensing Wizard |
|
| Workflow: Awaiting Collection |
|
| Workflow: Awaiting Delivery |
|
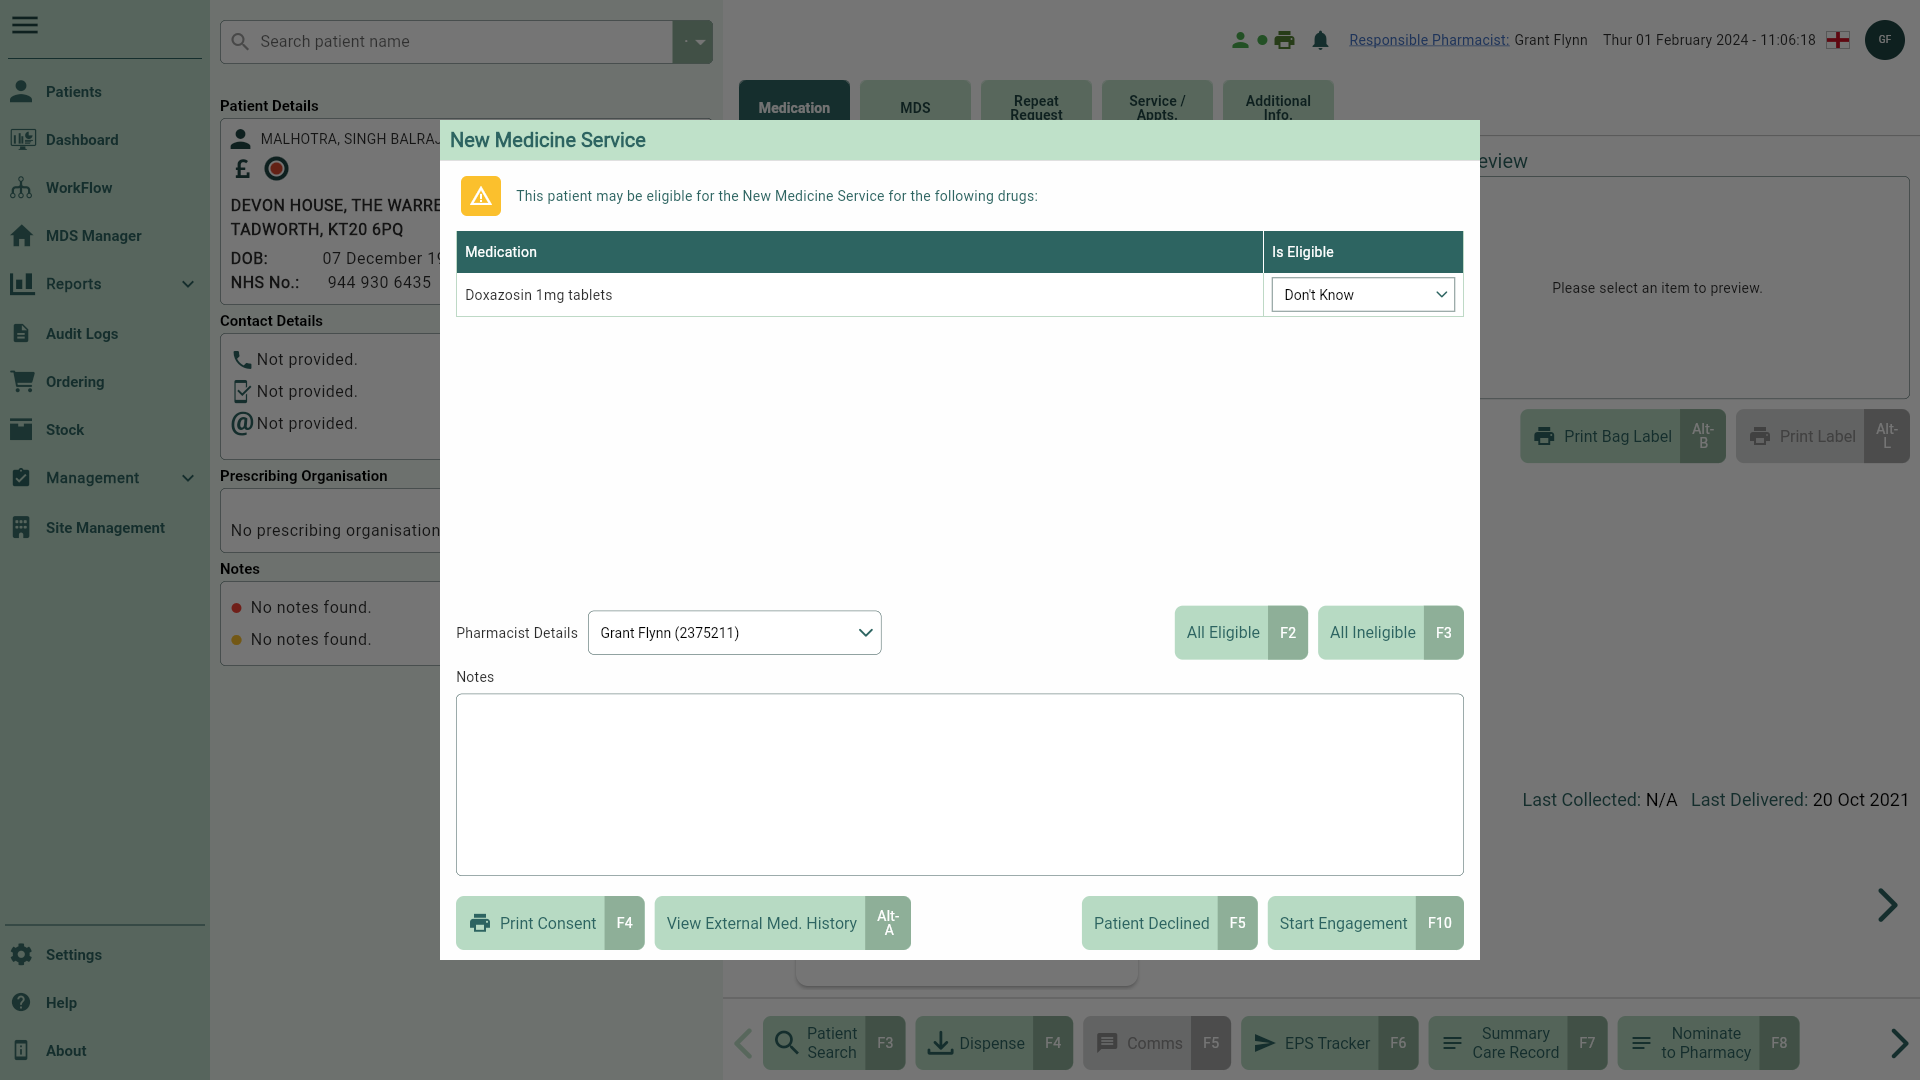
- From here you can perform the following actions using the fields below:
| Field | Description |
|---|---|
| Grid | The Medication grid displays all NMS items identified on the dispensed prescription. |
| Is Eligible dropdown | Use the dropdown to manually select and confirm the item(s) eligibility. |
| Pharmacist Details | By default the signed in Pharmacist is automatically selected. Select the dropdown for a list of alternative available Pharmacists. |
| [All Eligible - F2] | Mark all available NMS items as eligible. |
| [All Ineligible - F3] | Mark all available NMS items as ineligible. |
| [Print Consent - F4] | Select to print a patient consent form. |
| [View External Med. History - Alt+A] | Select to view the patient's external PMR data if available. |
| [Patient Declined - F5] | Select if your patient declines the NMS. You will be prompted to select a reason from the dropdown. No further action is required and the declined NMS is moved to the Declined tab in the NMS Manager. |
| [Park NMS - F9] | If the Allow Park NMS setting is enabled, you will see the [Park NMS - F9] button. Select this button to park the NMS prompt and action it later from the NMS Manager. |
| [Start Engagement - F10] and [Not Eligible - F10] | Select the [Start Engagement - F10] button to start the NMS Engagement consultation. If all items are marked as ineligible the [Not Eligible - F10] button will be displayed. Not Eligible NMS are moved to the Declined tab in the NMS Manager and can be reinstated at a later date if required. |
- Complete the fields as required.
Note
Before initiating an NMS, confirm the patient hasn't taken the medication before. Additionally, ensure eligibility is selected prior to starting the Engagement.