Managing community patients
You are able to add patients into community care, manage their community settings and remove them from the community.
Adding patients into community care
Patients are added into community care from the MDS Manager or their patient details form. Once a patient has been added, a Nursing Home section and MDS tab will display in their patient record.
Accessing the Community MDS Settings/Add Community MDS window
| Module/Area | Access |
|---|---|
| MDS Manager |
|
| Patient details form |
|
Completing the Community MDS Settings/Add Community MDS window
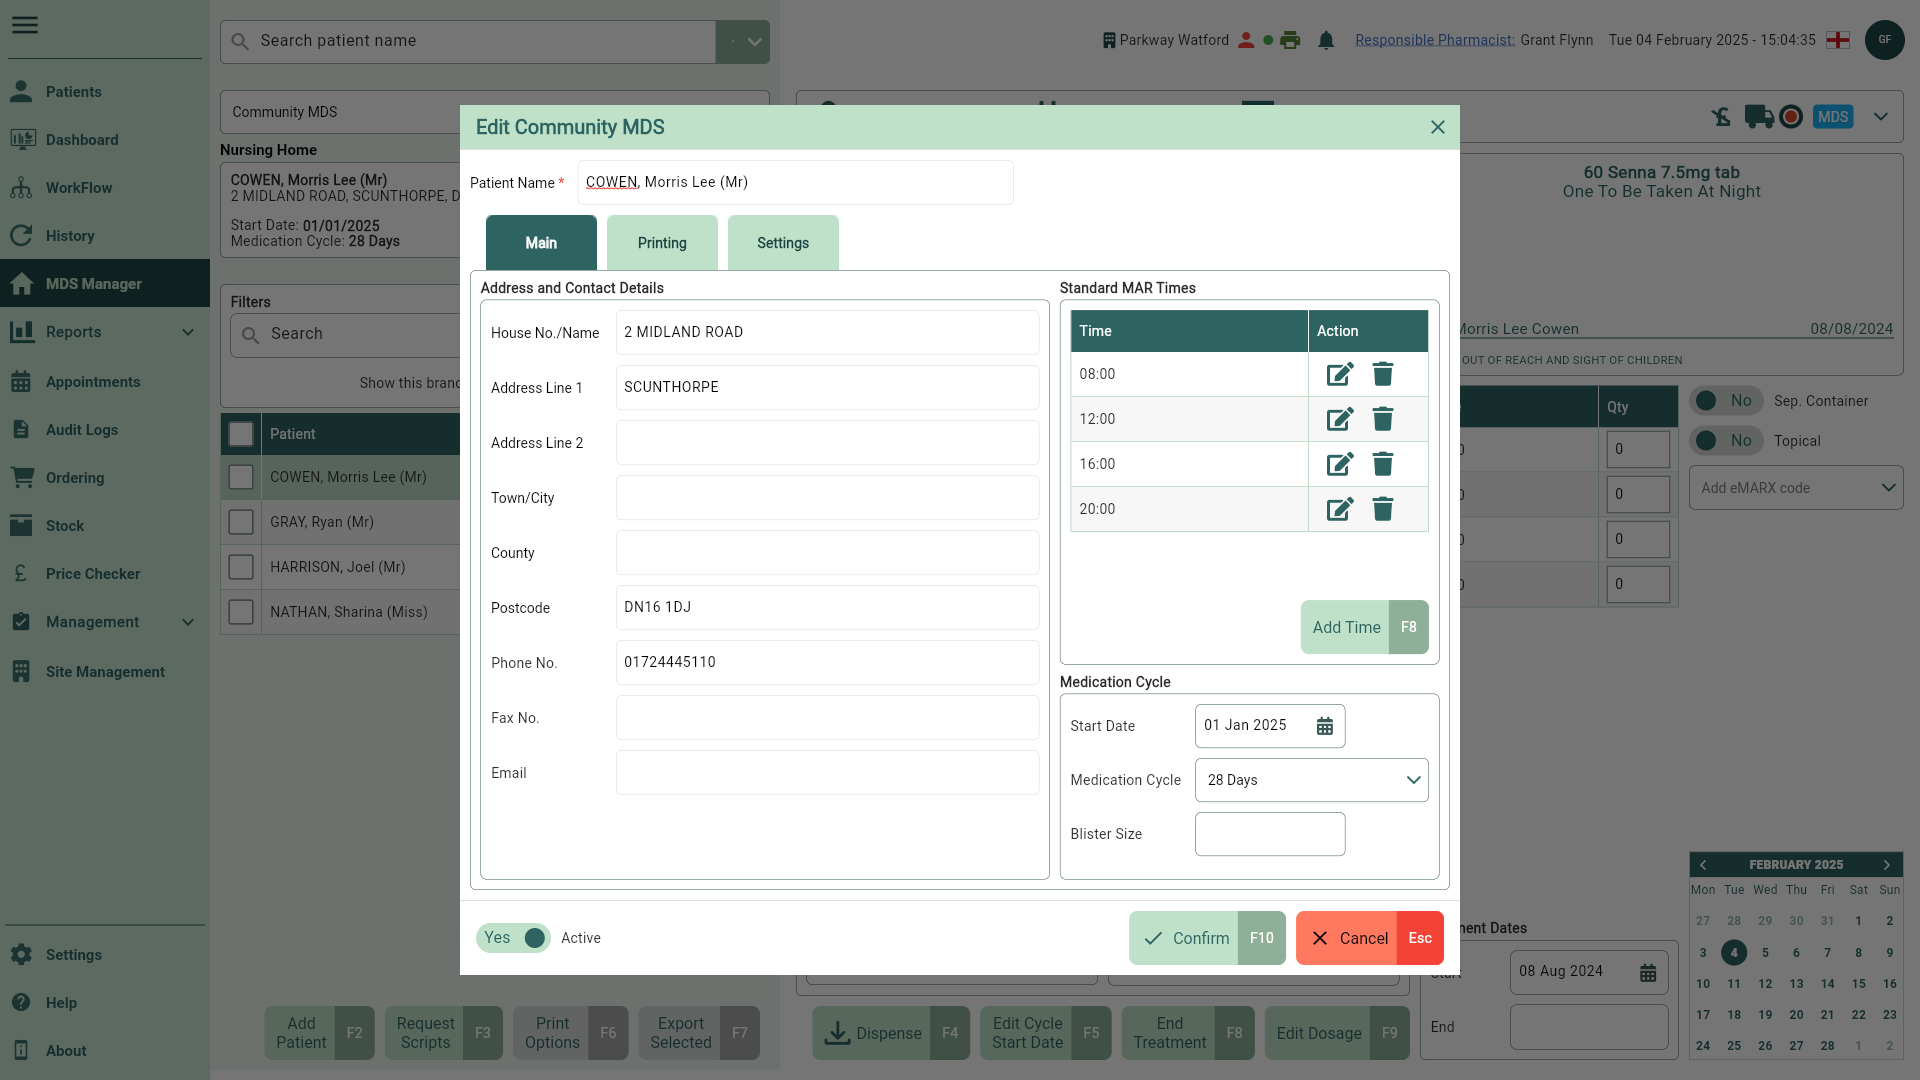
- Complete the Community MDS Settings/Add Community MDS window as required. Details of all the available fields can be found below, separated by tab.
- Once completed, save your new community patient by selecting the [Confirm - F10] button.
Fields marked with an * are mandatory and must be completed.
| Field | Description |
|---|---|
| Patient Name | The community patient's name. |
| Address and Contact Details | The address and contact details for the community patient. |
| Standard MAR Times table | Populate the standard administration times for your community patient. These times will display during dispensing and on the community patient's MDS Charts. Using the icons in the Actions column, you can perform the following:
|
| [Add Time - F8] | Add administration times for your community patient. You will need to save each administration time you add using the  Save icon in the Action column. Each community patient must have at least one administration time. Save icon in the Action column. Each community patient must have at least one administration time. |
| Medication Cycle Start Date | Enter the cycle start date for the community patient. |
| Medication Cycle | Select the medication cycle duration using the dropdown. This can be set to 7, 10, 28 or 30 days.Enter the cycle start date for the nursing home/community patient. By default this is set to 28 Days. |
| Blister Size | Enter the blister size as a numerical, whole number. |
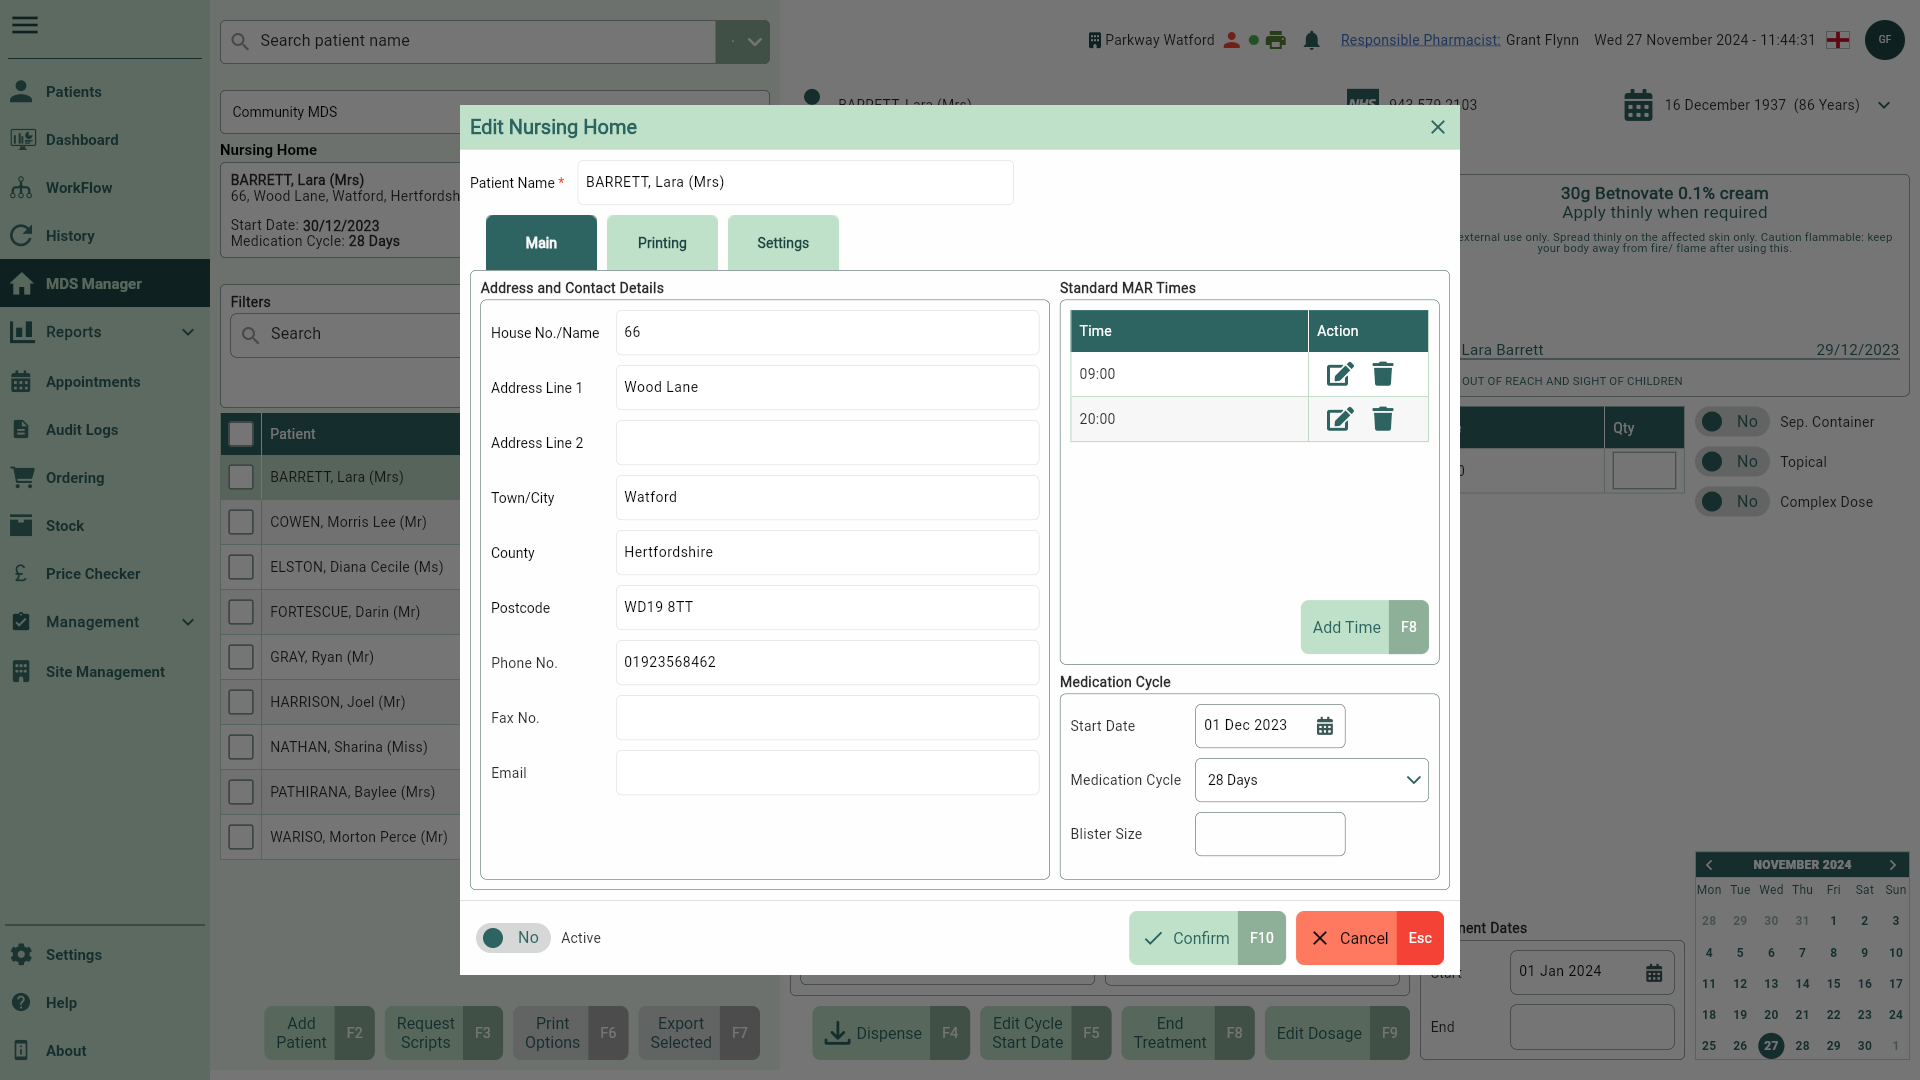
| Active switch | Toggle the Active switch to No to mark the community patient as Inactive. Inactive community patients will be hidden from the Patient table but can be accessed and subsequently marked as active by toggling the Show Inactive switch to Yes within the Patient panel Filters in the MDS Manager. |
 Edit icon to update an existing time. If required, use the arrows provided to re-order the MAR times of your community patient.
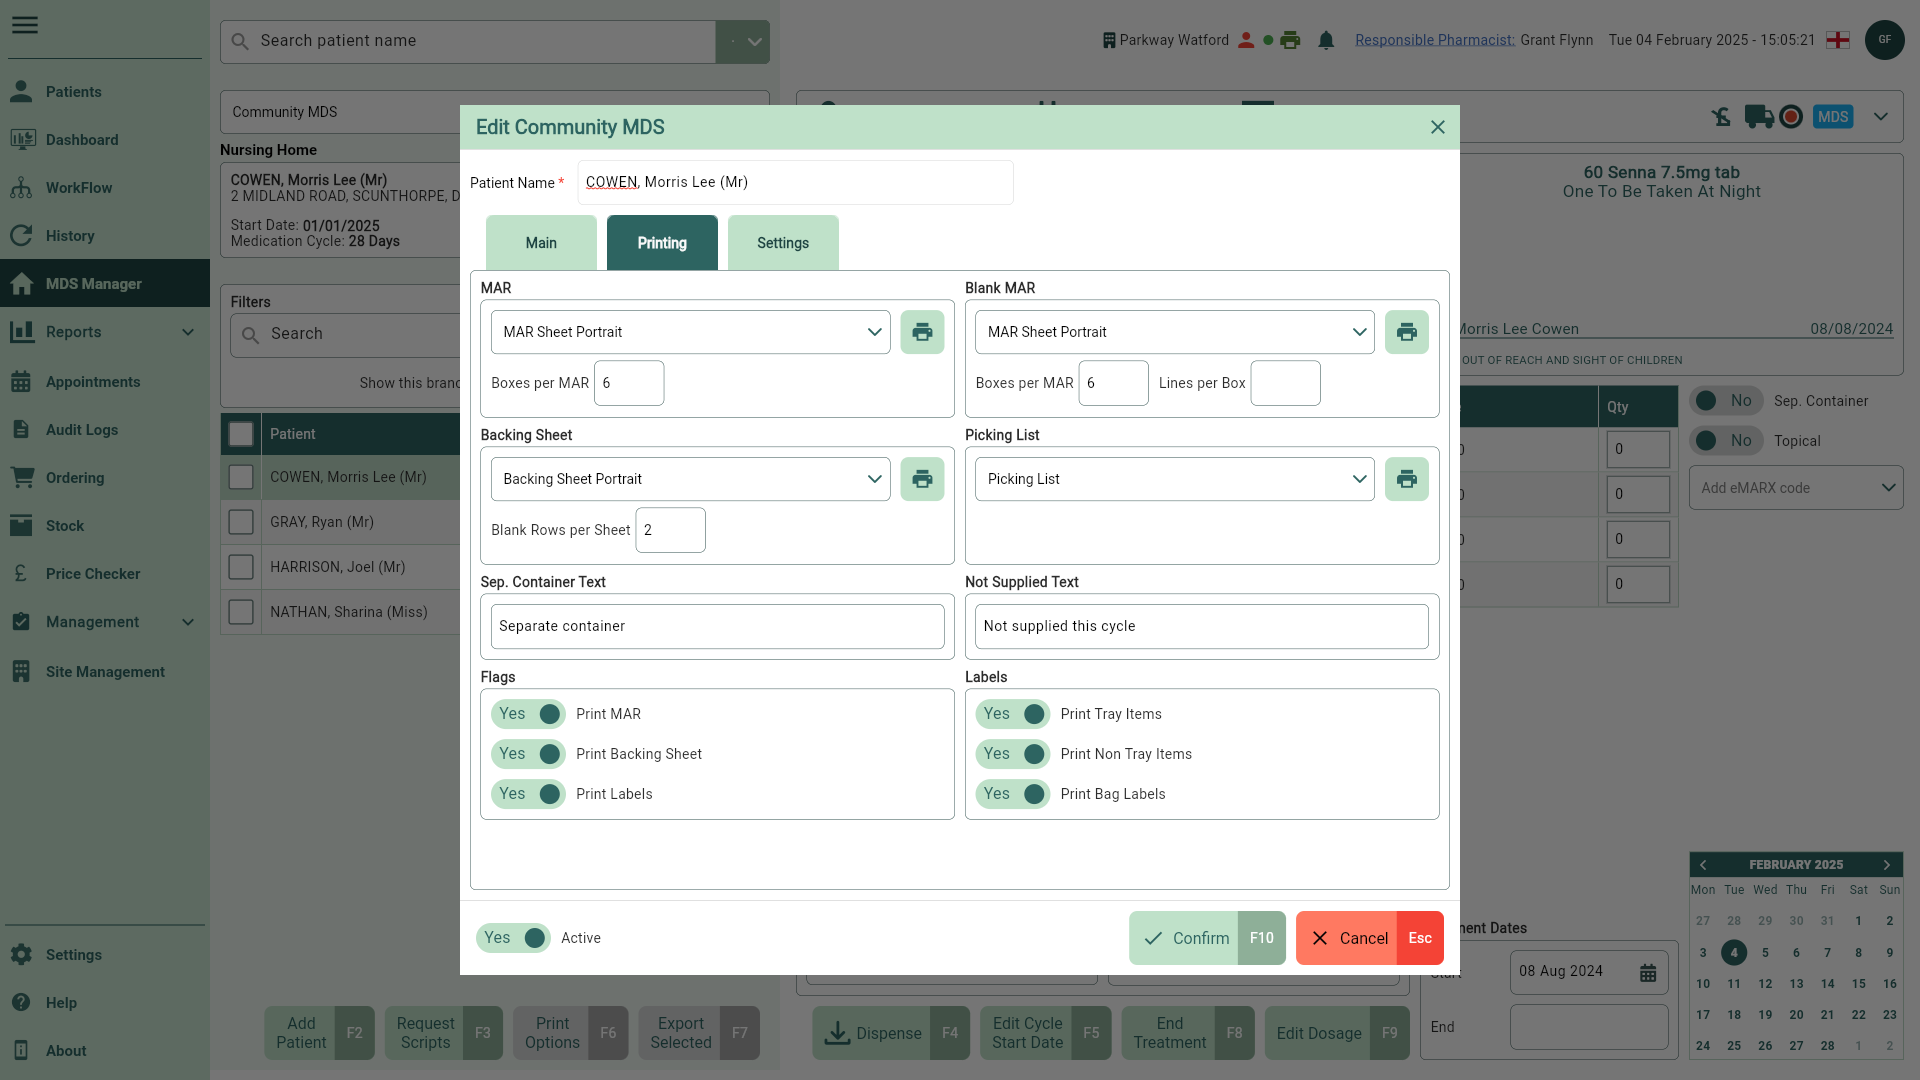
| Field | Description |
|---|---|
| MAR | Use the dropdown to select the MAR Chart report template for your community patient. You can use the icon button to view a preview of the report. |
| Blank MAR | Use the dropdown to select the MAR Chart report template to print for blank MAR charts. You can set the Boxes per MAR to determine the number of item boxes to display on the chart, and configure the Lines per Box to set the number of administration time lines that display within each item box. Use the  Print icon button to print a blank MAR Chart to a PDF. Print icon button to print a blank MAR Chart to a PDF. |
| Backing Sheet | Use the dropdown to select the Backing Sheet report template for your community patient. Add additional blank rows on your Backing Sheets by entering a value in the Blank Rows per Sheet field. You can use the icon button to view a preview of the report. |
| Picking List | Use the dropdown to select the Picking List report template for your community patient. You can use the icon button to view a preview of the report. |
| Sep. Container Text | By default the text Separate container will print on all MAR Charts and Backing Sheets below the drug name, dosage instruction and warnings for all items with this flag enabled. You can override the default text by entering a new value in this field. |
| Not Supplied Text | By default the text Not supplied this cycle will print on all MAR Charts and Backing Sheets below the drug name, dosage instruction and warnings for all items enabled to print but with a dispensed quantity of 0. You can override the default text by entering a new value in this field. |
| Flags | MDS items need to be flagged as M, B and/or L in the Medication table to print MAR Charts (M), Backing Sheets (B) and Labels (L). You can set the default value for the M, B and L flags for all newly added MDS items for your community patient by toggling the Print MAR (M), Print Backing Sheet (B) and/or Print Labels (L) switches to Yes. Set these switches to No to deselect these flags by default. |
| Labels | Select the labels you require for your MDS items. These will be printed during dispensing.
|
| Field | Description |
|---|---|
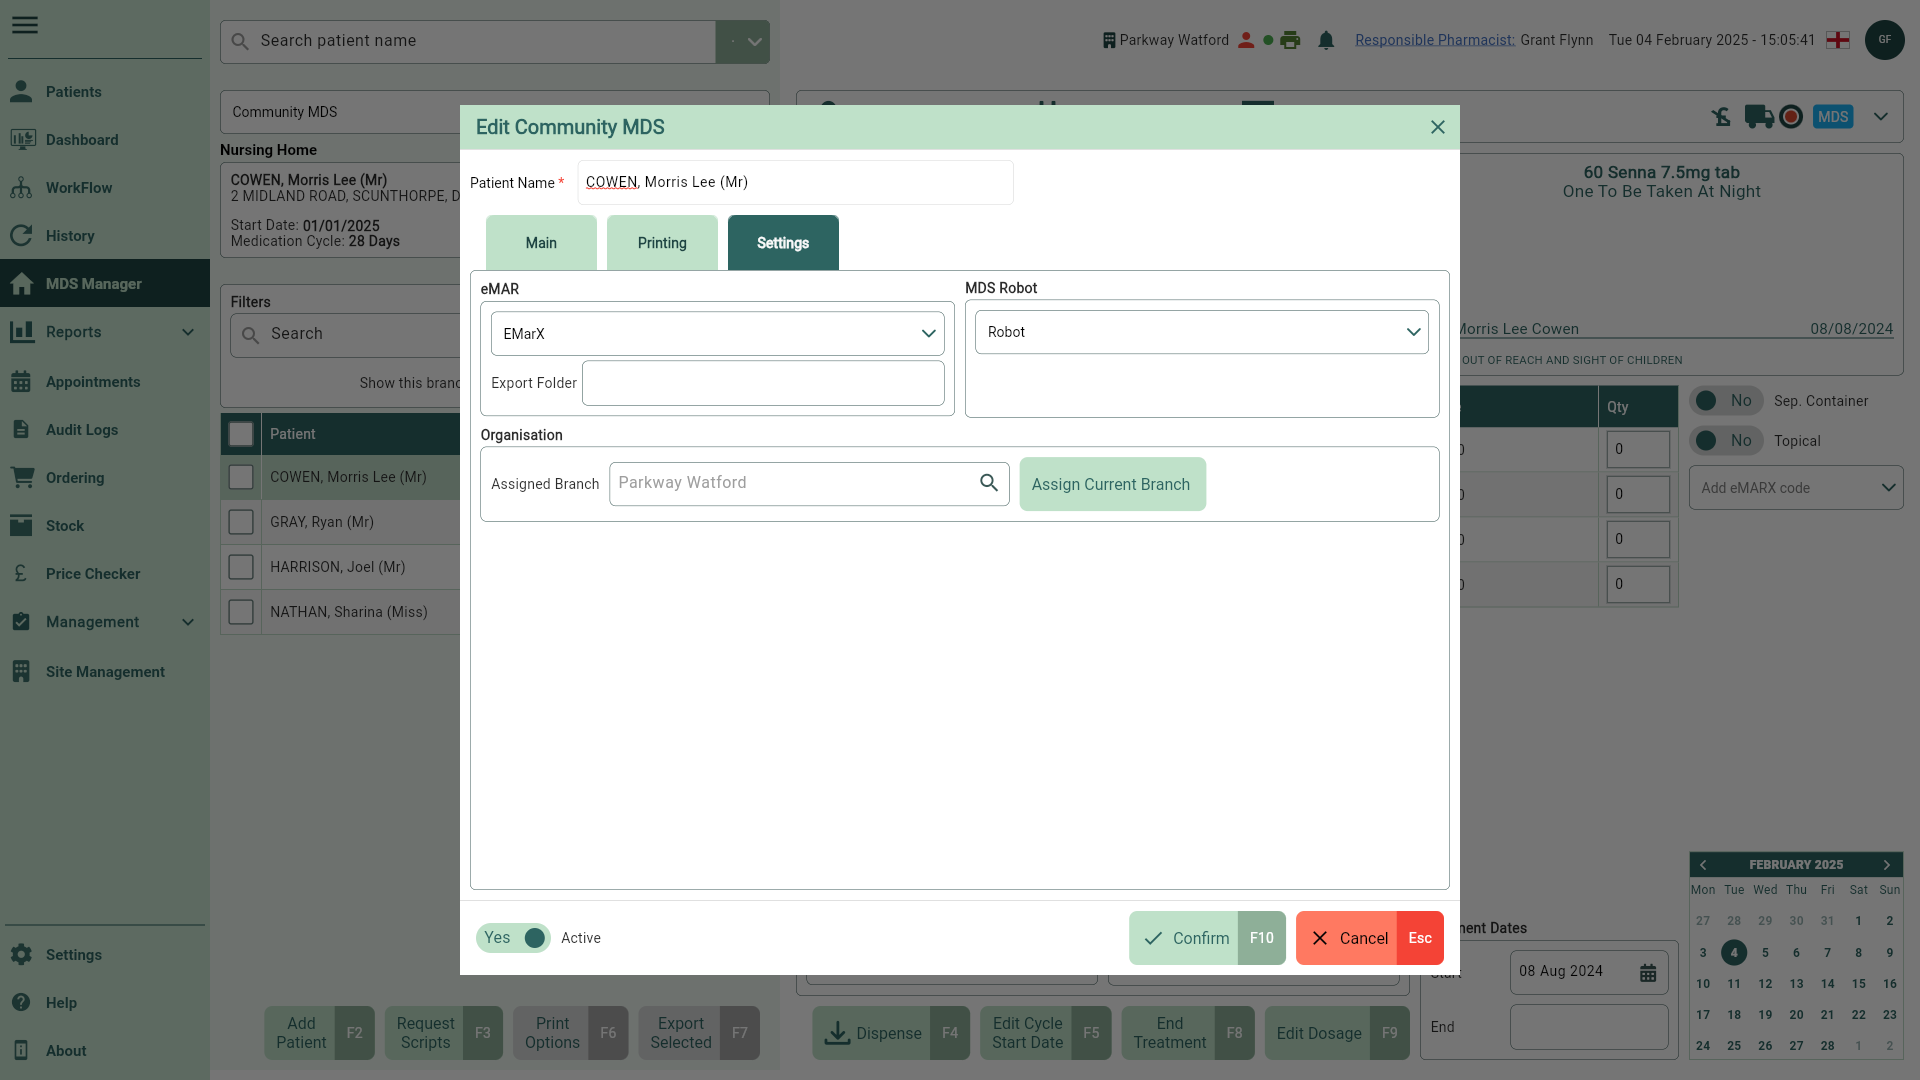
| eMAR | Activate eMAR transmissions for your community patient by using the Type dropdown to select from the available eMAR outputs. An Export Folder may be required for certain eMAR types. |
| MDS Robot | Configure an MDS Robot using the Type dropdown to select from the list of supported MDS robots. |
| Organisation | Assign a branch to your Community MDS patient. The Assigned Branch will always display the same value as the patient’s Preferred Branch. You can select the [Assign Current Branch] button to populate the Assigned Branch field with your branch details. Note: The Organisation field will only be accessible if your pharmacy is part of an organisation. Any amendments to the Assigned Branch will automatically update the Preferred Branch within the patient record. |
Editing community patient settings
Once patients are assigned to community care, you can edit their community patient settings in the Community MDS Settings/Edit Community MDS window which can be accessed from the MDS Manager or patient details form.
You will be required to reset all saved administration quantities if you edit administration times for a community patient.
Accessing the Community MDS Settings/Edit Community MDS window
| Module/Area | Access |
|---|---|
| MDS Manager |
|
| Patient details form |
|
Editing the Community MDS Settings/Edit Community MDS window
- Update the Community MDS Settings/Edit Community MDS window as required. Details of all the available fields can be found above, separated by tab.
- Once completed, save your changes by selecting the [Confirm - F10] button.
Searching for Community MDS patients within your organisation
By default, the patient list only displays patients whose Preferred Branch matches the logged-in branch. If required, you can search within your organisation.
- To begin, open the MDS Manager by selecting MDS Manager from the left-nav.
- Use the Nursing Home dropdown to select the Community MDS menu item.
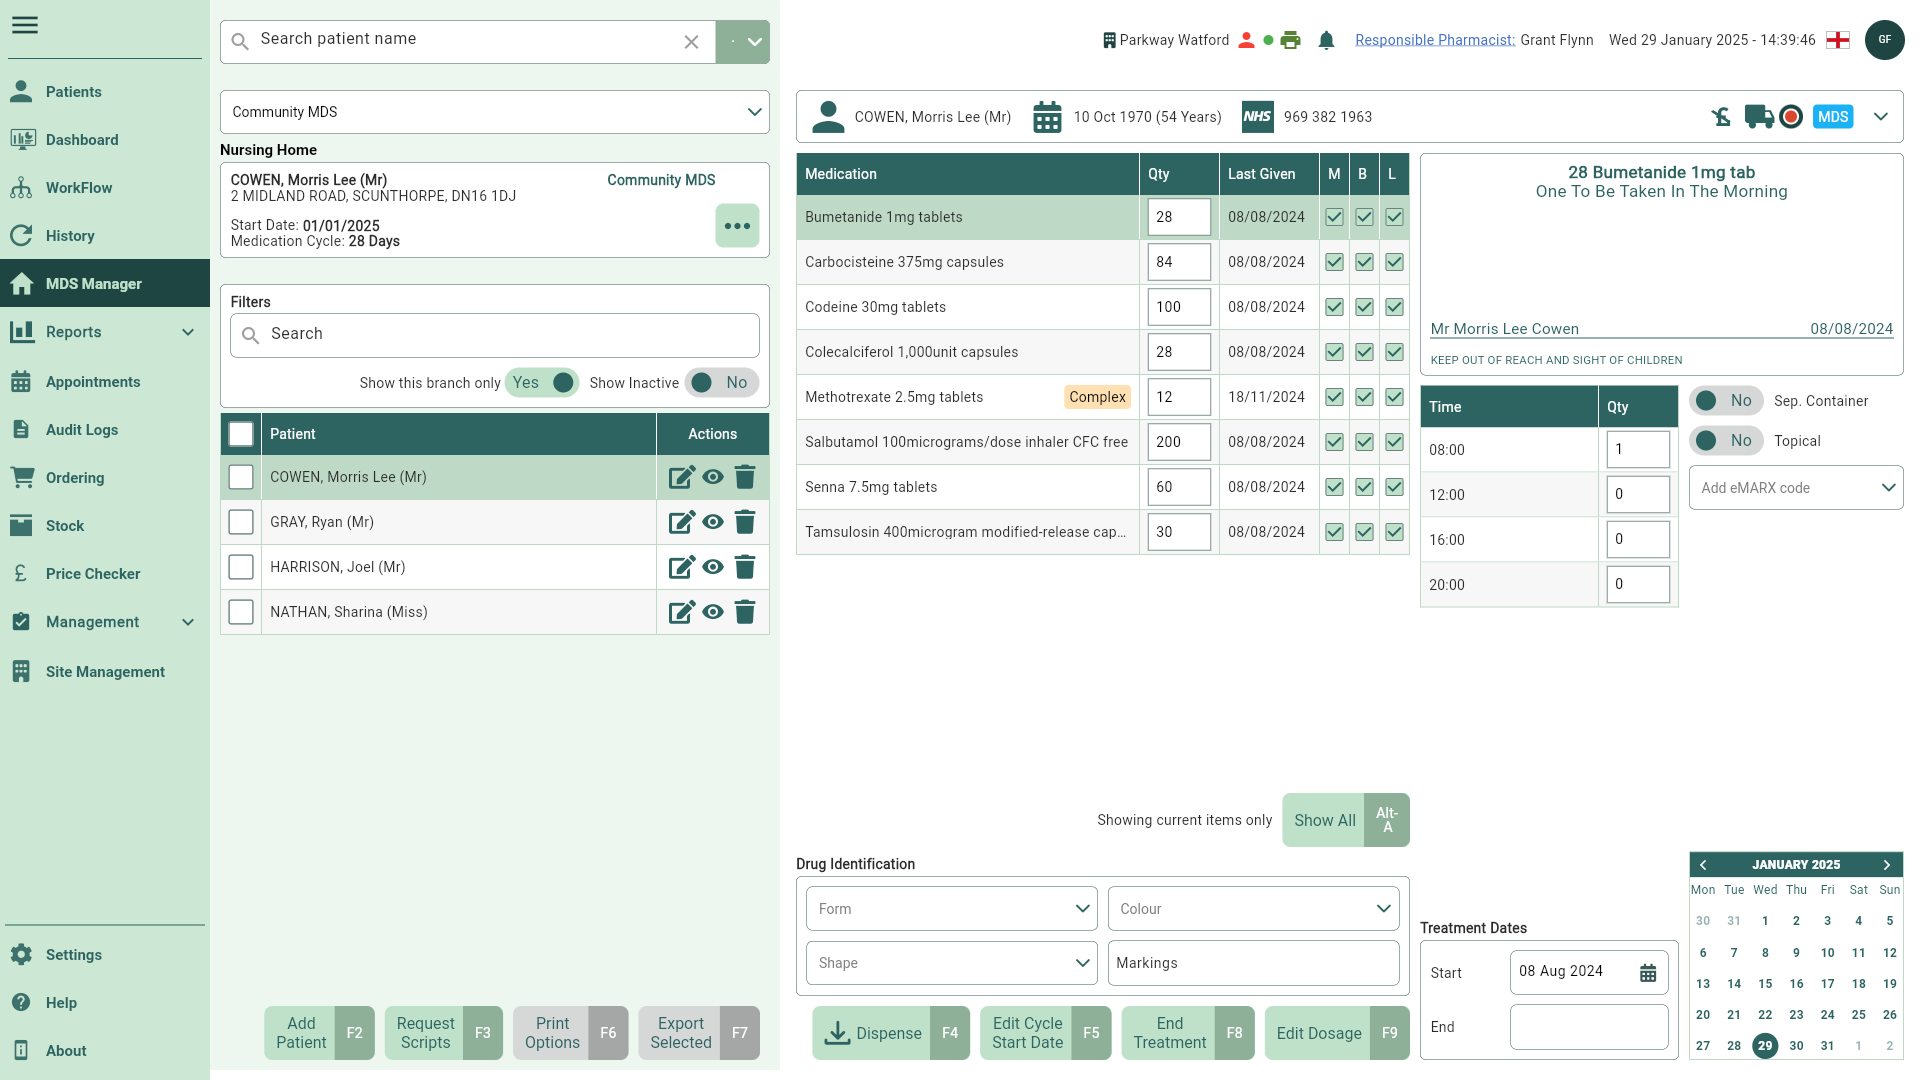
- Toggle the Show this branch only switch to No. All results display below.
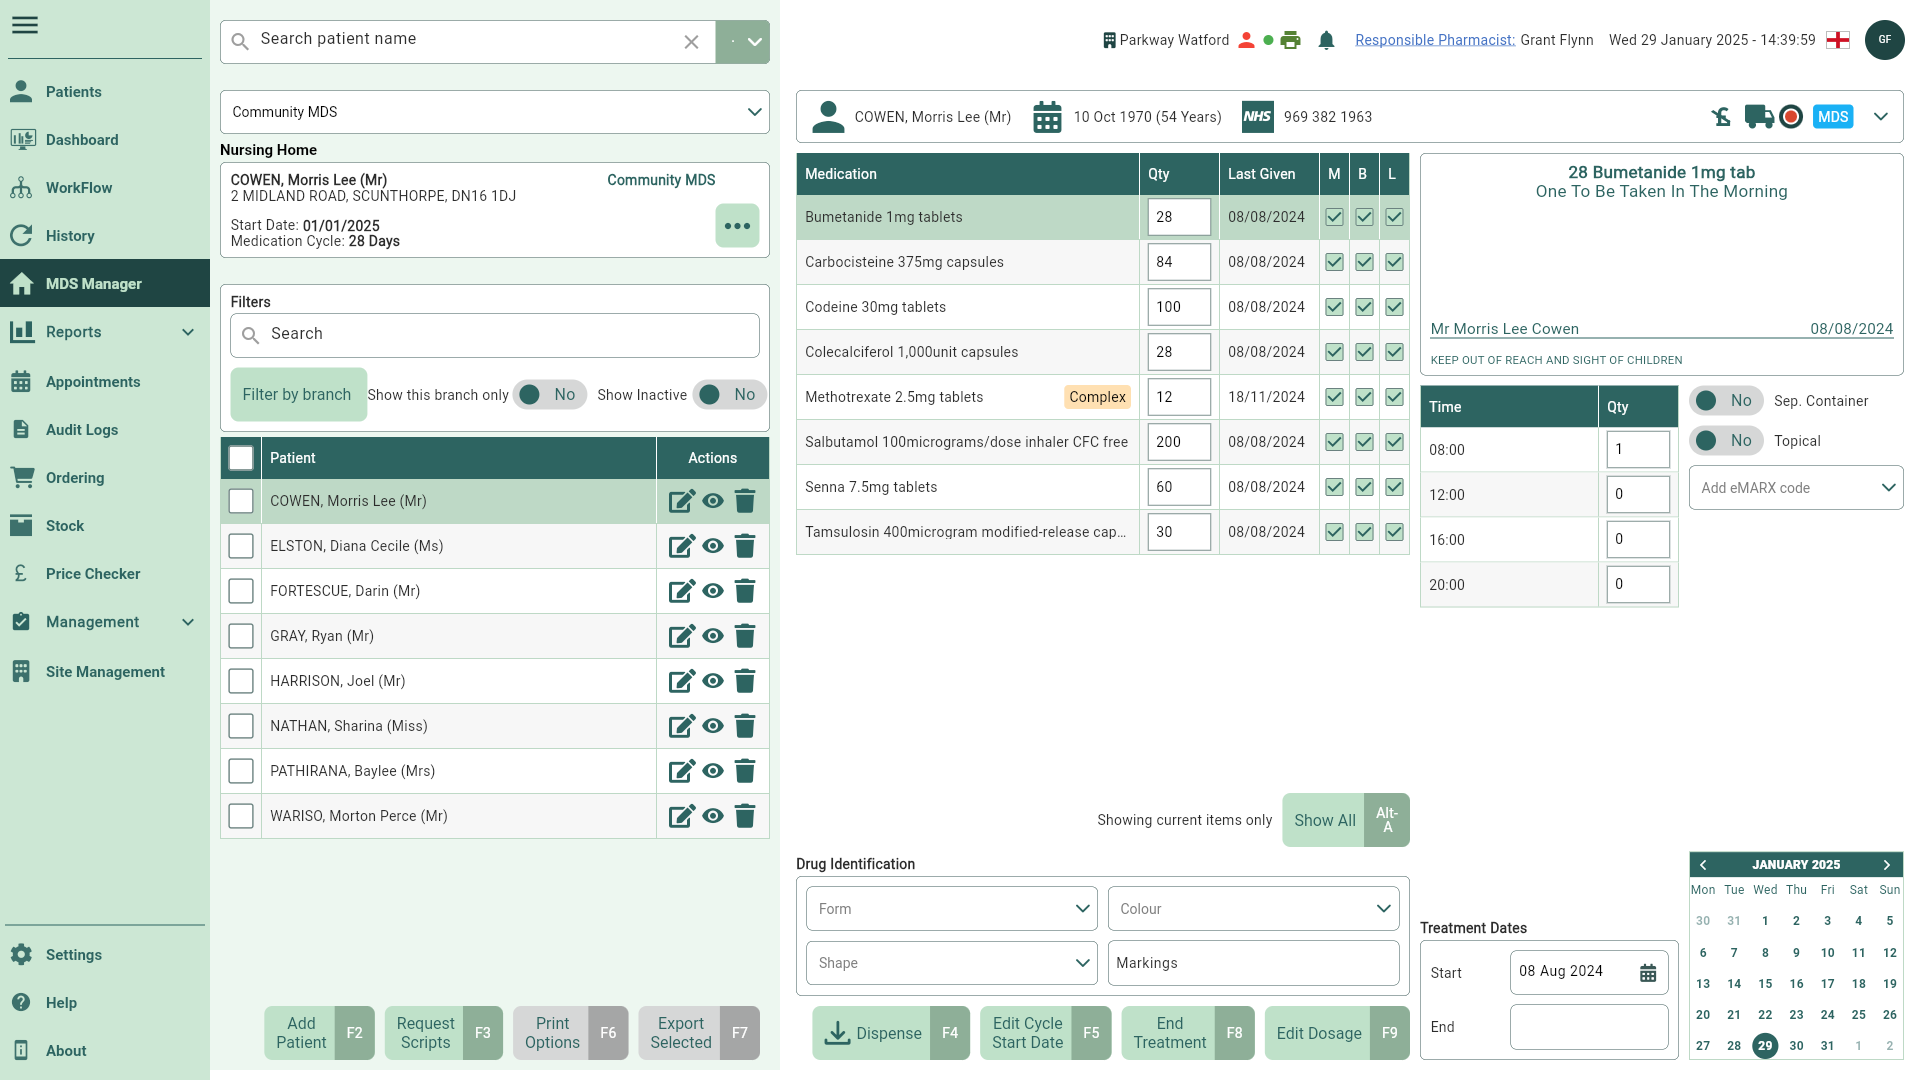
You can refine the results further by selecting the now enabled [Filter by branch] button if required.
The next time you access your Community MDS patient list, the CRM will automatically display all patients assigned to your branch by default. Alternatively, you can toggle the Show this branch only switch to Yes. To learn more about preferred branches, check out our Get to Know Patient Details article.
Removing patients from community care
Patients are removed from community care from the MDS Manager or their patient details form. Once a patient has been removed, the Nursing Home section and MDS tab will be removed from their patient record.
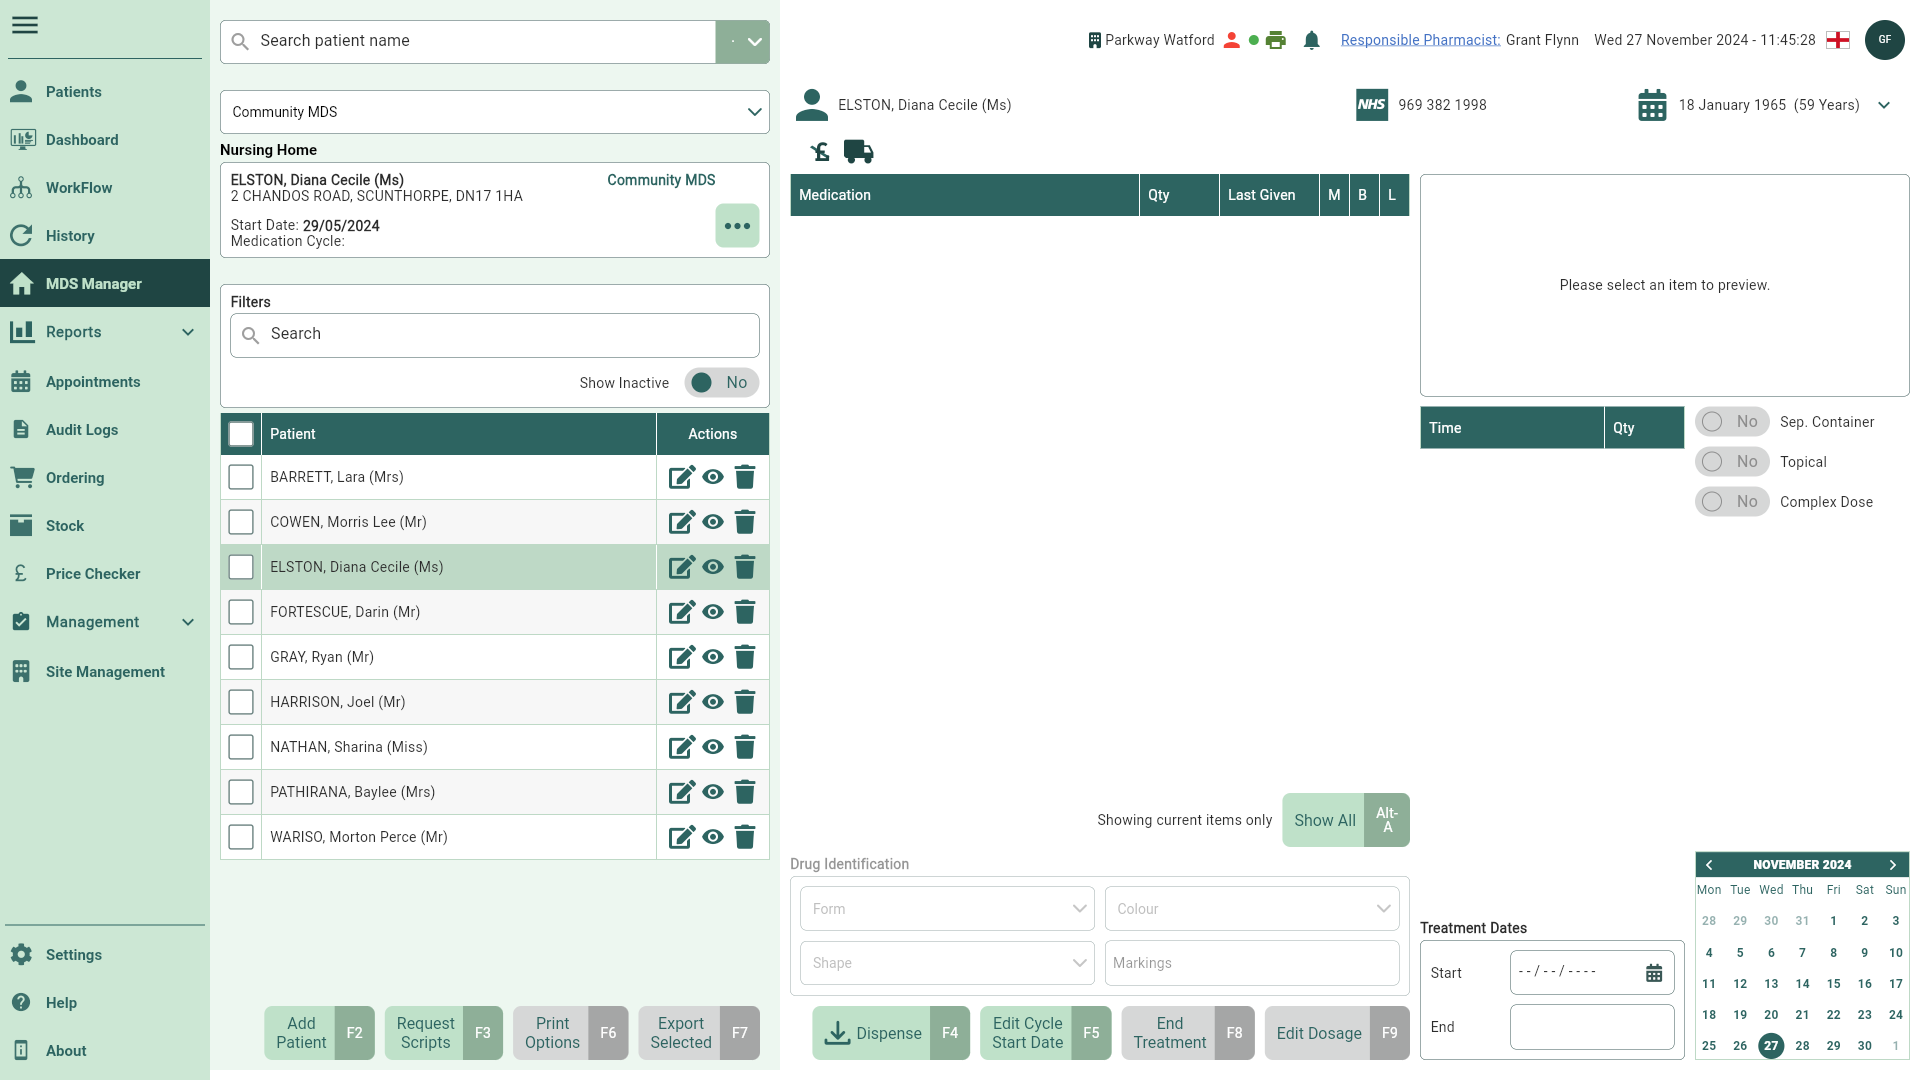
Removing a patient from community care from the MDS Manager
- To begin, open the MDS Manager by selecting MDS Manager from the left-nav.
- Use the Nursing Home dropdown to select the Community MDS menu item.
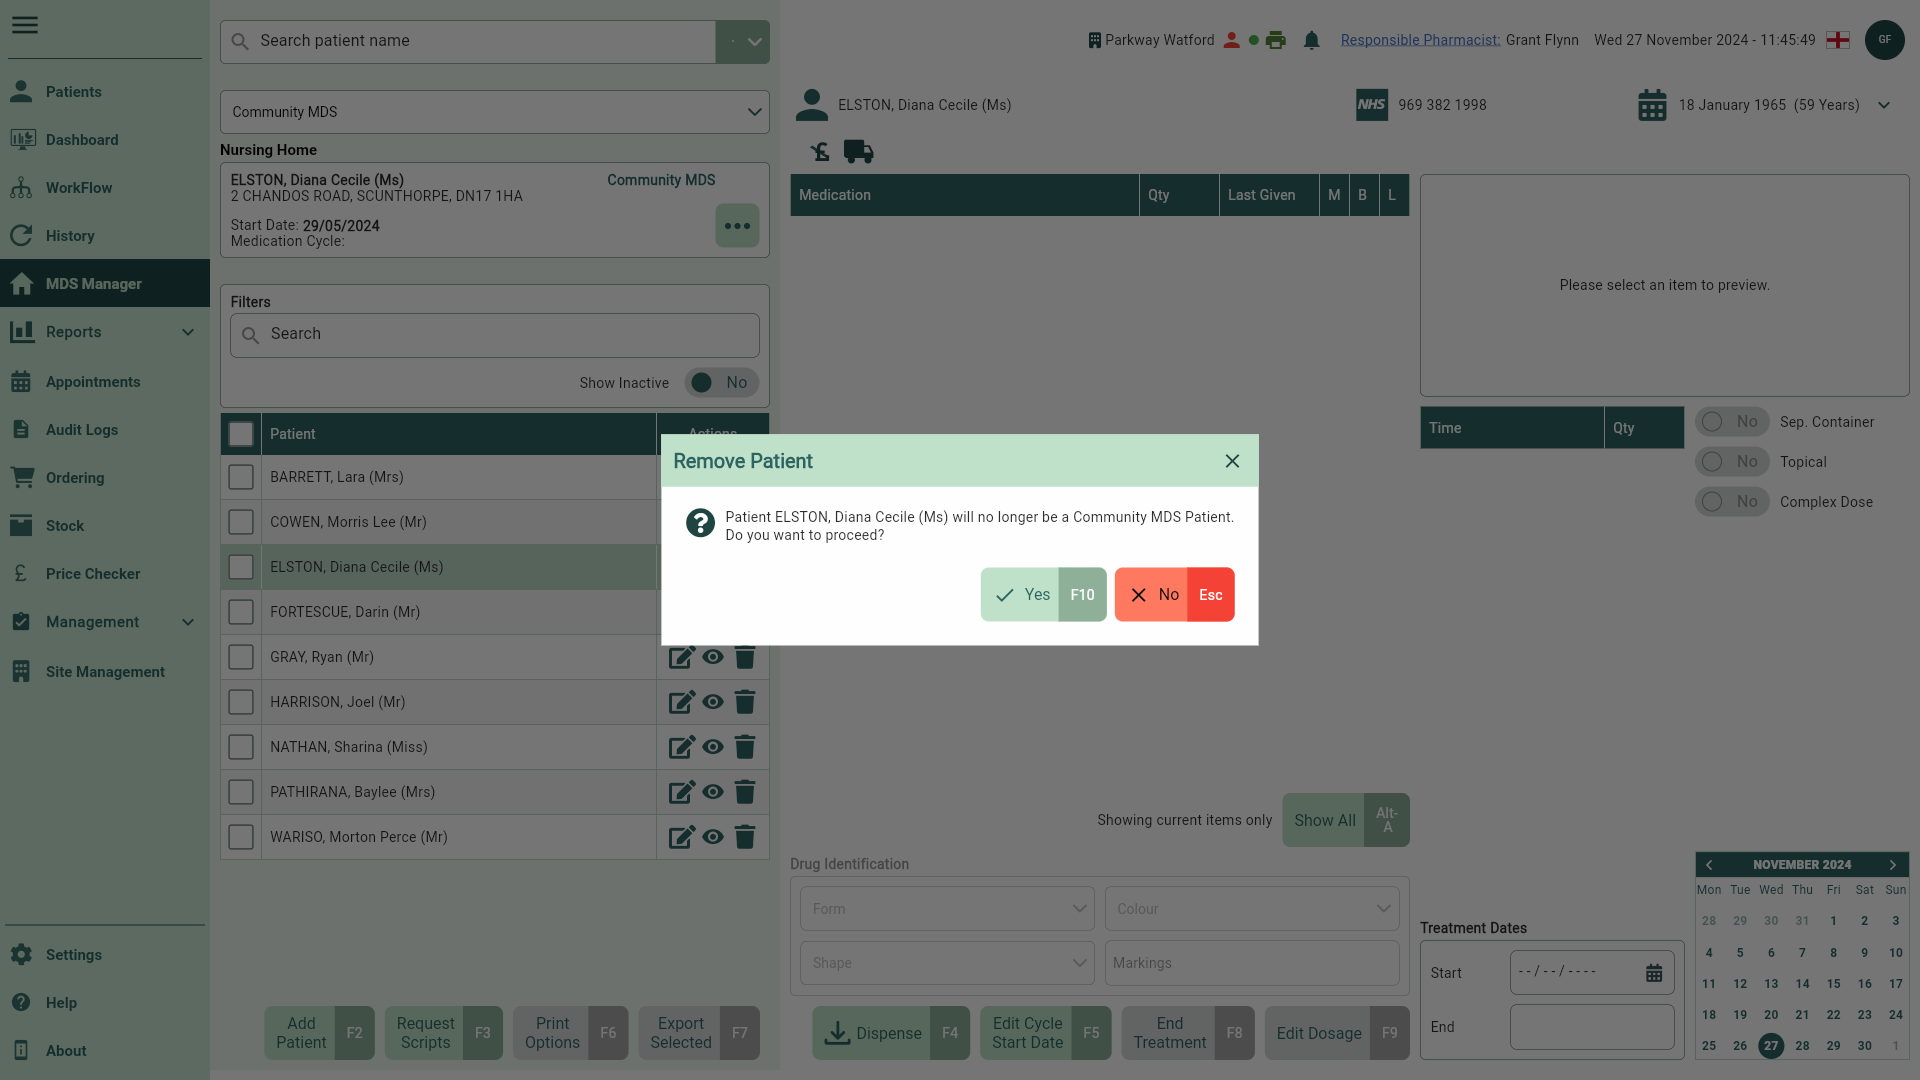
- Locate the patient to remove in the Patient table and select the
 Delete icon found in the Actions column.
- The Remove Patient prompt displays. Select the [Yes - F10] button to remove your selected patient from community care.
Removing a patient from community care from their patient details form
- To begin, from any module within Apotec CRM, type the MDS patient's surname into the Search bar and press [Enter] on the keyboard.
- Highlight the patient in the list and then select the [View Patient - F3] button to open the full patient record.
- Select the [...] button found within the Nursing Home section to open the patient details form on the Nursing Home tab.
- Select the Delete icon found alongside the Nursing Home name.
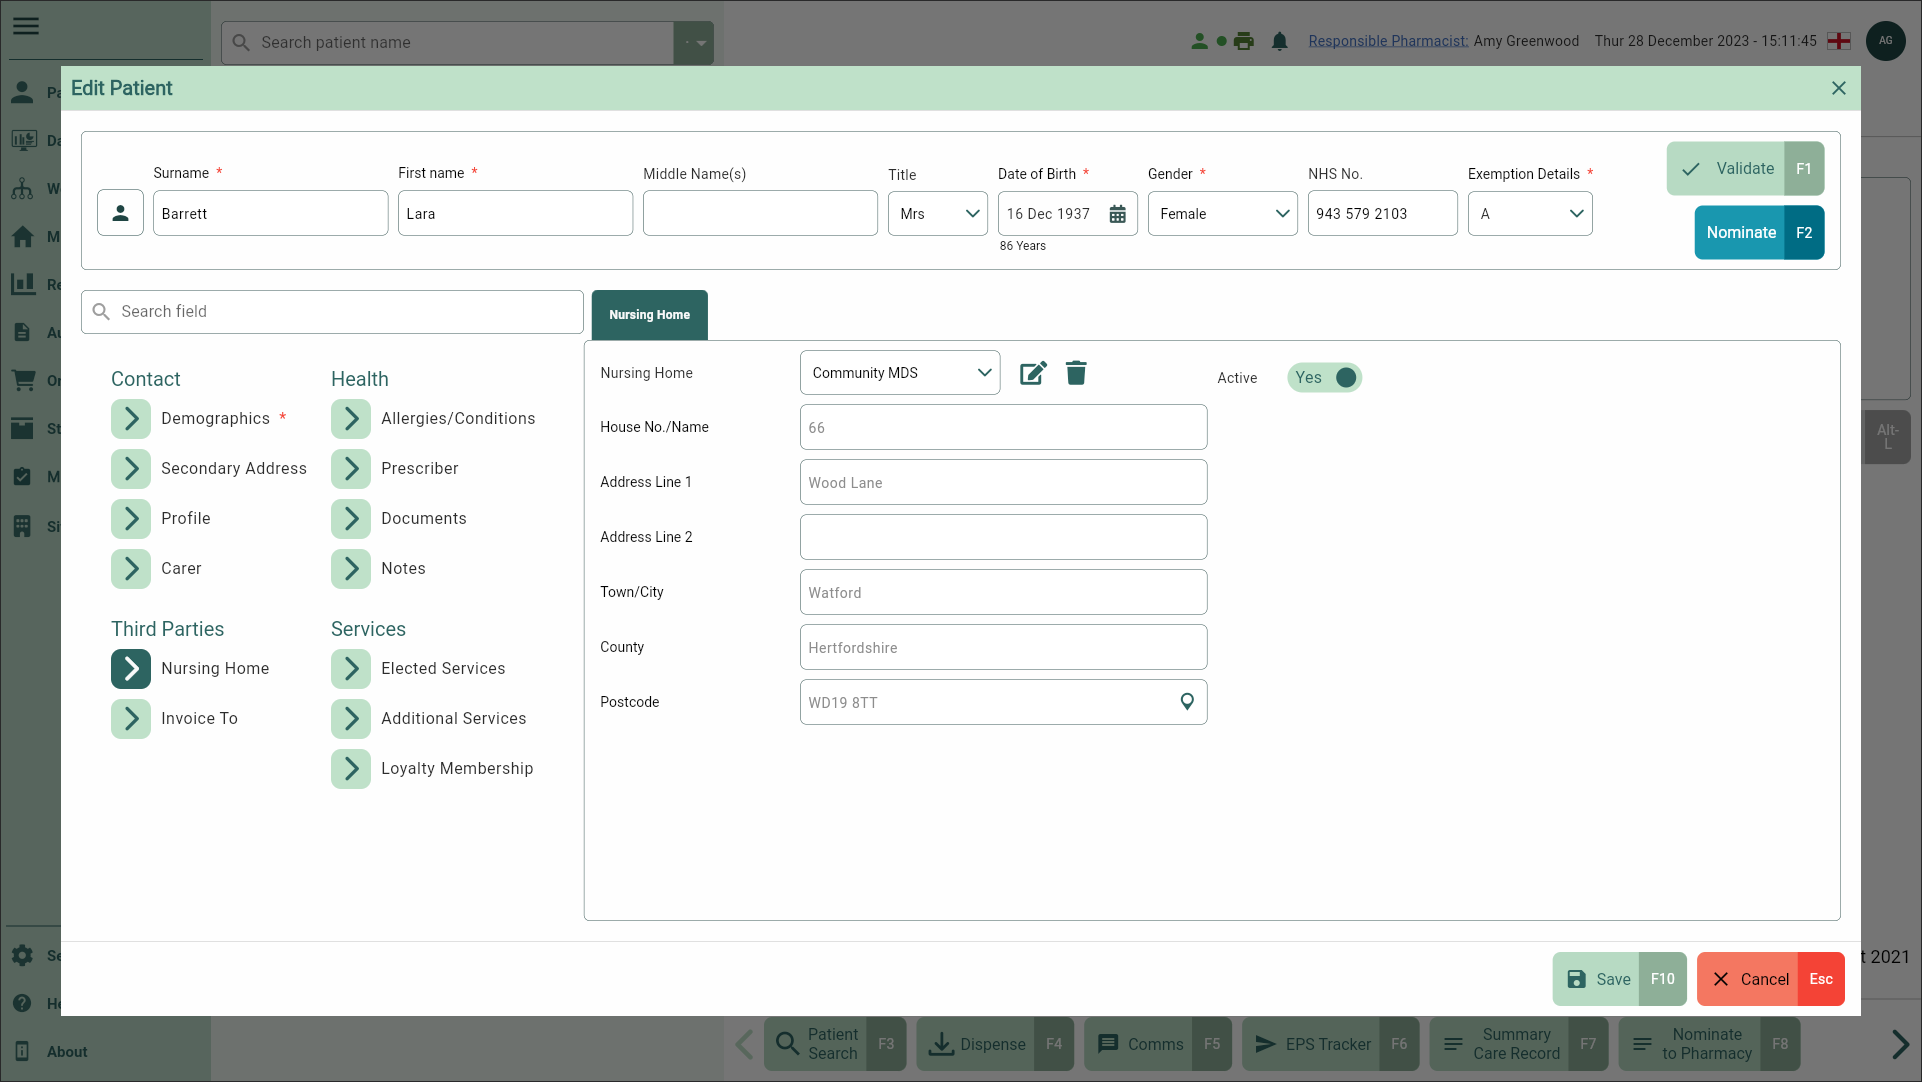
- The Remove Patient from MDS prompt displays. Select the [Yes - F10] button to remove your selected patient from community care. The details on the Nursing Home tab are cleared.
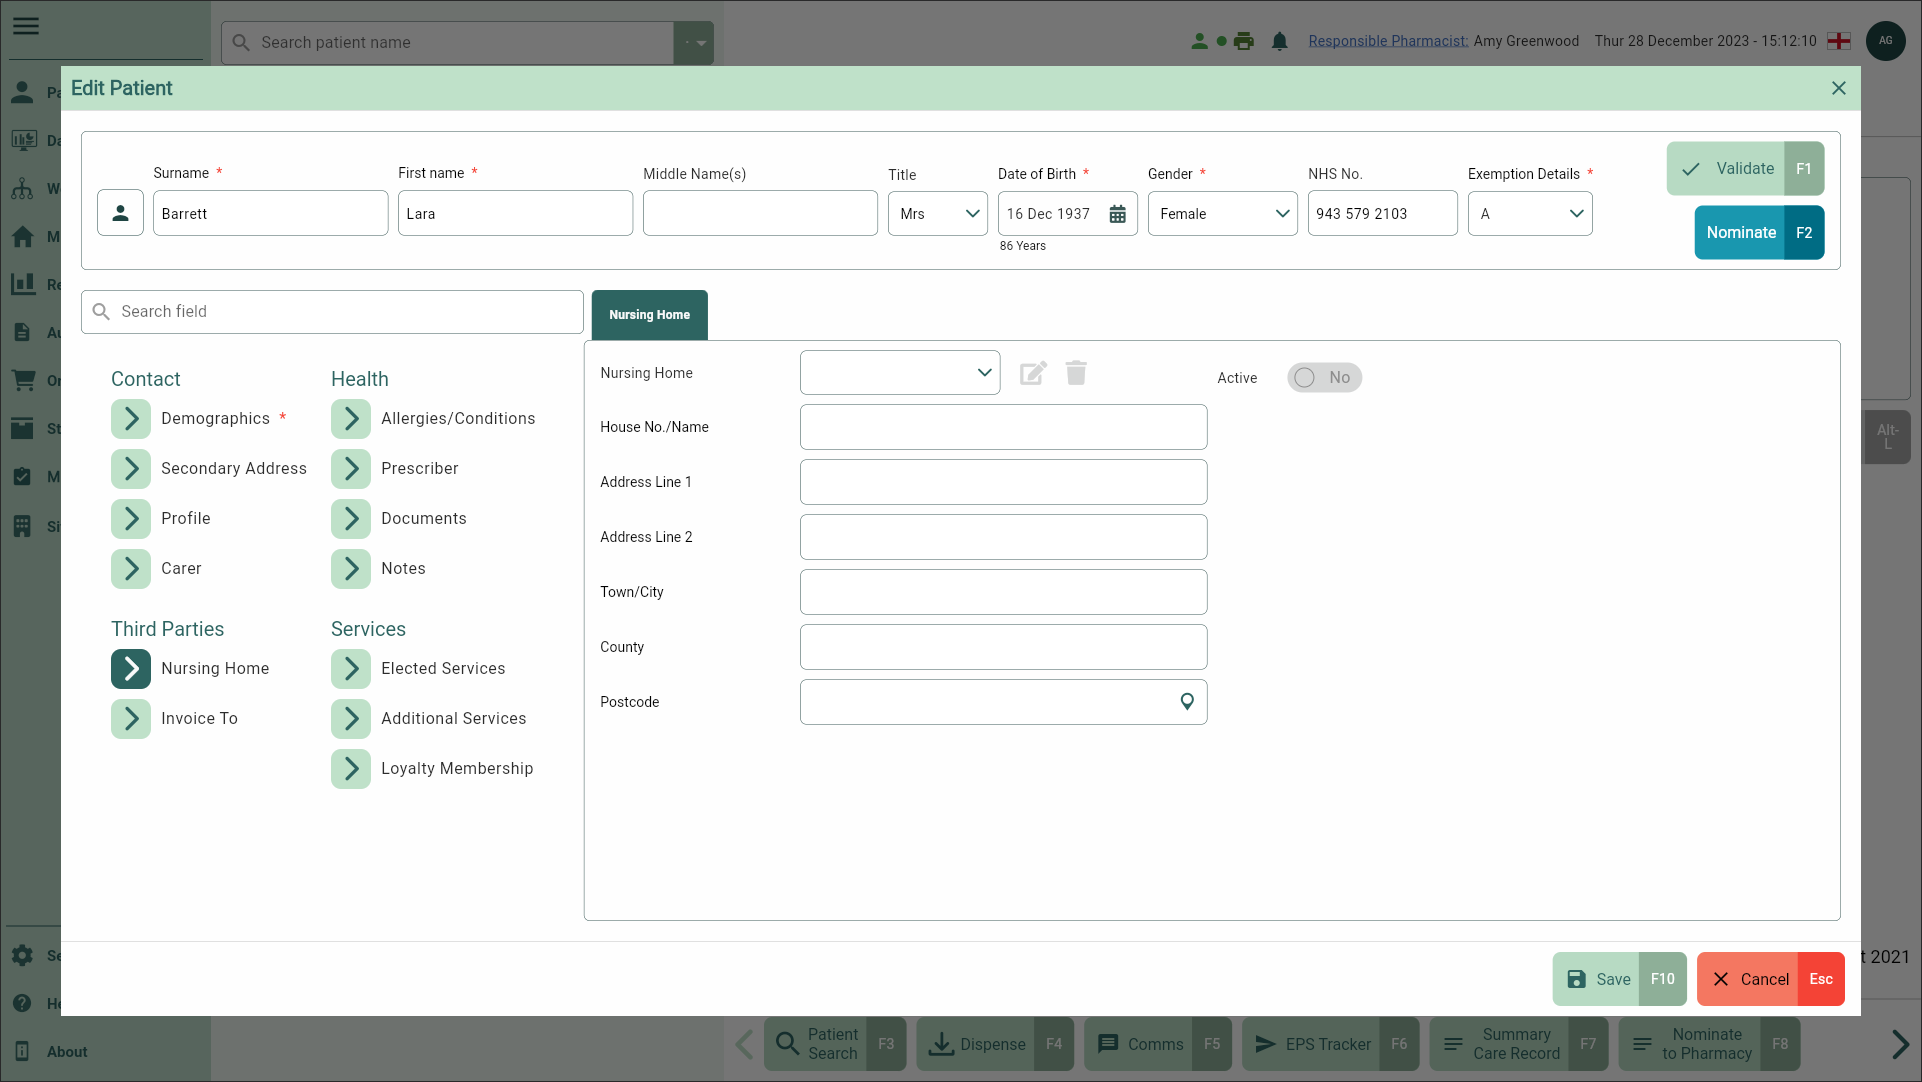
- Select the [Save - F10] button. You're returned to the patient's CRM where the Nursing Home section and MDS tab have been removed.