Moving script locations
Store or relocate your selected script(s) within a designated area in your pharmacy. You can either scan your bags or manually select the required scripts to move.
Manually moving script locations
- To begin, select the Awaiting Collection tab in Workflow by selecting Workflow from the left-nav and the Awaiting Collection tab.
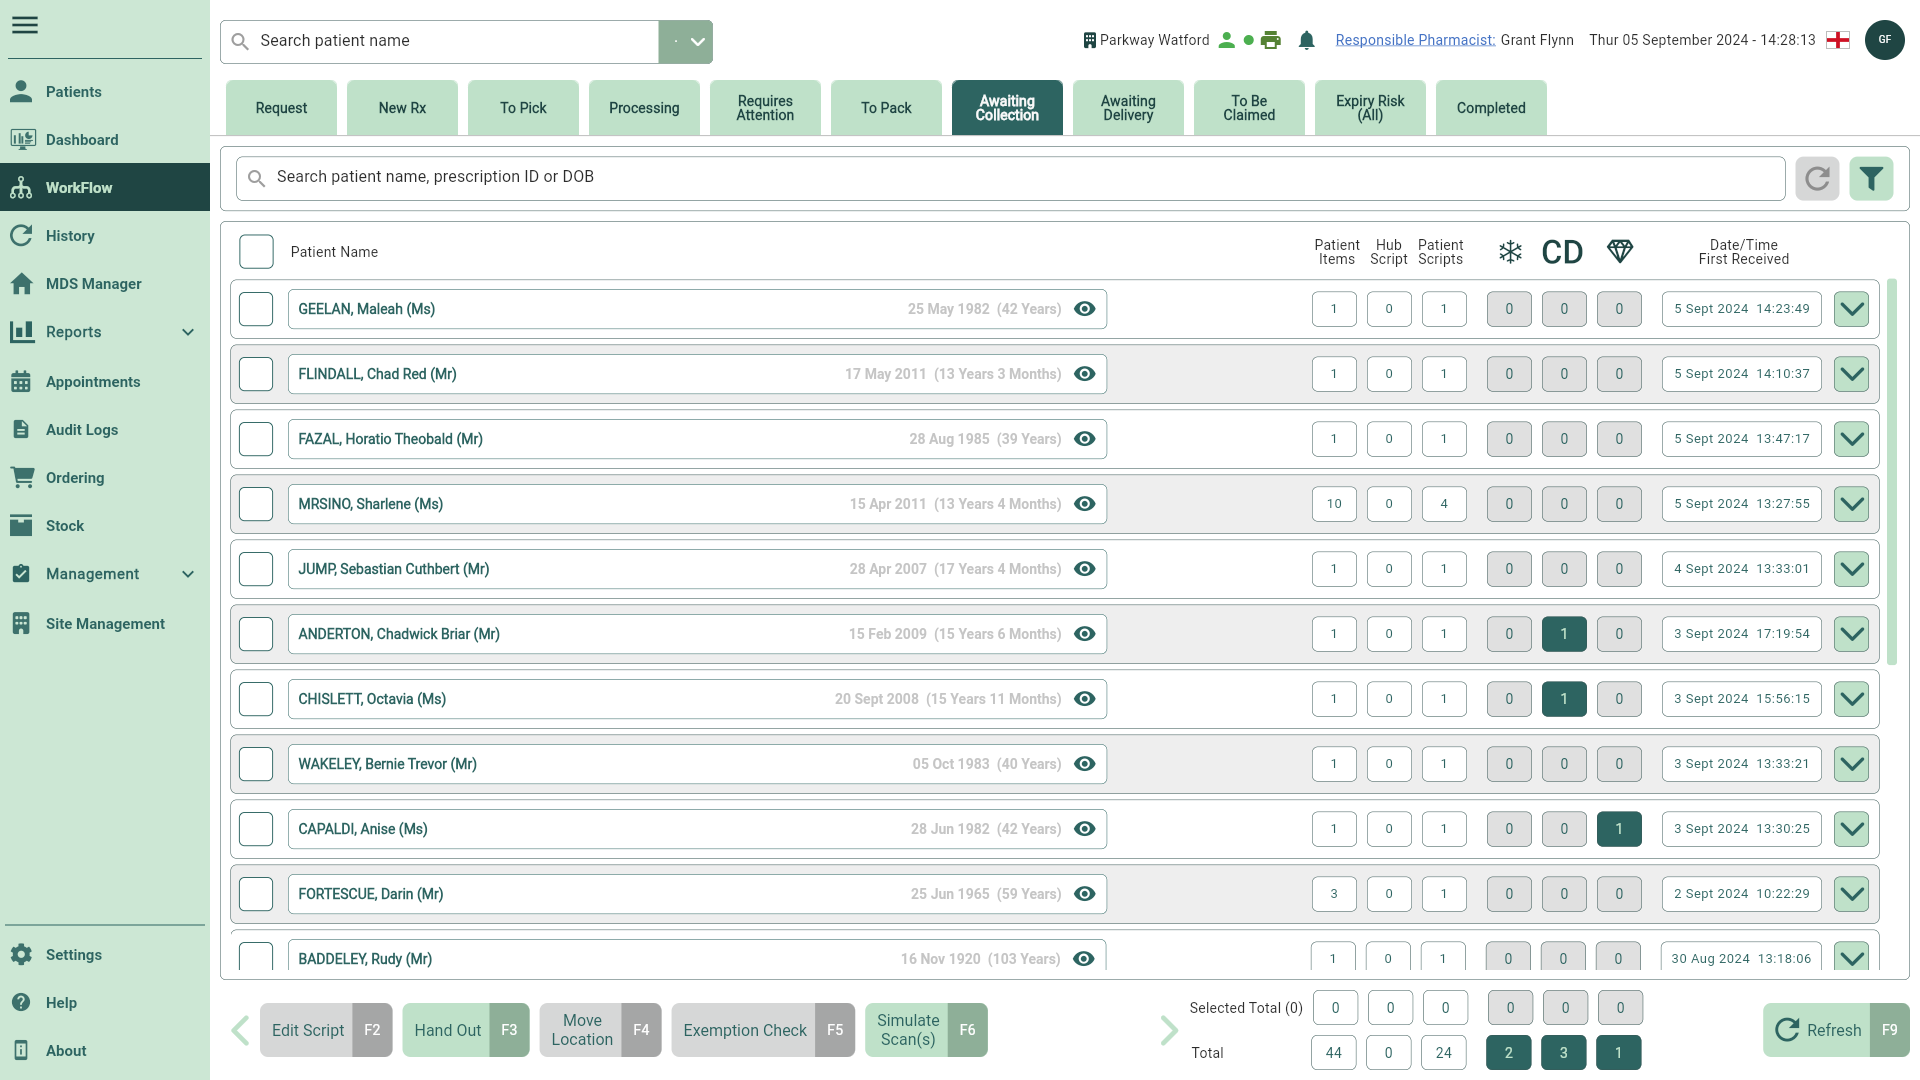
- Locate and select the required patient and script(s) you wish to move, if required you can use the filters to refine the grid.
You may need to select the [Refresh - F9] button on the Awaiting Collection Workflow tab to see any recent updates.
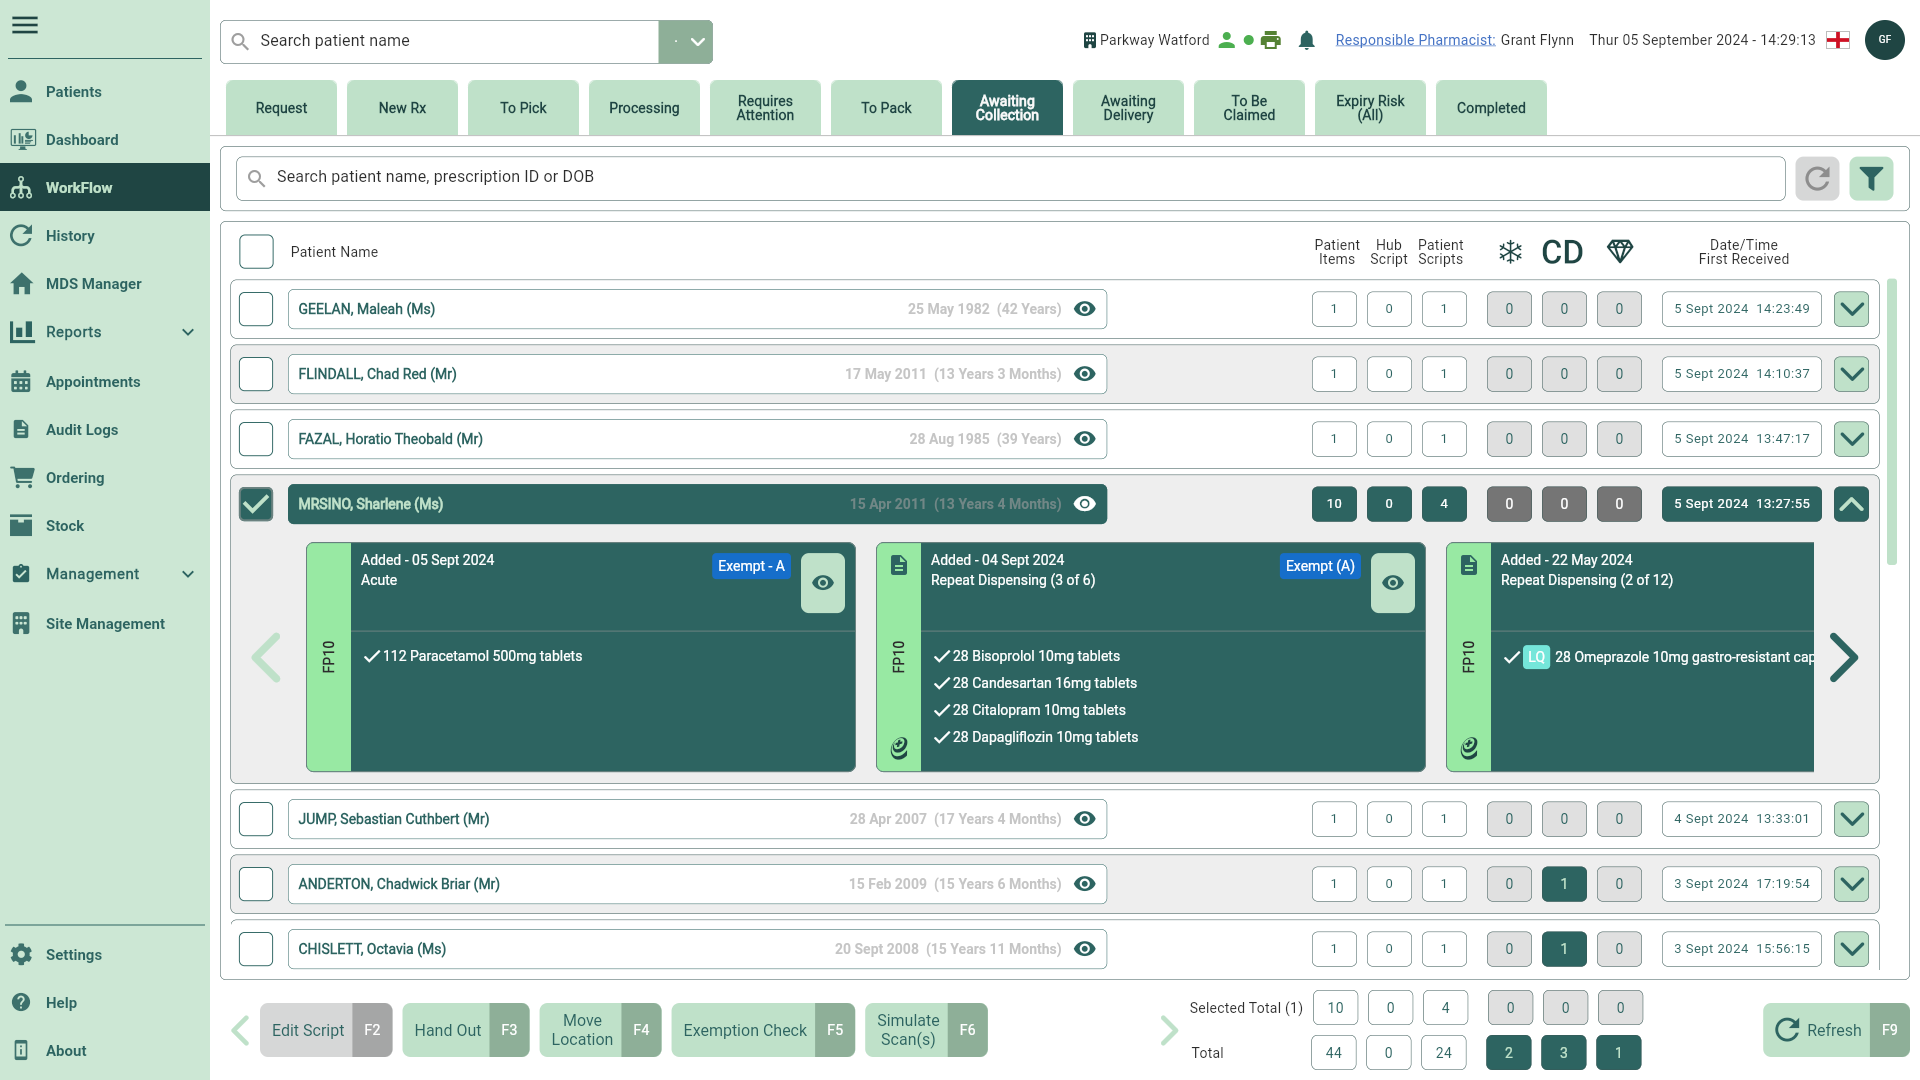
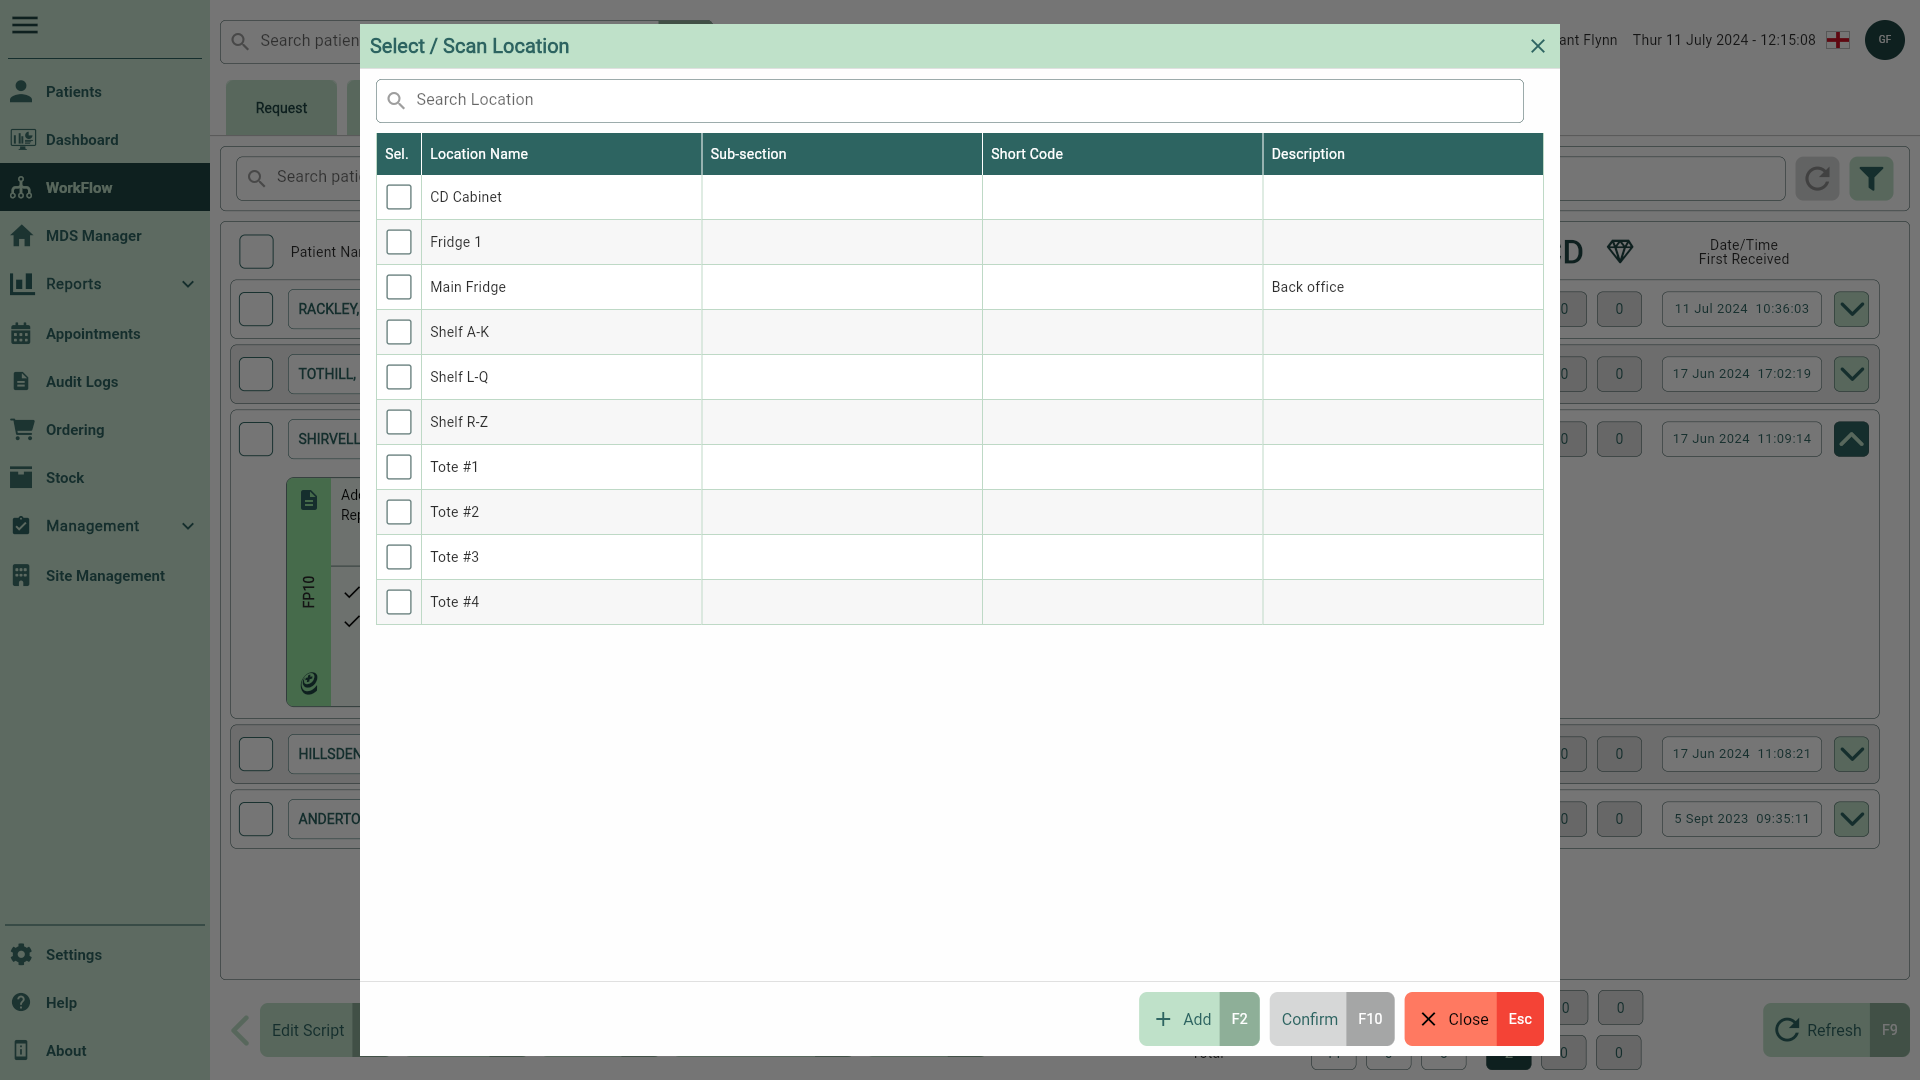
- Select the [Move Location - F4] button. The Select/Scan Location window displays.
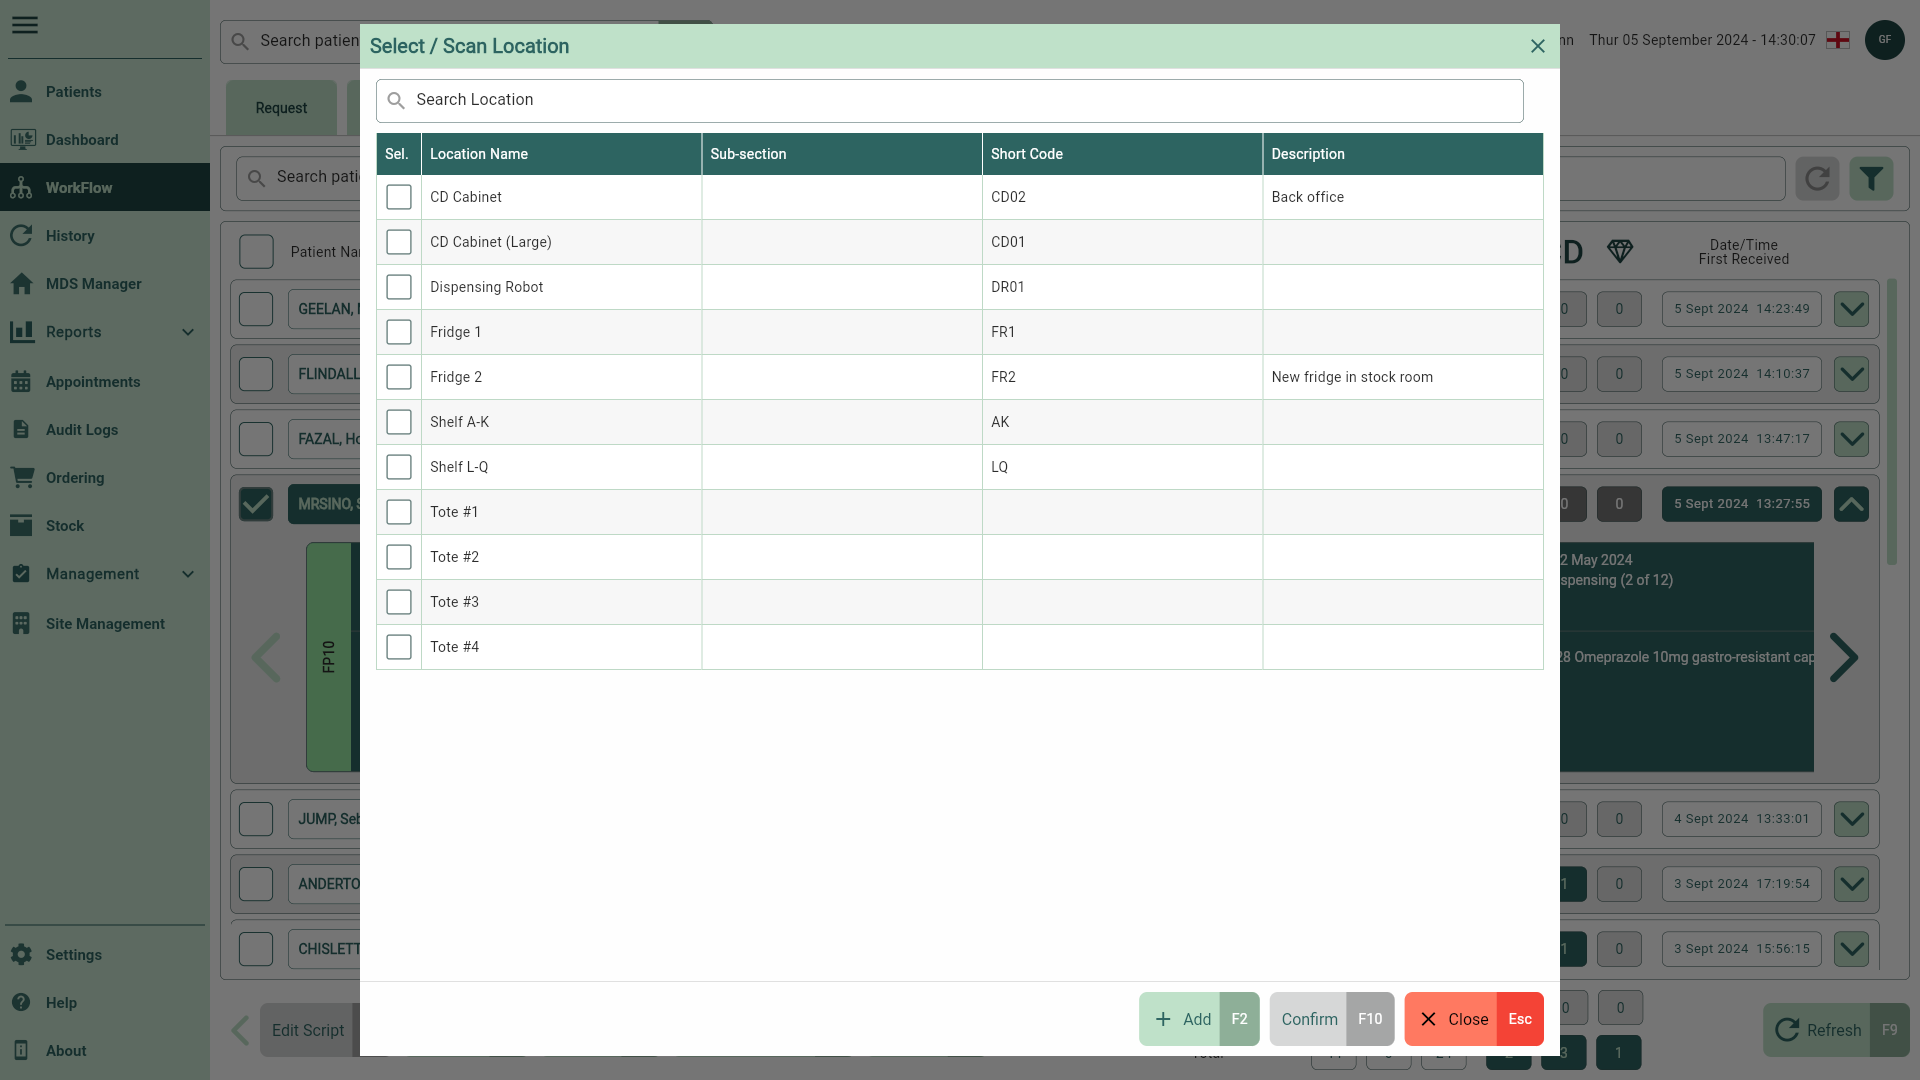
- Select a location from the grid.
If a new location is required you can select the [Add - F2] button to enter a new location. See our Adding locations article to learn more about adding new locations, including sub-sections and descriptions.
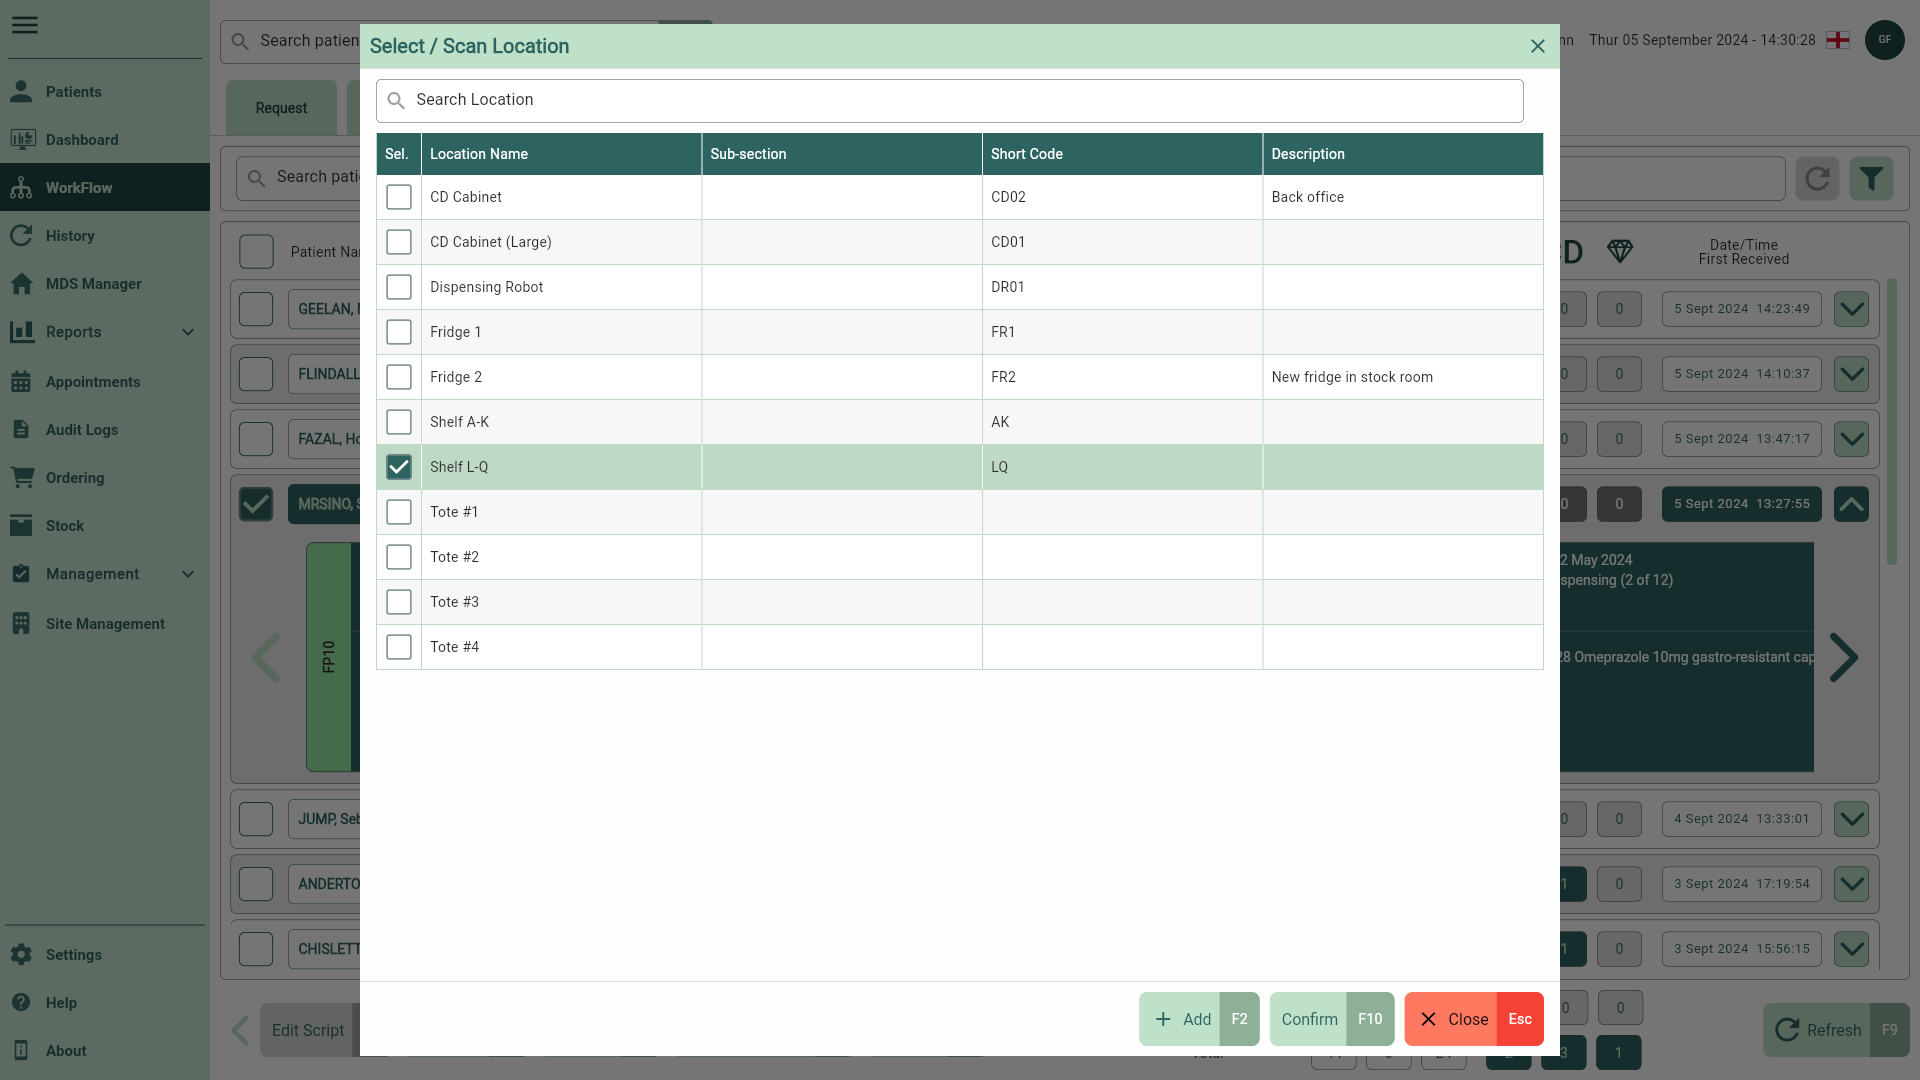
- Select the [Confirm - F10] button to update your prescription. A Location badge will be applied to each item.
You can view the location details in full as a tooltip by hovering over the Location badge. Learn more about each location badge in our Dispensing & Workflow FAQs.
![]()
Scan to location
- To begin, select the Awaiting Collection tab in Workflow by selecting Workflow from the left-nav and the Awaiting Collection tab.
- Scan the bag you wish to store or relocate. The relevant script will automatically highlight in the grid. The Select/Scan Location window displays.
- Scan a location barcode. The Move to Location prompt displays.
- From here, you can:
- Select the [Yes - F10] button to confirm the move. Once you have confirmed, a Location badge will be applied to each item.
- Select the [No - Esc] button to cancel. The prompt will close and no further action will be required.
You can view the location details in full as a tooltip by hovering over the Location badge. Learn more about each location badge in our Dispensing & Workflow FAQs.