Assigning items manually
Learn how to assign your items to bags manually.
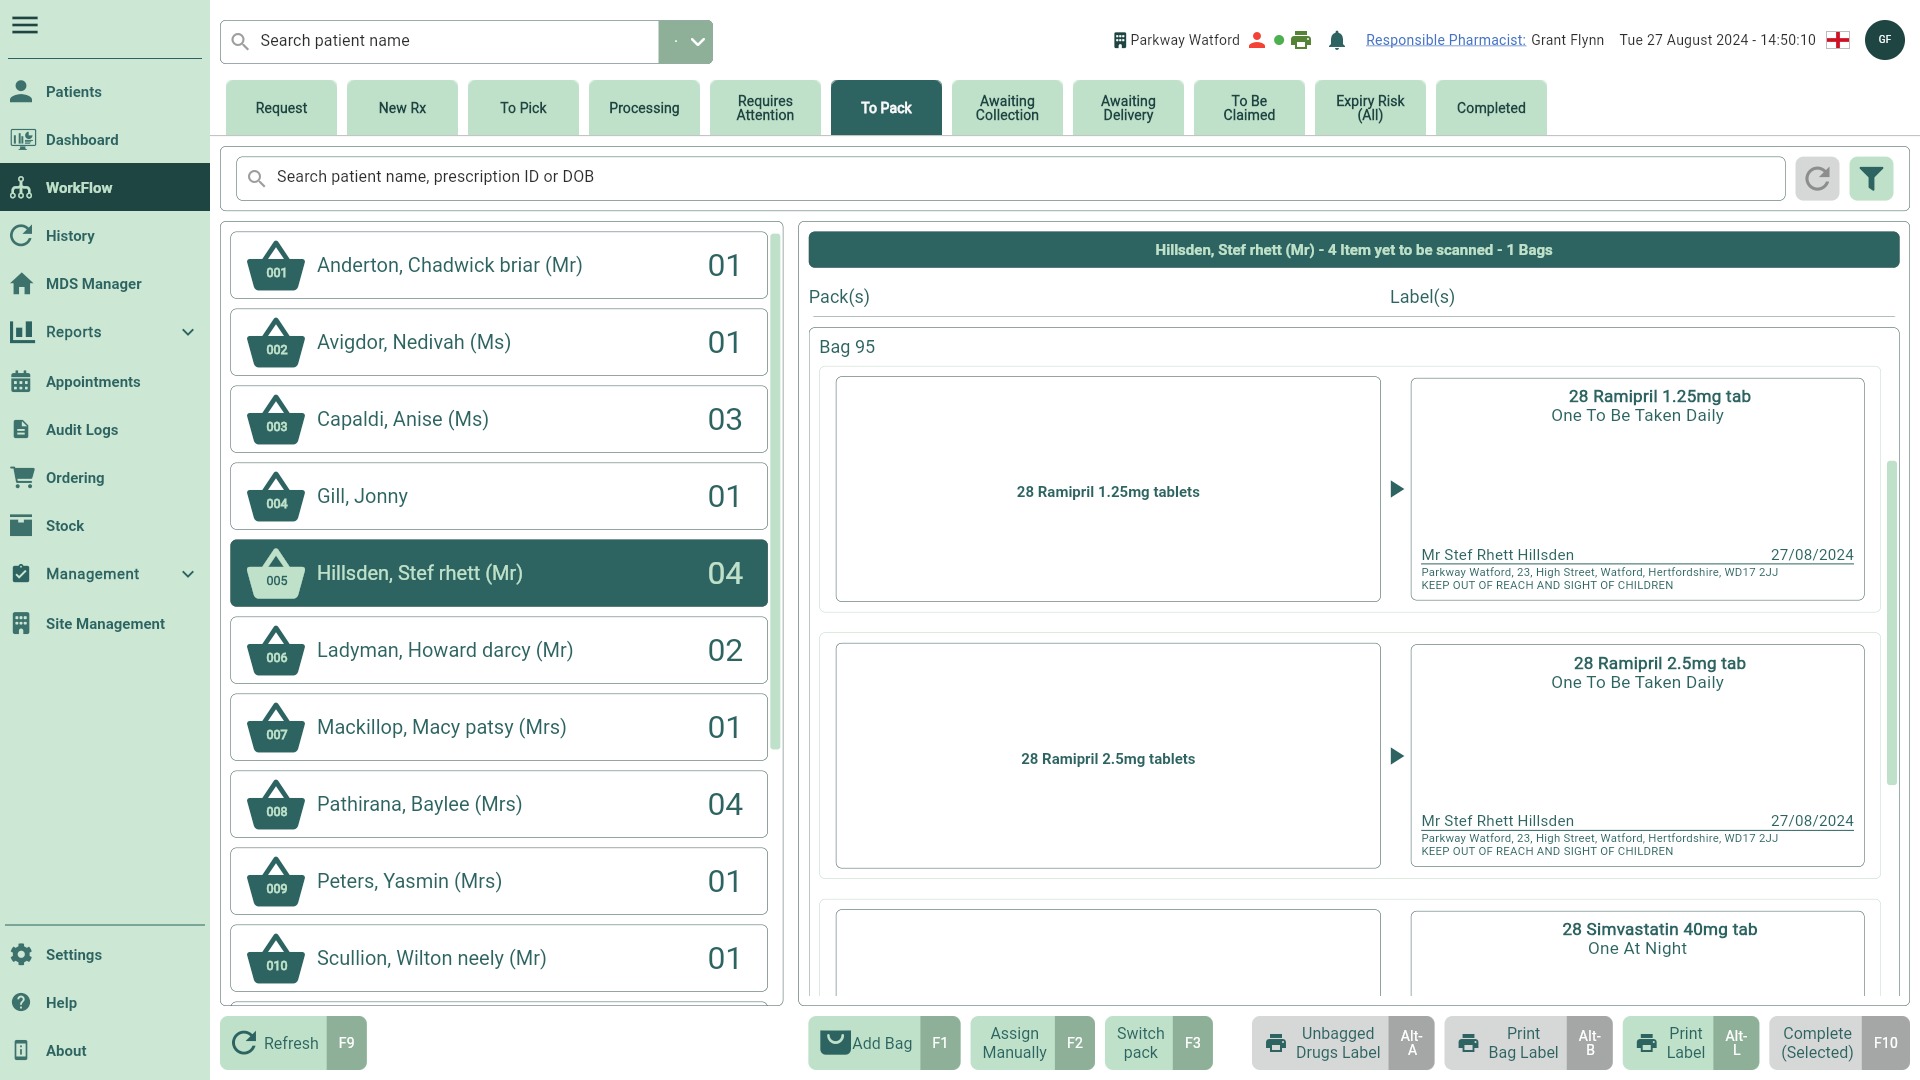
- To begin, select the To Pack tab in Workflow by selecting Workflow from the left-nav and the To Pack tab.
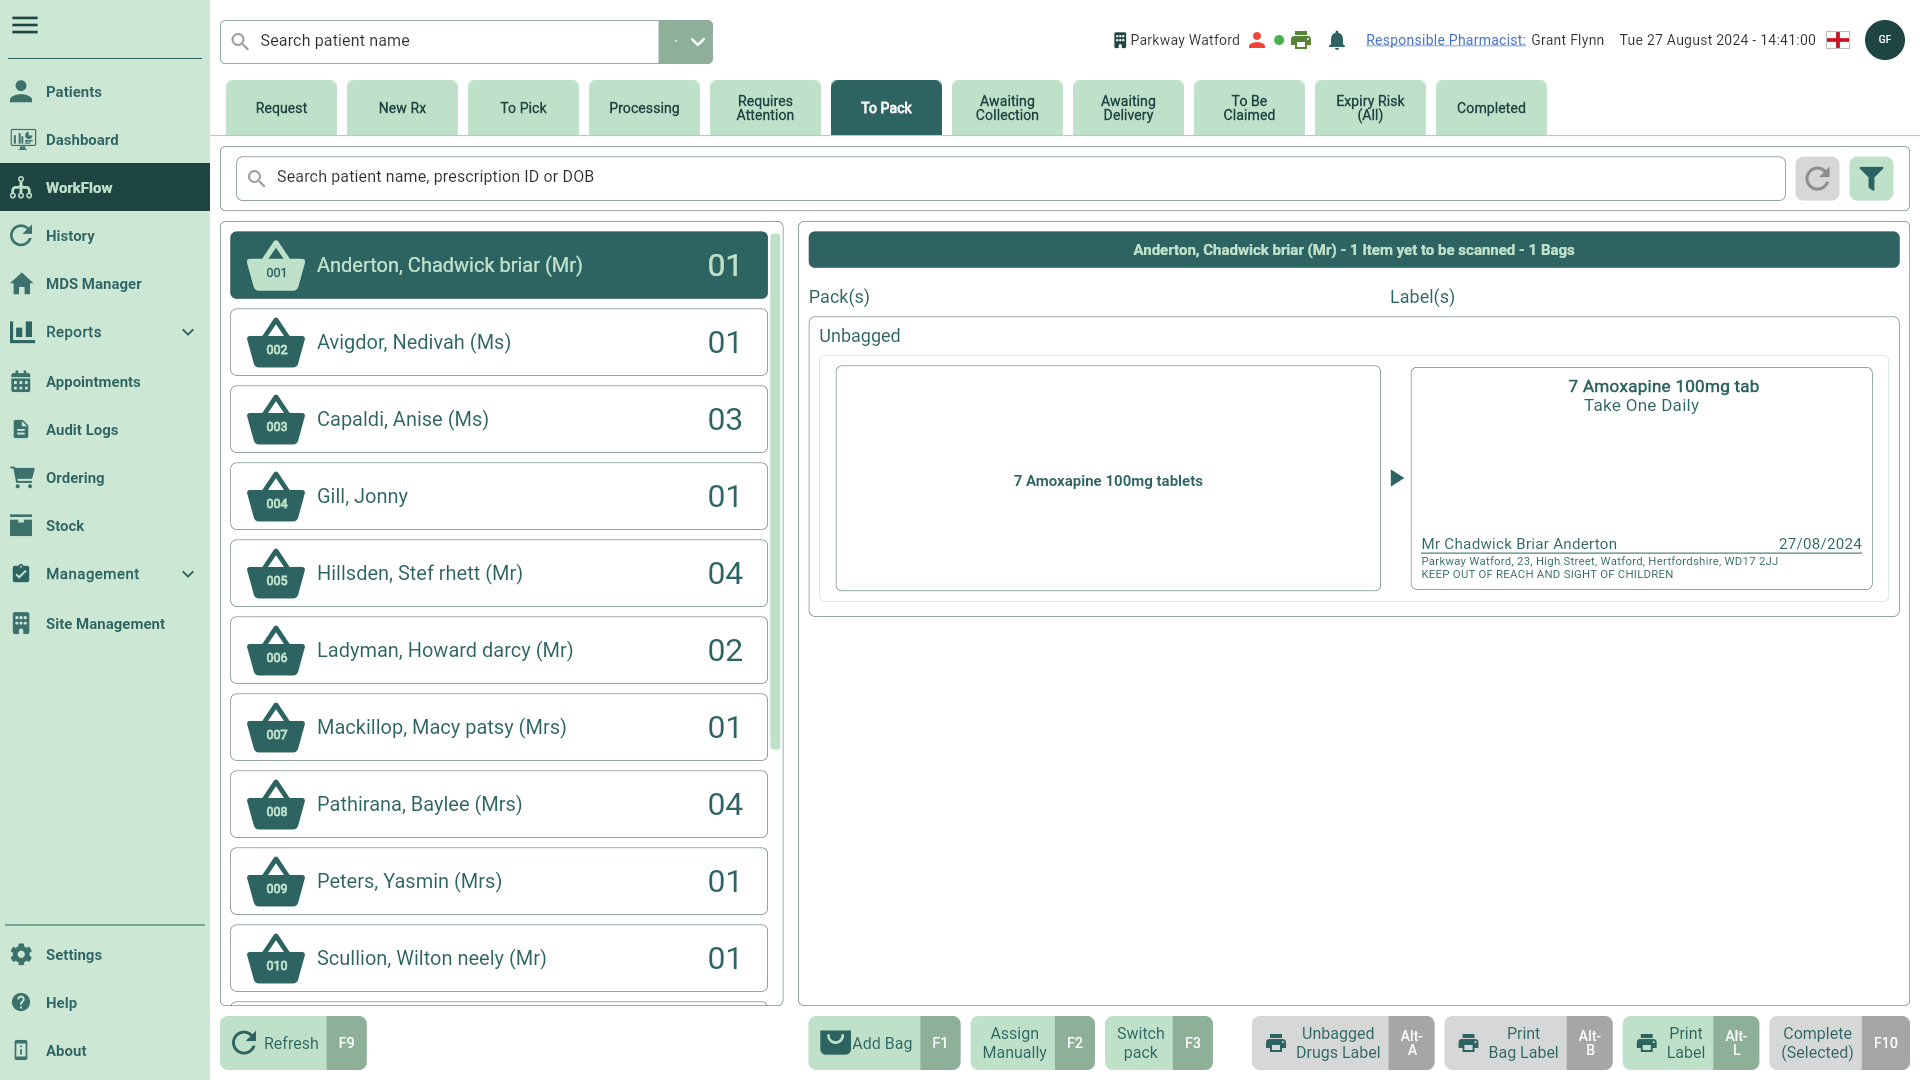
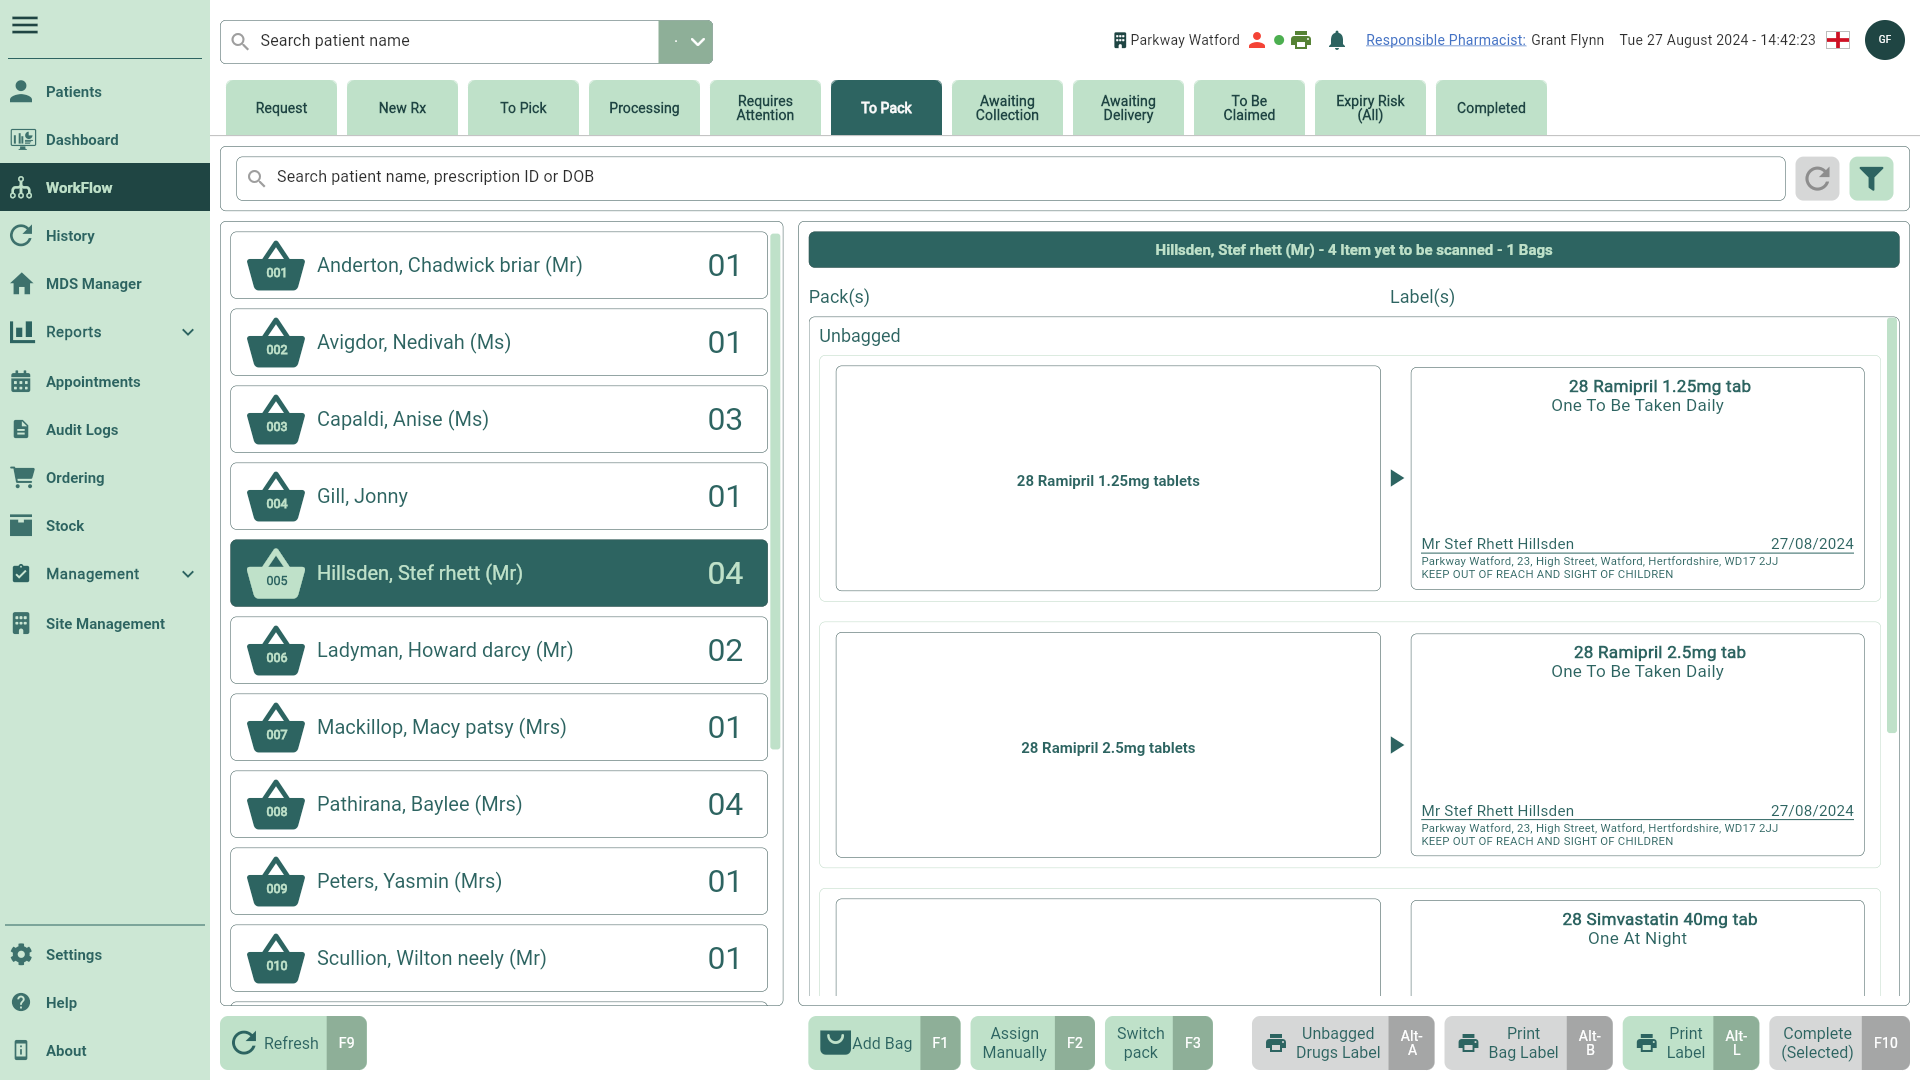
- Locate and select the required patient pack list from the left panel, if required you can use the filters to refine the grid.
You may need to select the [Refresh - F9] button on the To Pack Workflow tab to see any recent pack lists.
- Select the [Assign Manually - F2] button. The Assign to Bag window displays.
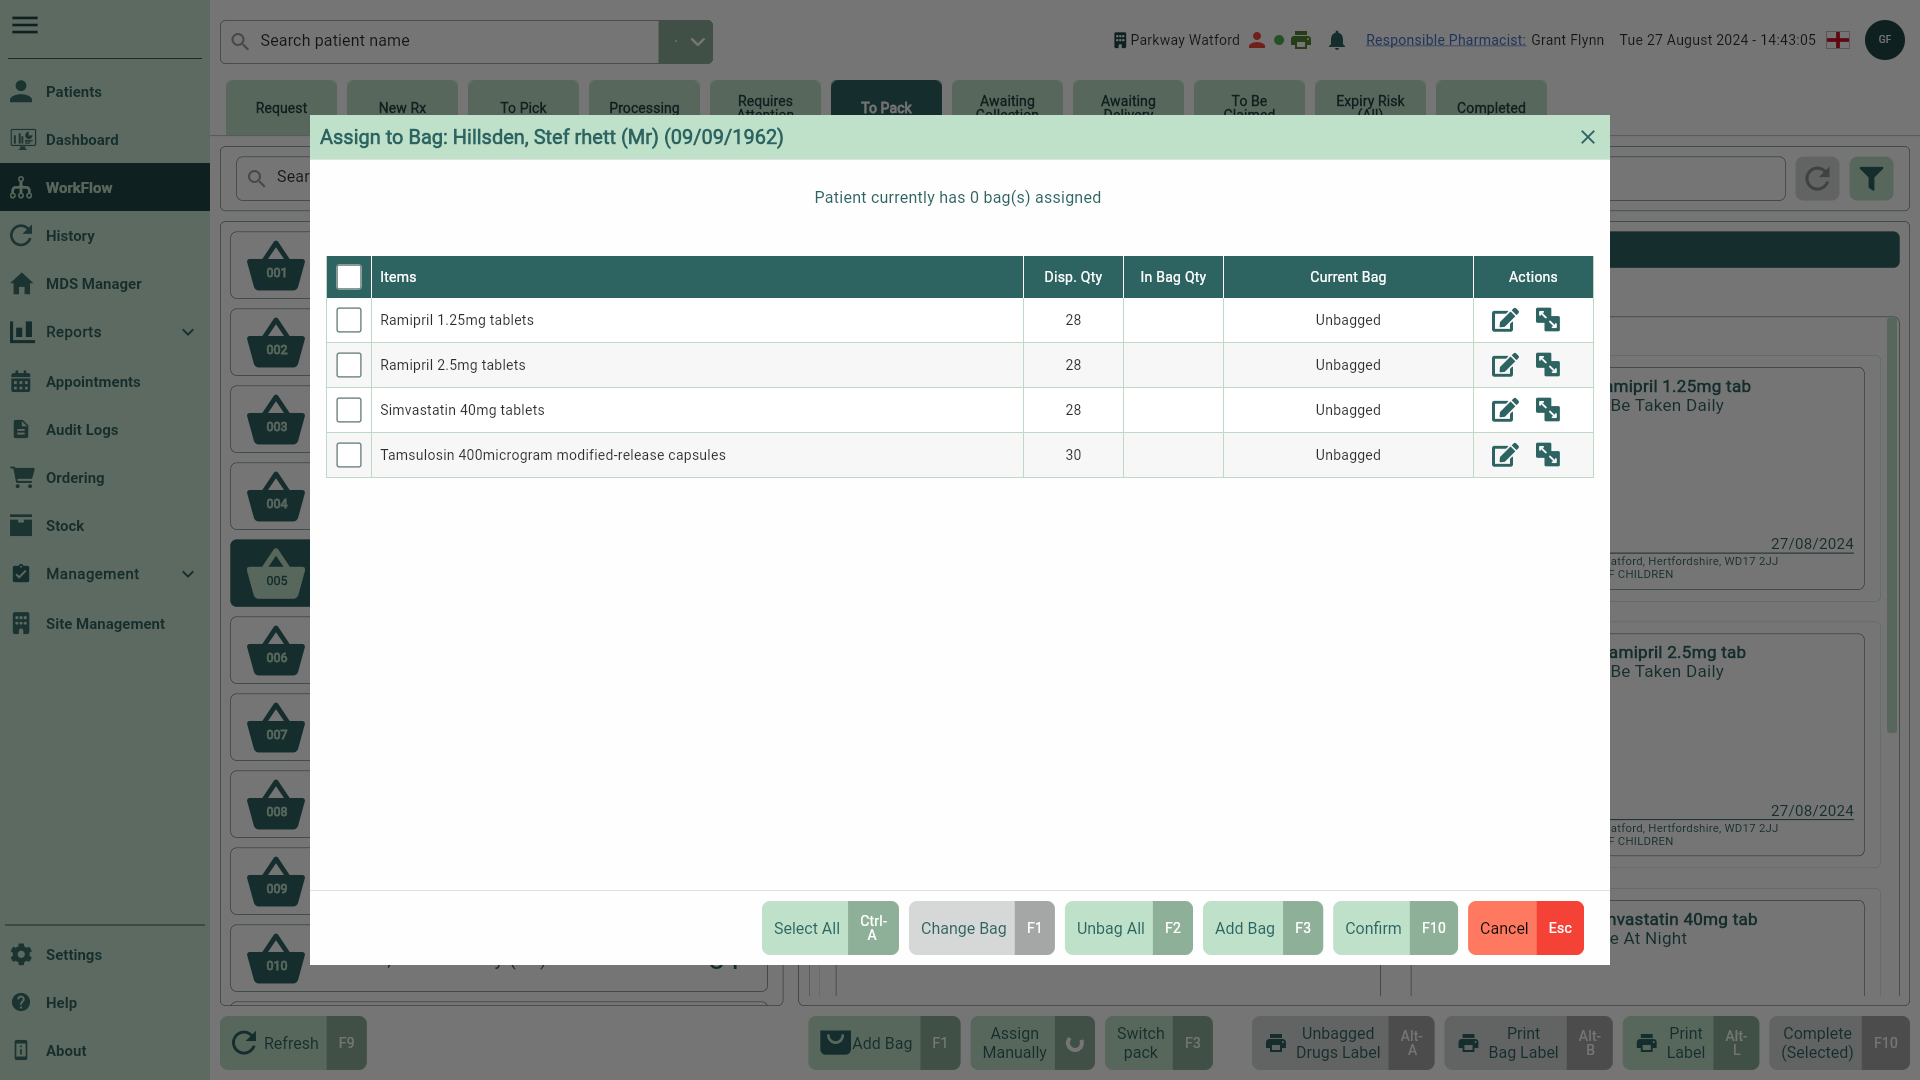
- Before packing items, you will need to assign a bag to the patient. Select the [Add Bag - F3] button to assign a bag to your patient.
The total number of bags and their corresponding numbers will be displayed above the grid.
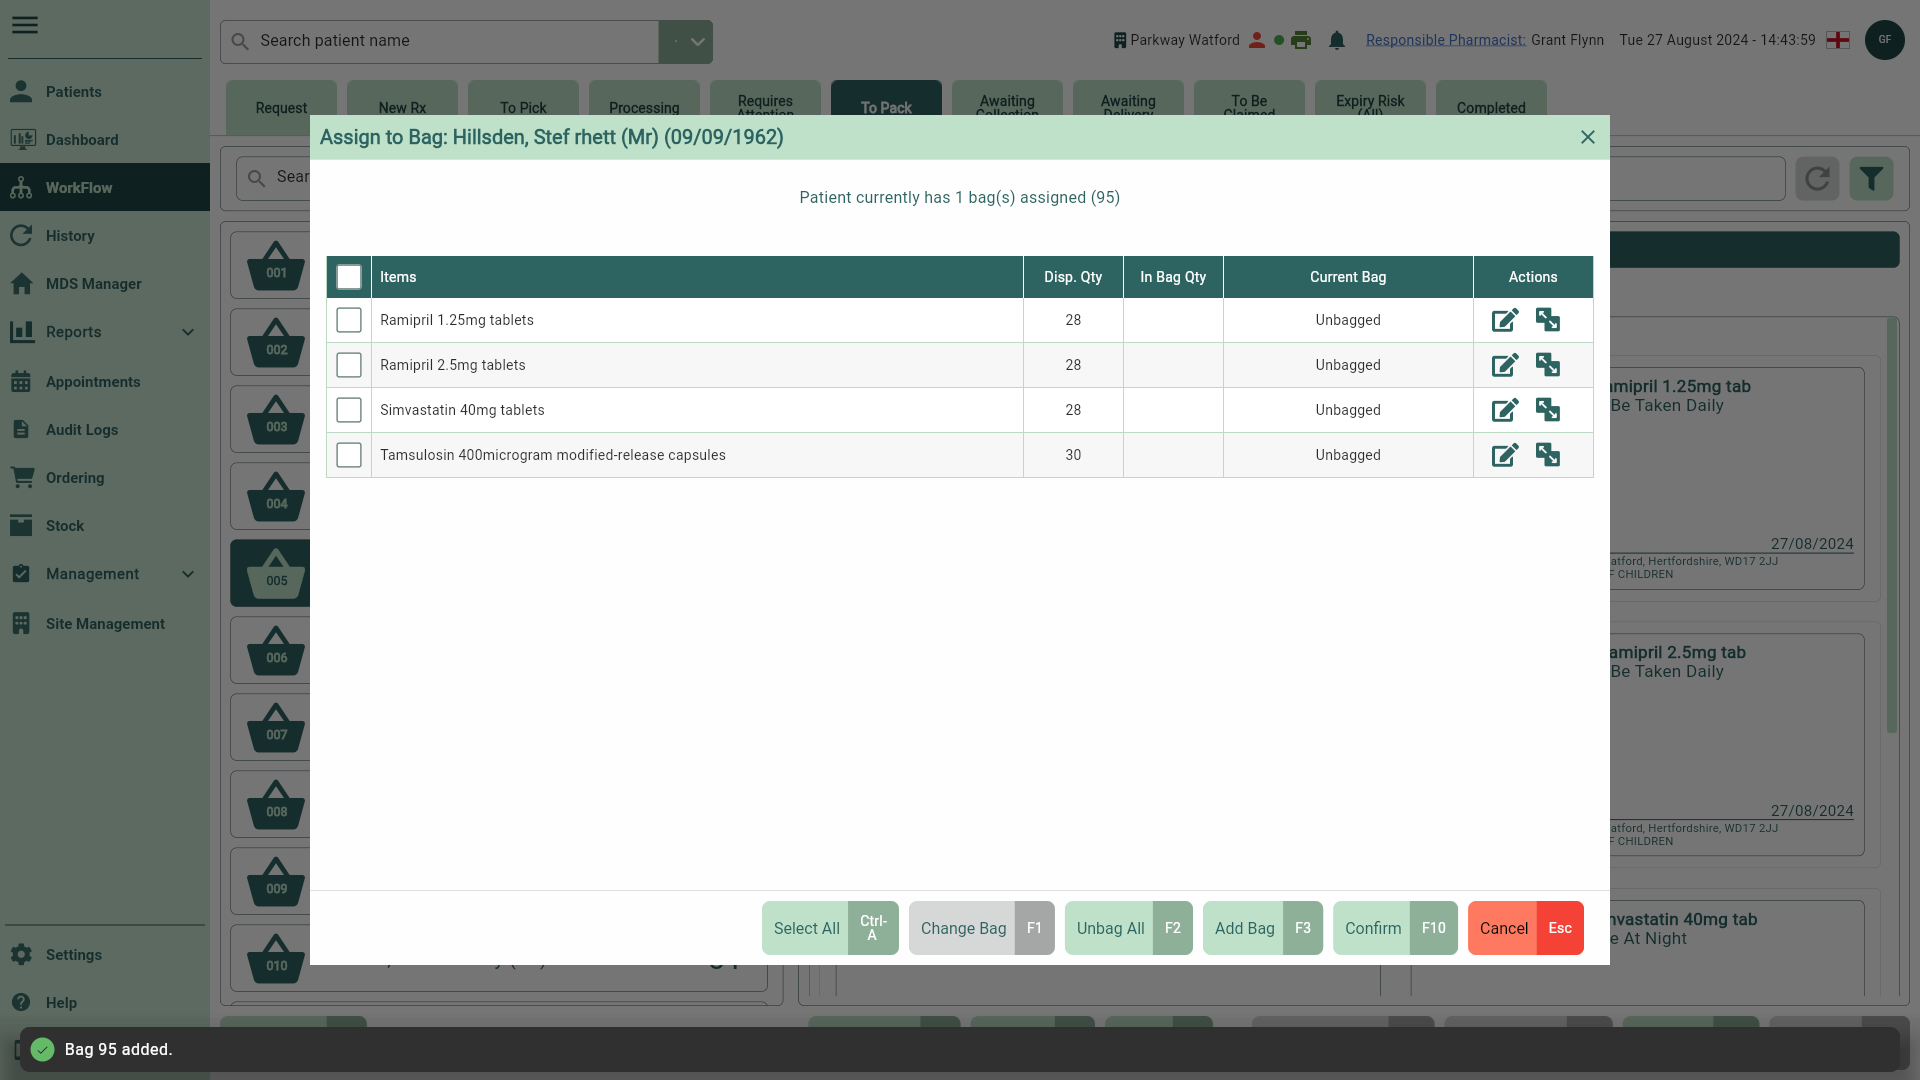
- Assign your items to a bag using the fields below:
| Field | Description |
|---|---|
| Grid | The grid displays all dispensed items, the Dispensed Quantity, the In Bag Quantity, and the Current Bag. Use the Actions column icons to:
|
| [Select All - Ctrl - A] / [Unselect All - Ctrl - A] | Select this button to tick or untick all items within the grid. |
| [Change Bag - F1] / [Update - F1] | This button will remain disabled until multiple items have been selected. When selected, a dropdown will display, allowing you to update the bag which then will be applied to all ticked items. |
| [Unbag All - F2] | If required select the [Unbag All - F2] button to unbag all items. |
| [Add Bag - F3] | Select to create a new bag available for selection, or add additional bags if required. |
 Edit icon: Select to enable the Current Bag and In Bag Qty fields. Once enabled you will be able to manually assign the item and a quantity to a designated bag.
 Split icon: Select to create a separate line for the same item within the grid, dividing the quantity equally between bags. Note: The total In Bag Qty cannot exceed the dispensed quantity. You can edit the In Bag Qty by selecting the Edit icon.
- Once all items are assigned, select the [Confirm - F10] button to save your changes. The window closes and you will return to the To Pack tab, where your items are now bagged.
Once complete, the script(s) will be flagged as Accuracy check required and moved to the Requires Attention tab in Workflow for review. While you can view these scripts in the patient’s chosen fulfilment tab, they cannot be marked as collected or delivered until the check is completed. You can learn how to complete the accuracy check using our Completing accuracy checks article.