Creating pick lists
Learn how to create a pick list for your patient(s) and item(s) to streamline your dispensing process.
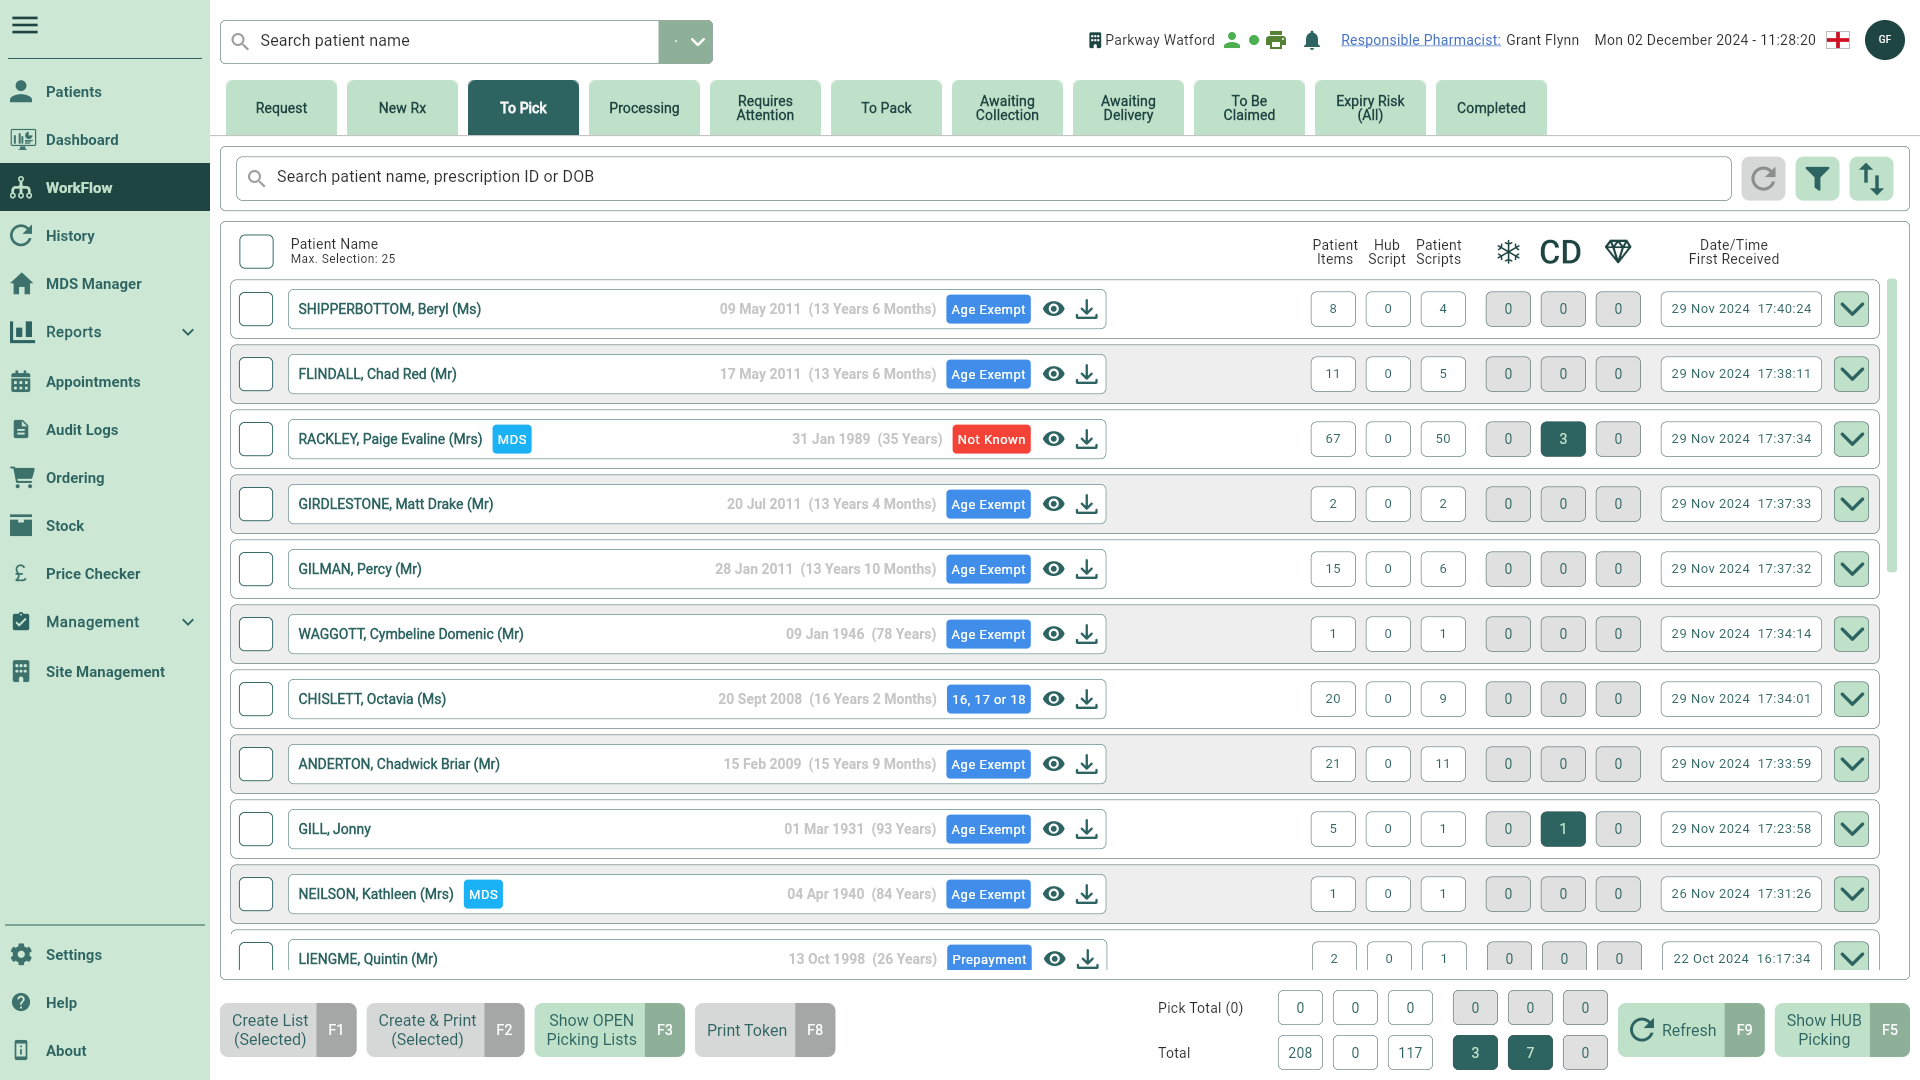
- To begin, select the To Pick tab in Workflow by selecting Workflow from the left-nav and the To Pick tab.
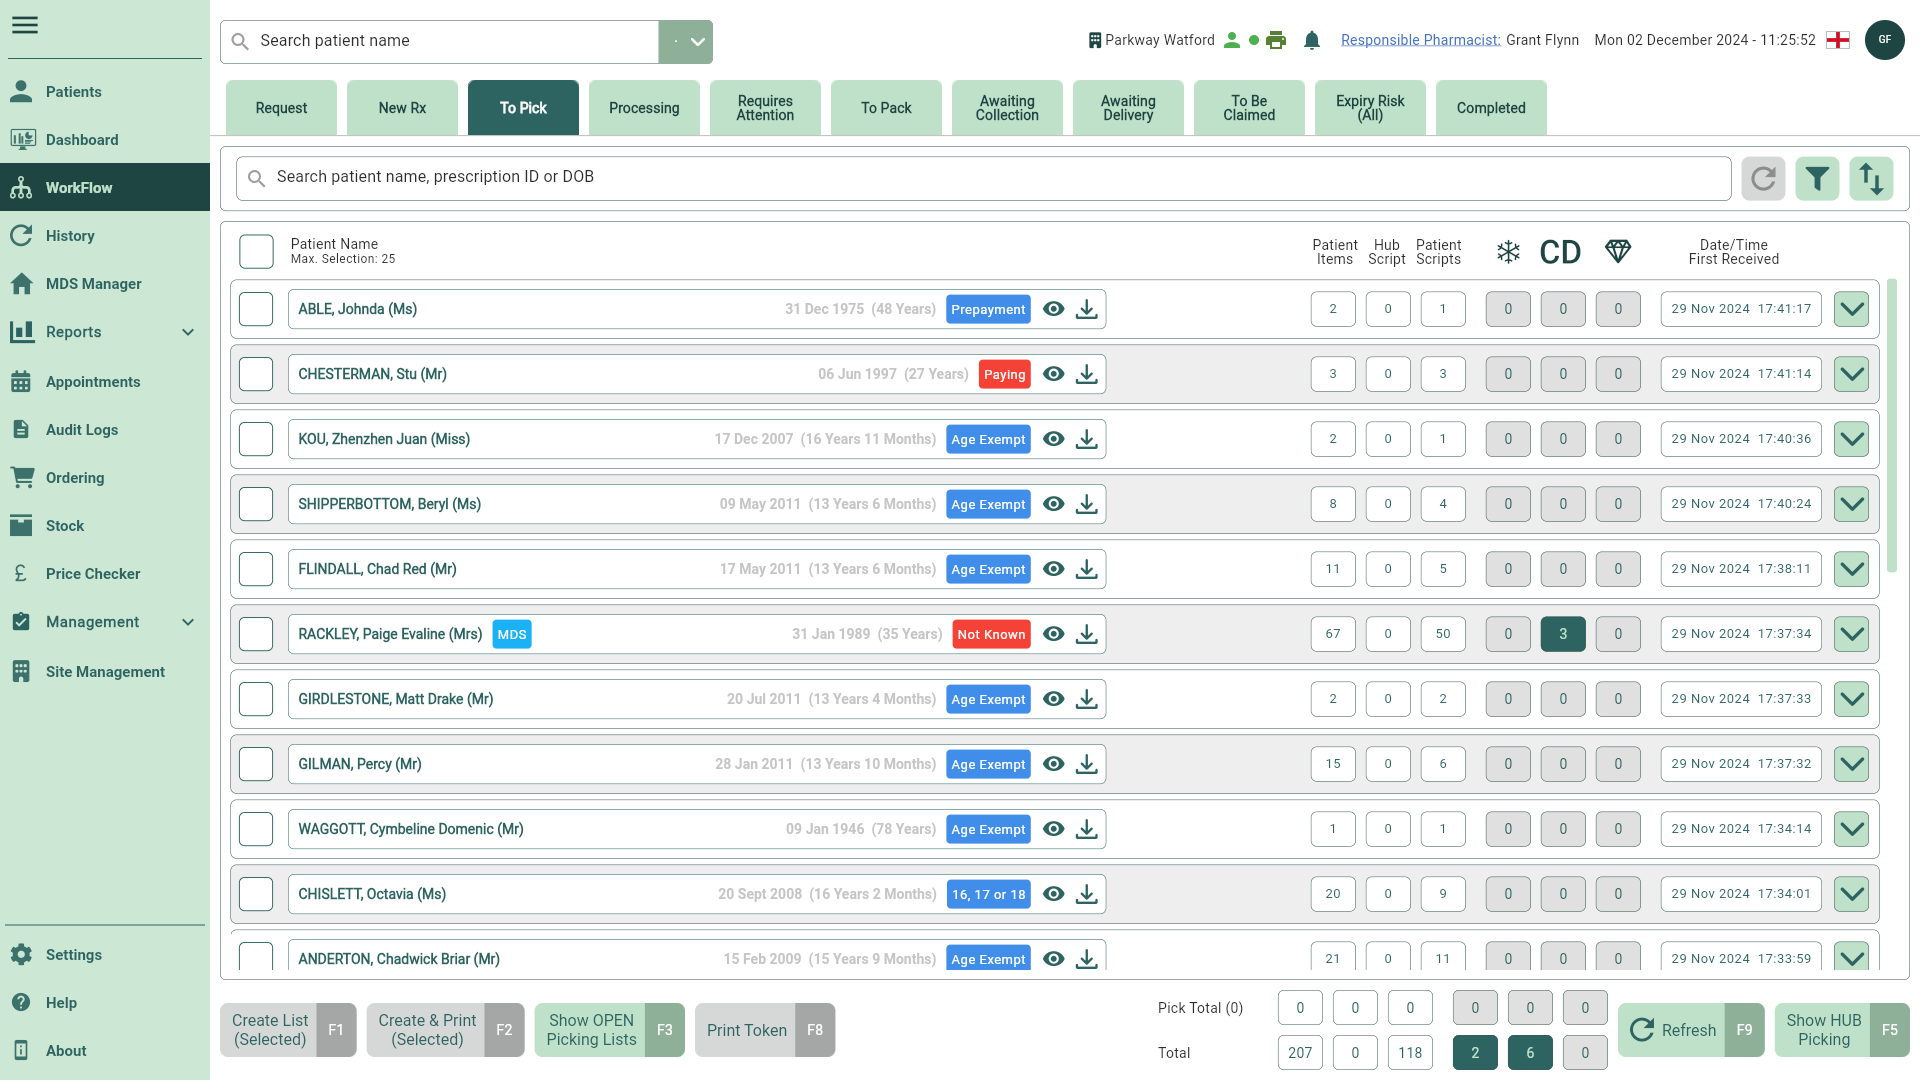
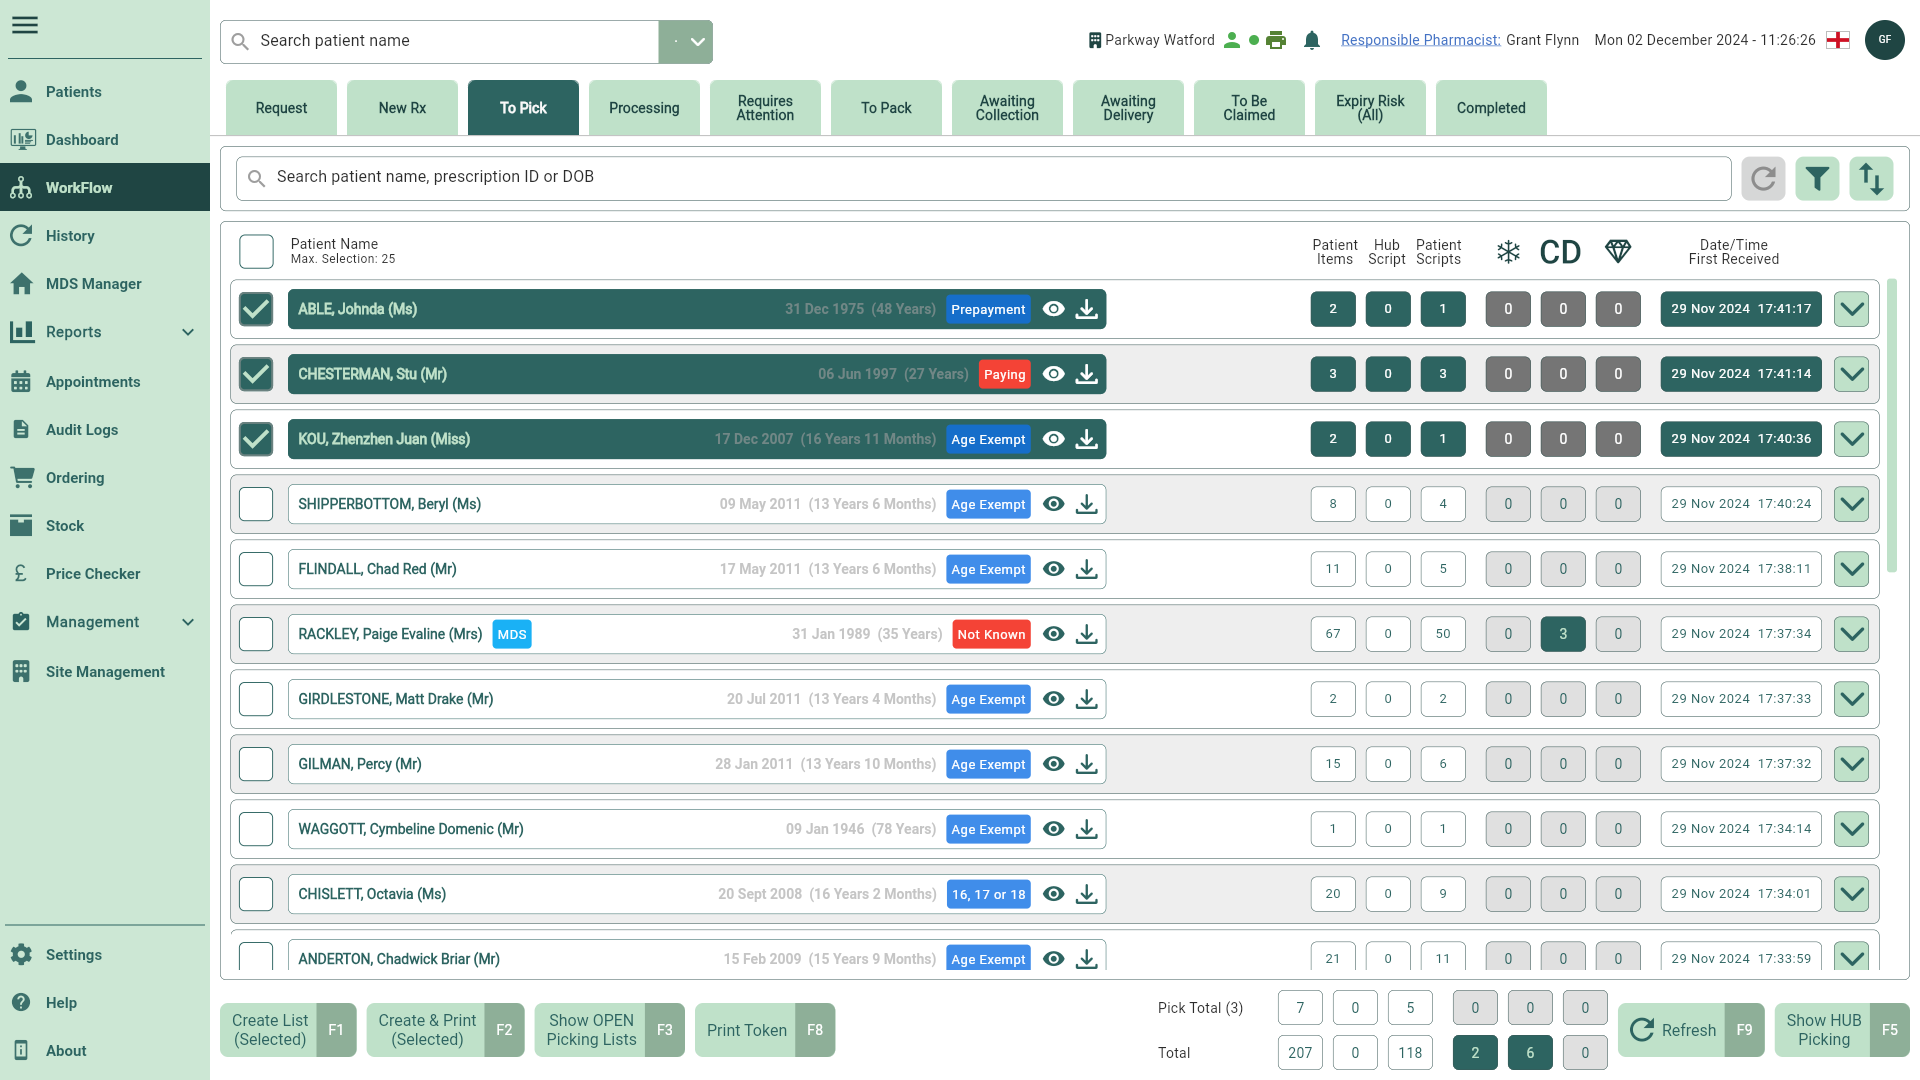
- Select your patient(s) and prescription(s) to create a pick list, if required you can use the filters to refine the grid.
You may need to select the [Refresh - F9] button on the To Pick Workflow tab to see any recent updates.
You can process prescriptions by selecting one patient at a time or by using the select all checkbox. If the number of selected patients exceeds the configured limit (max 25 by default), the function buttons will be disabled until enough patients have been deselected. Learn more about Workflow settings using our Get to know Workflow article.
- Select the [Create List (Selected) - F1] button. The Create Pick List prompt displays.
If you try to create a list without printing it, and the pick list includes an item that requires a split pack, you will be prompted to confirm whether split packs are necessary to fulfil the specified quantity.
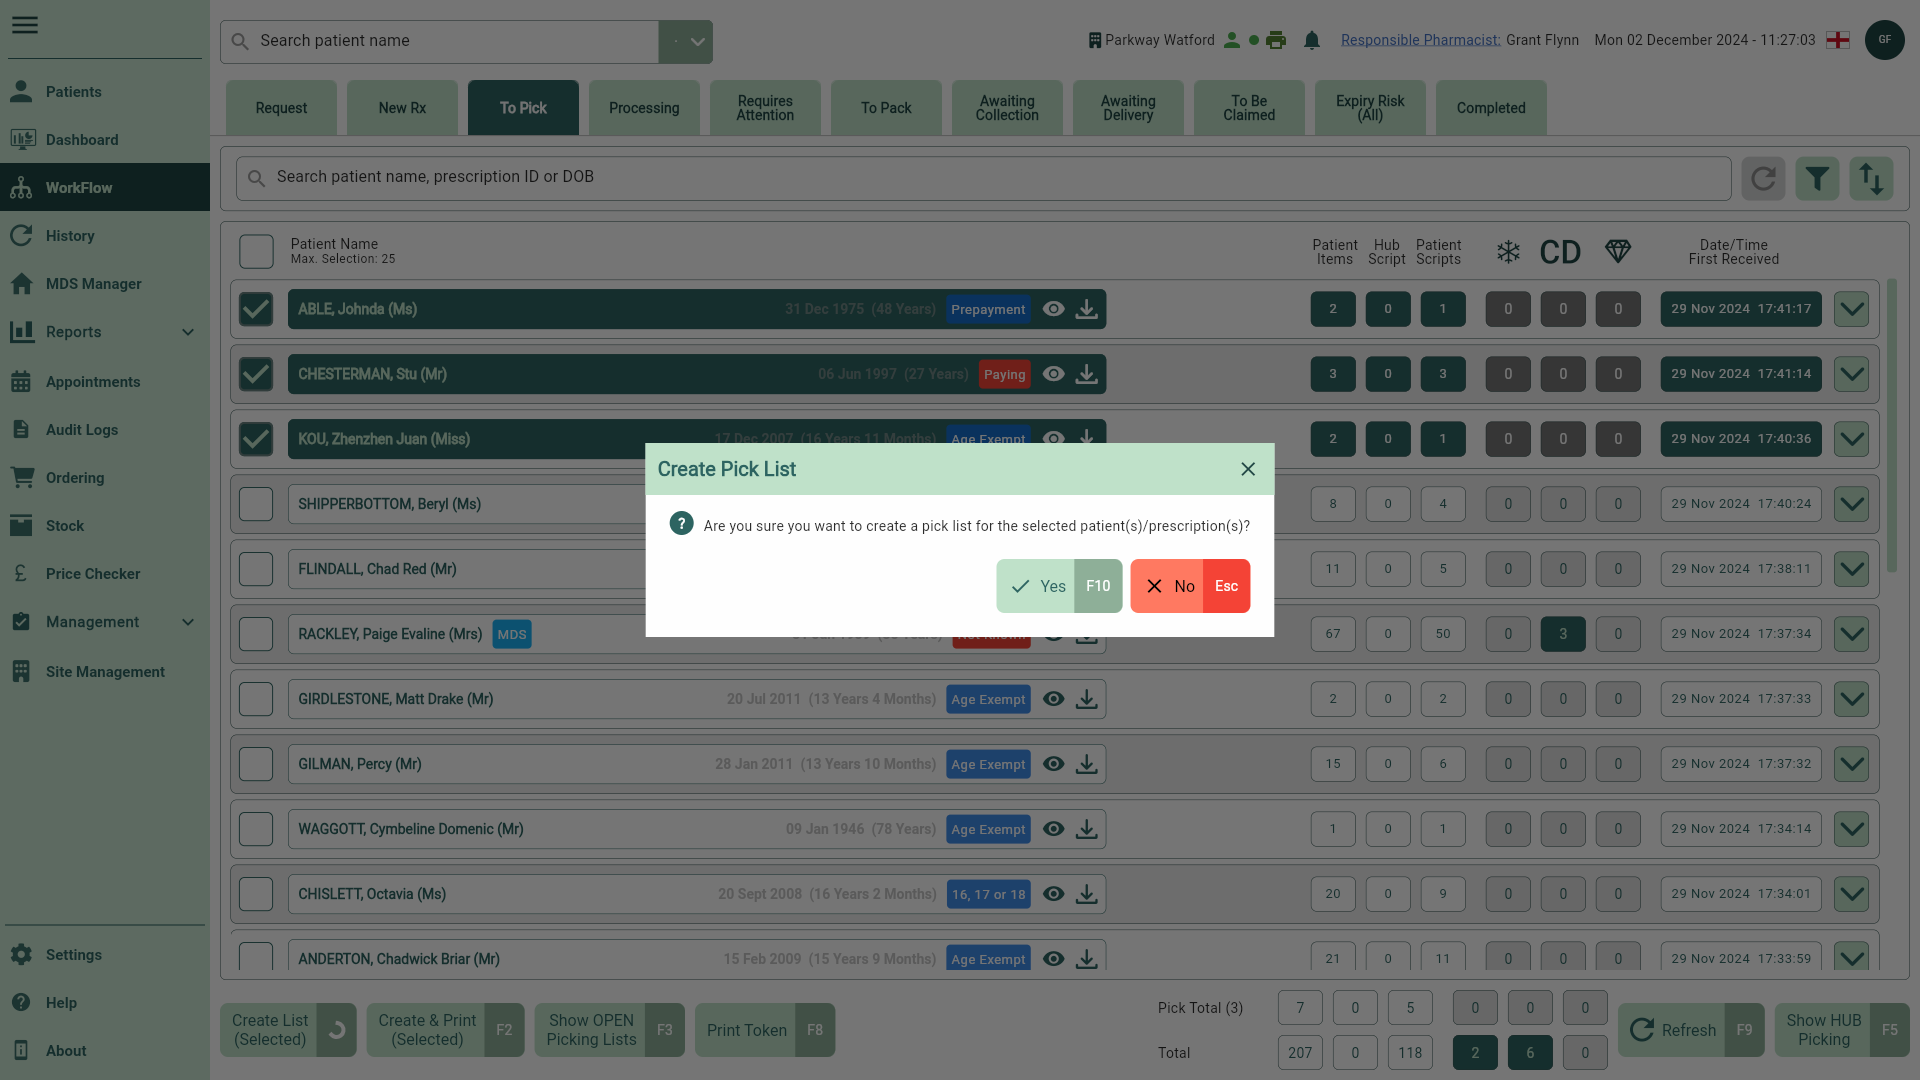
- Select the [Yes - F10] button to confirm. A snackbar displays confirming your pick list has been created successfully.
- You are returned to the To Pick tab, your patient(s) and script(s) have moved to the Processing tab.