Manually adding items for processing
During processing you can manually change the dispensable pack if required.
Apotec CRM will automatically select the last dispensed pack for the given prescribed item as the best pack and populate the Scanned Qty to match the Total Qty. If no packs have previously been dispensed, the best pack will be selected based on the prescribed quantity and the available pack sizes.
- To begin, select the Processing tab in Workflow by selecting Workflow from the left-nav and the Processing tab. By default the most recent pick list is displayed.
You may need to select the [Refresh - F9] button on the Processing Workflow tab to see any recent pick lists.
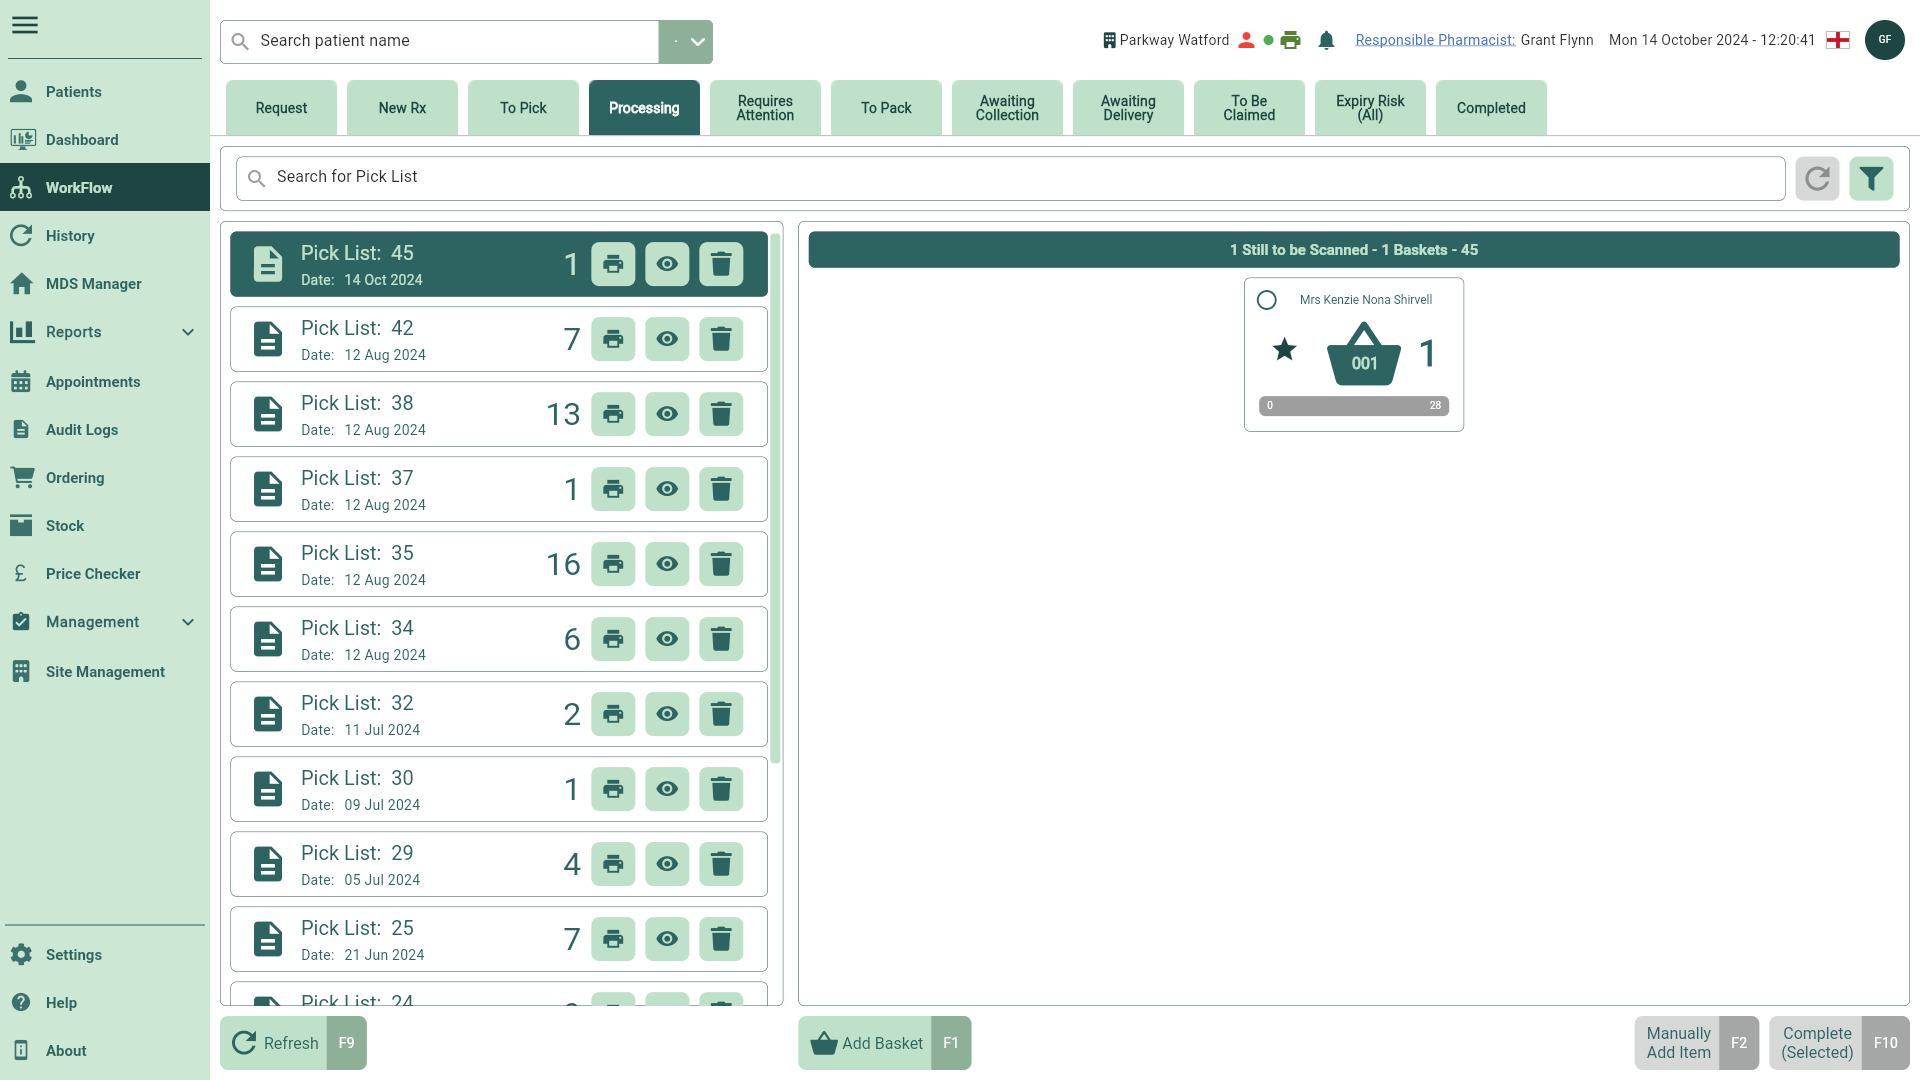
- Locate and select the required Pick List from the left panel, if required you can use the filters to refine the grid.
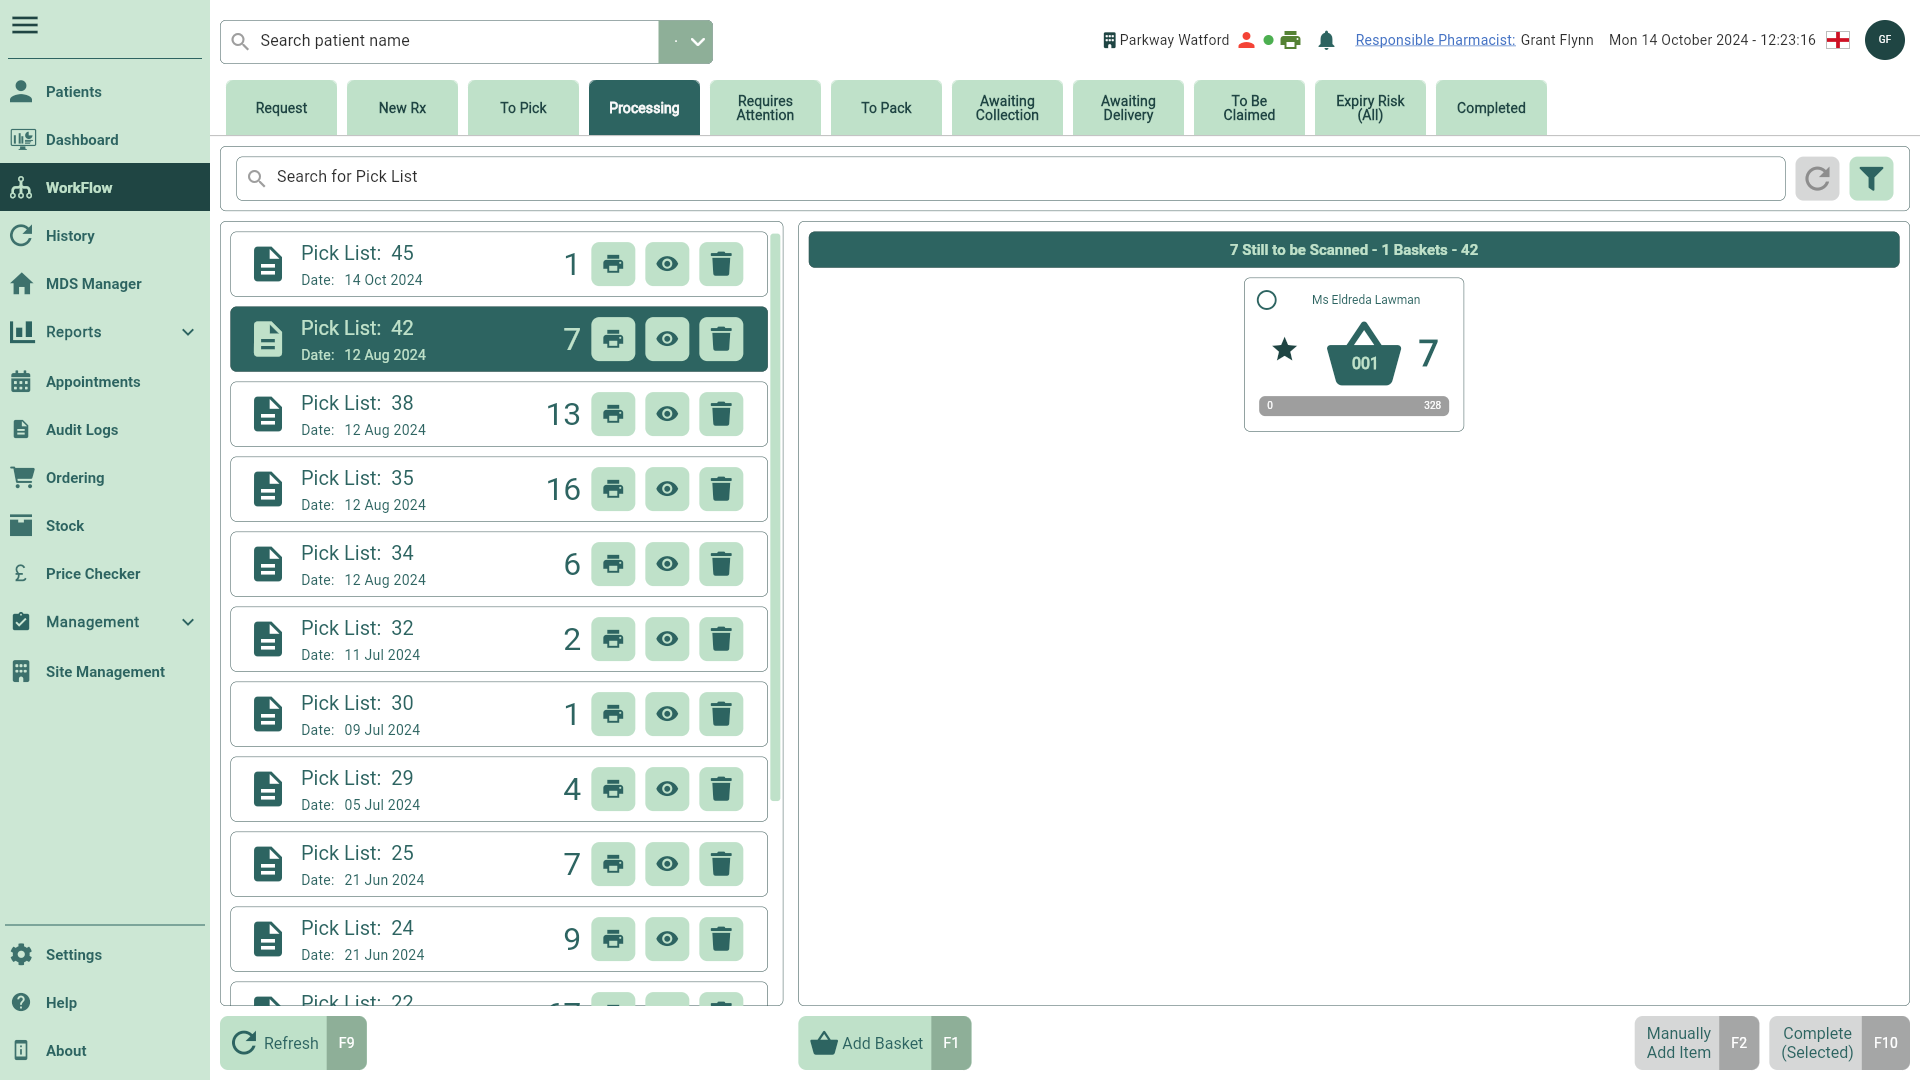
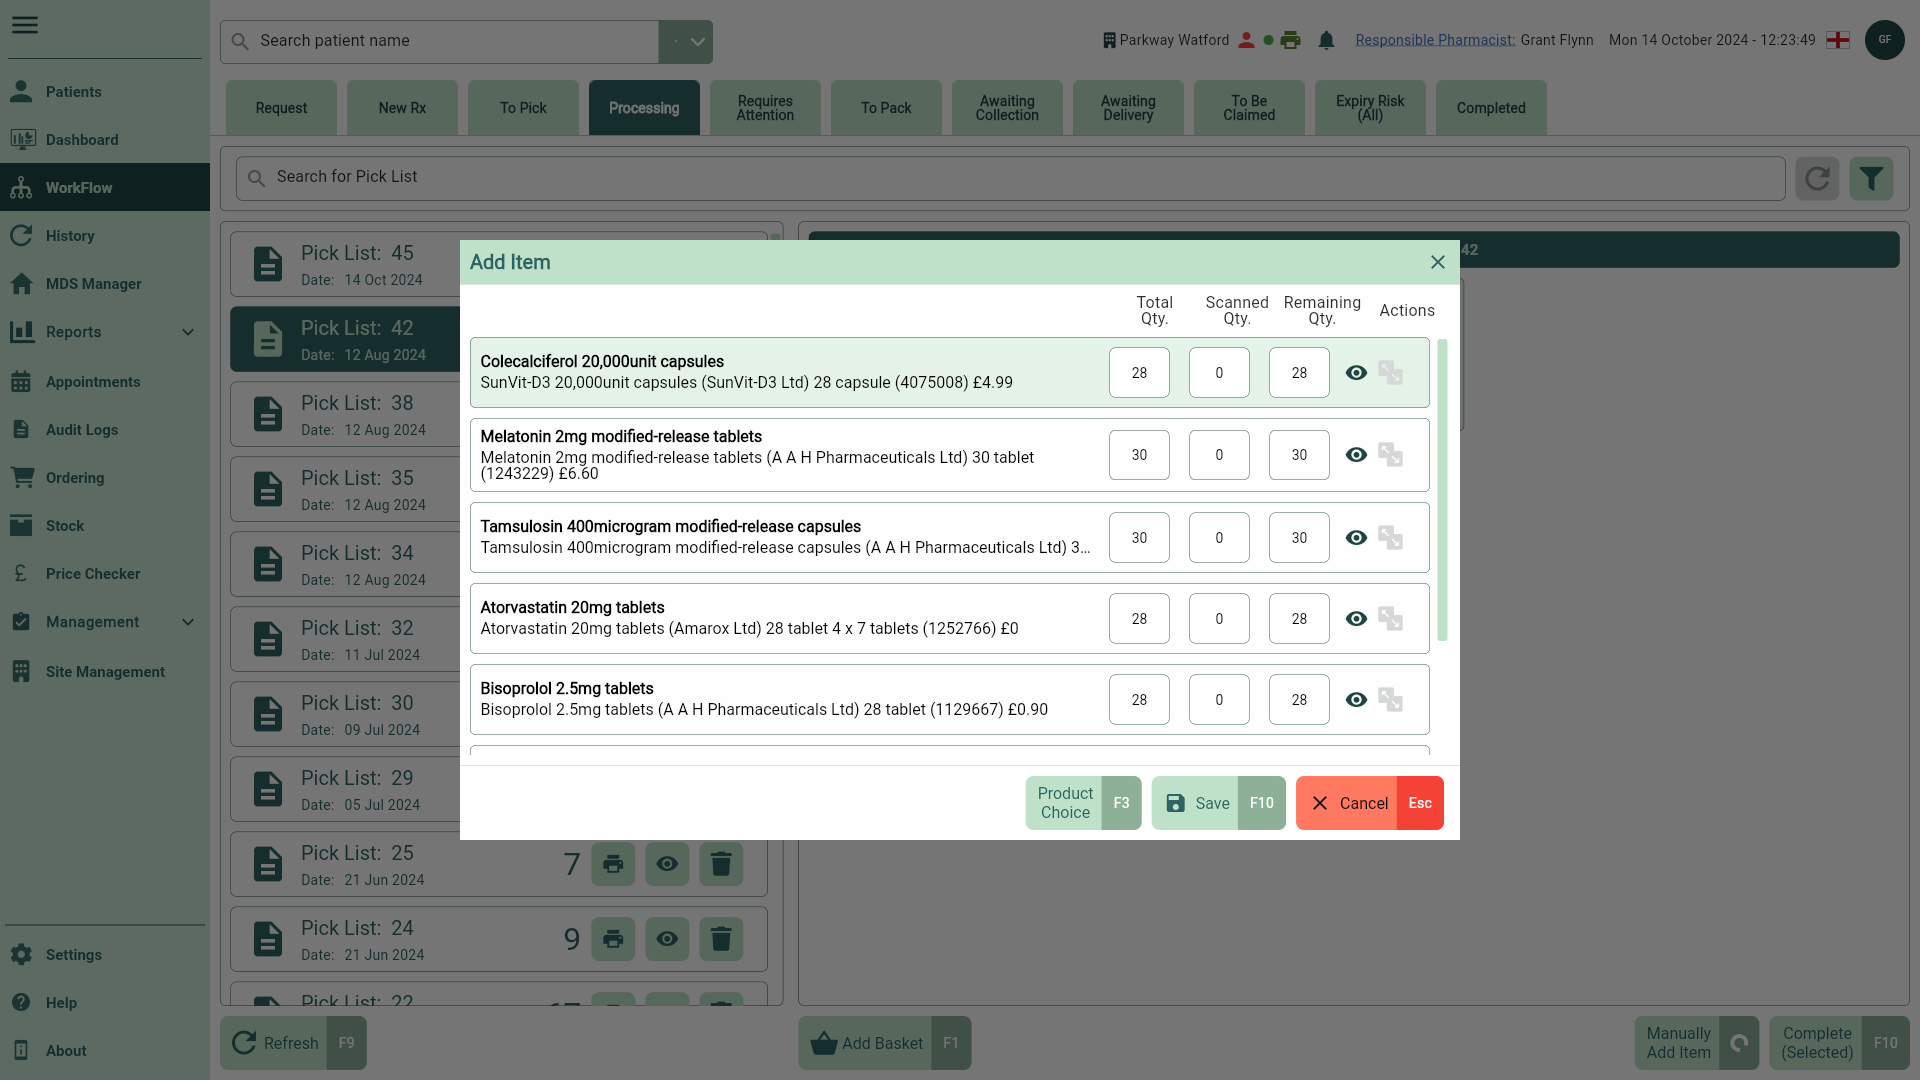
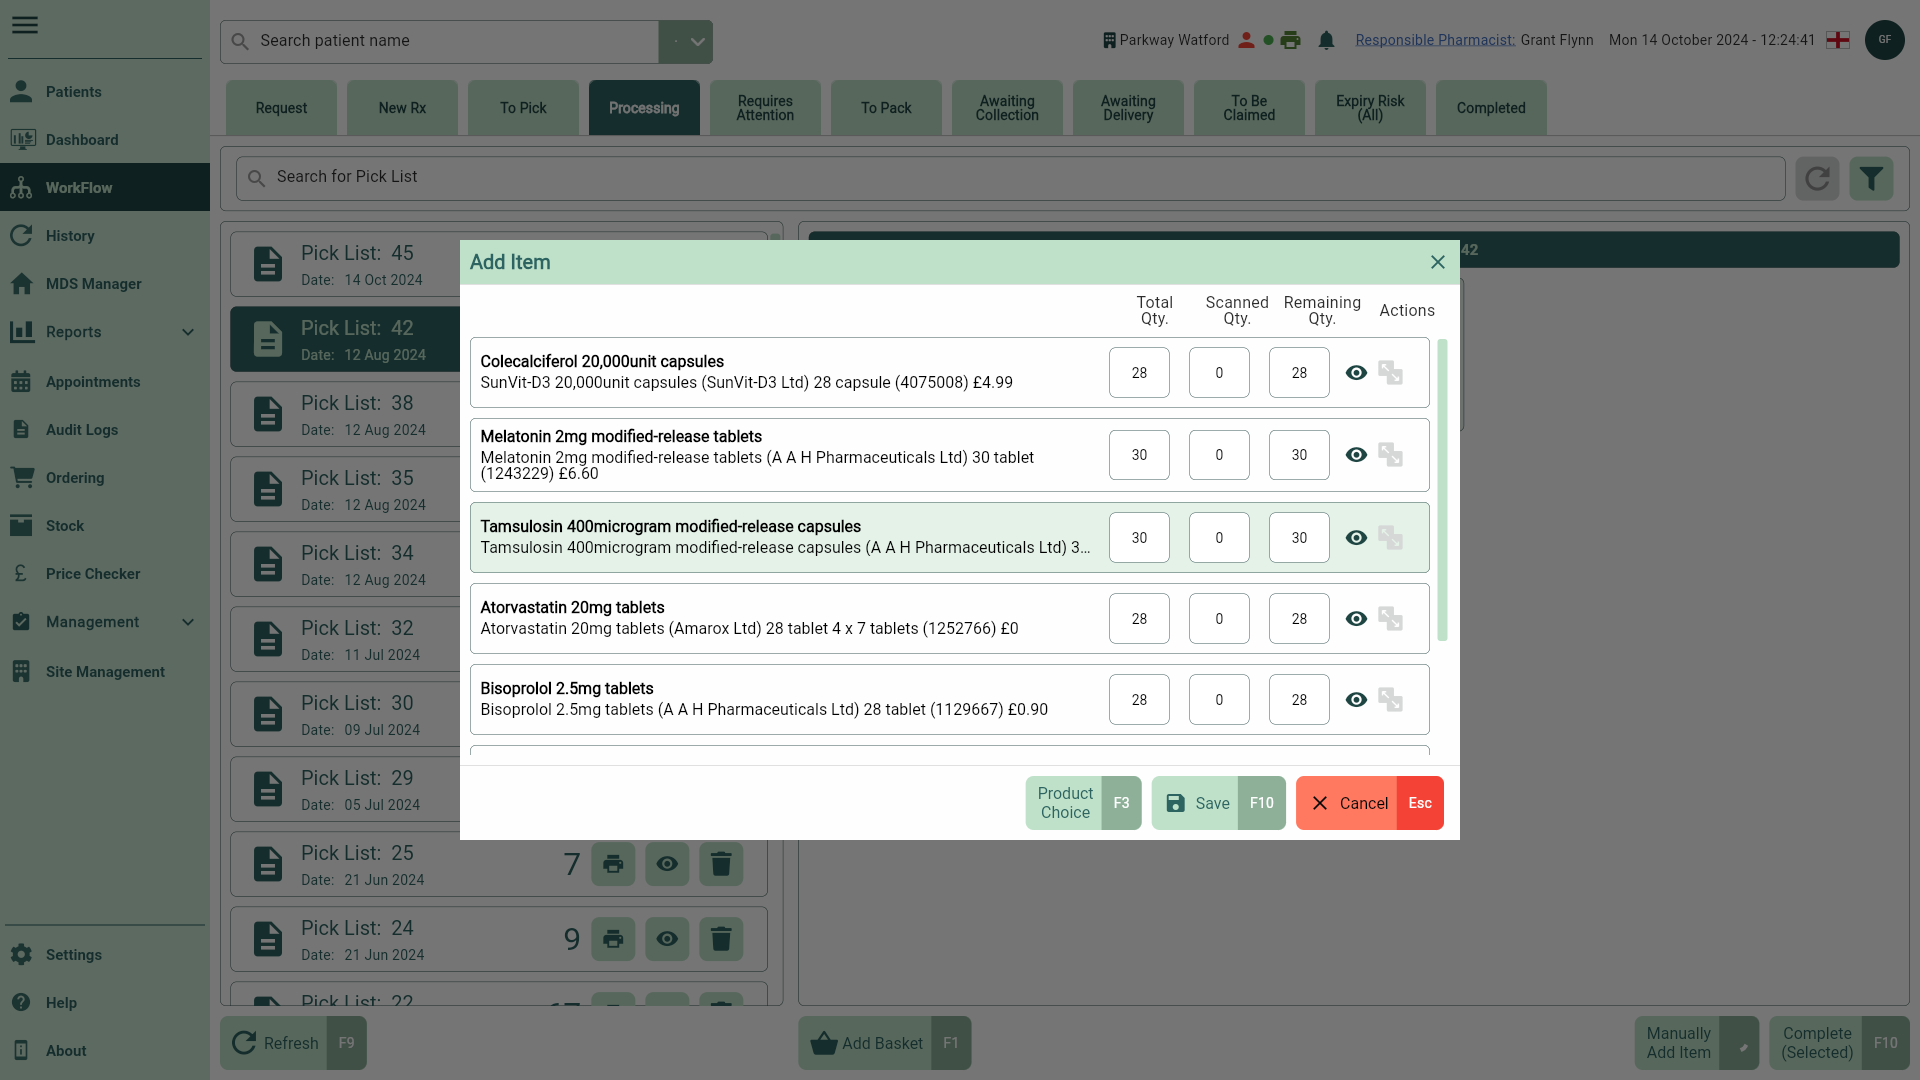
- Highlight a basket and select the [Manually Add Item - F2] button. The Add Item window displays. From here you can:
- Preview your labels by selecting the
 View icon in the Actions column.
 - Select the
 Label Split icon in the Actions column if you need to change the number of labels being printed. This will open the Label Split window. You can print the total dispensed quantity on a single label, split the quantity over several labels or add extra labels if required.
- Preview your labels by selecting the
Label Split will be disabled for MDS items, and labels will not be printed at this stage. Hover your cursor over the disabled Label Split icon to display the MDS Item tooltip.
Learn how to amend the number of labels being printed from the Label Split window
If you need to split the dispensed quantity across multiple labels, or add extra labels follow steps below:
- Select the adjacent Label Split icon in the Actions column to open the Label Split window.
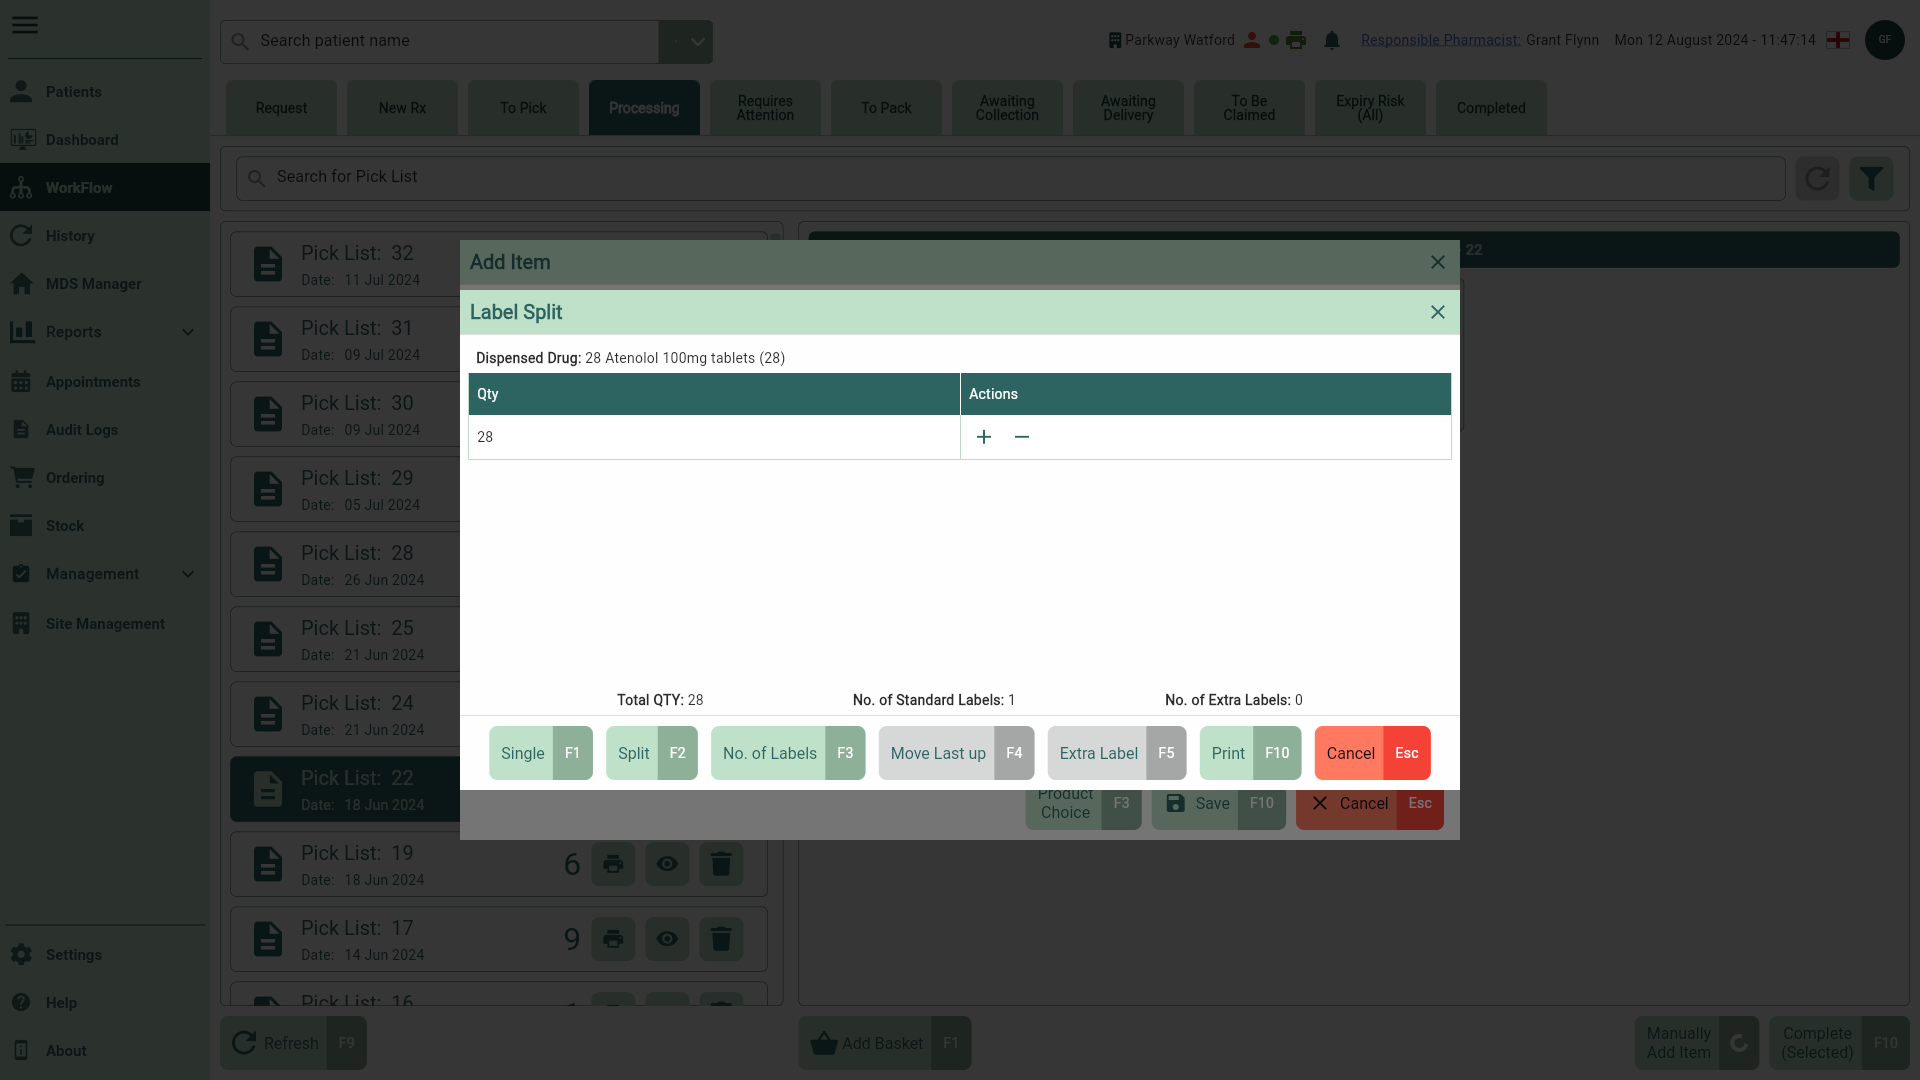
Each standard label is represented in a single row with a quantity to be printed. You can add an extra label by selecting the  Add icon, with the total number of additional labels shown in the totals summary. To reduce the extra label count by one, select the
  Minus icon. To remove a row, select the
  Delete icon. Note: the Delete icon is disabled if only one label remains in the grid.
From here, use the available function keys to manage your label preferences:
[Single – F1]: Select to print the total quantity onto one label.
[Split – F2]: Add an additional row to the grid, the total quantity is 'split' and divided by the total number of rows.
[No. of Labels – F3]: Select to manually enter a numerical value which will then automatically split the total quantity across the labels accordingly.
[Move Last Up – F4]: The removed quantity will be added to the total to the row above. The [Move Last Up - F4] button is disabled when only one label is displayed in the grid.
[Extra Label – F5]: Adds an extra label to the selected row. The total number of extra labels are indicated in the totals summary.
- Select the [Print – F10] button to print your labels.
- Locate and select the item you wish to amend.
- Select the [Product Choice - F3] button. The Product Choice window displays.
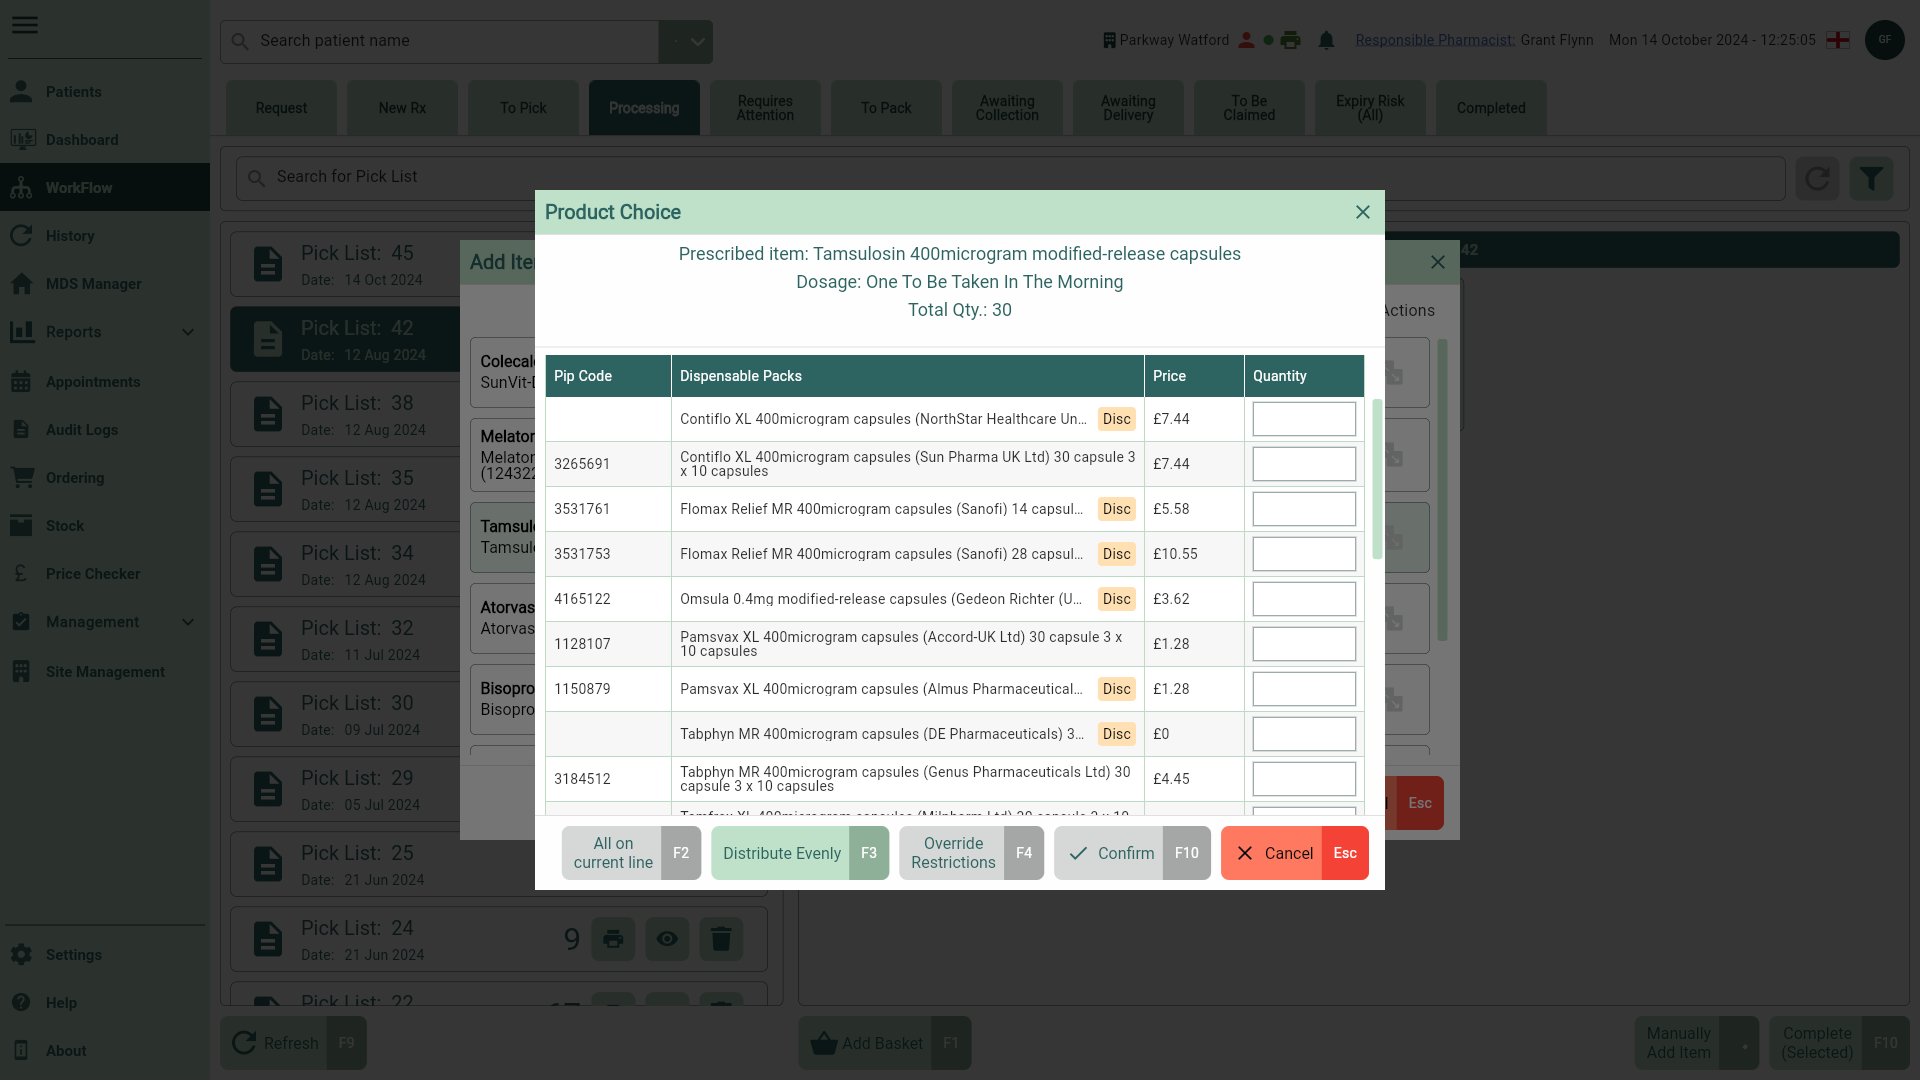
- Select the correct dispensable pack(s) based on current restrictions by populating the dispensed quantity in the Quantity field.
You can make use of the function keys in this window to assign the total quantity to the highlighted pack using the [All On Current Line - F2] button, or distribute the quantity across all available packs using the [Distribute Evenly - F3] button.
- Confirm your selection using the [Confirm - F10] button.
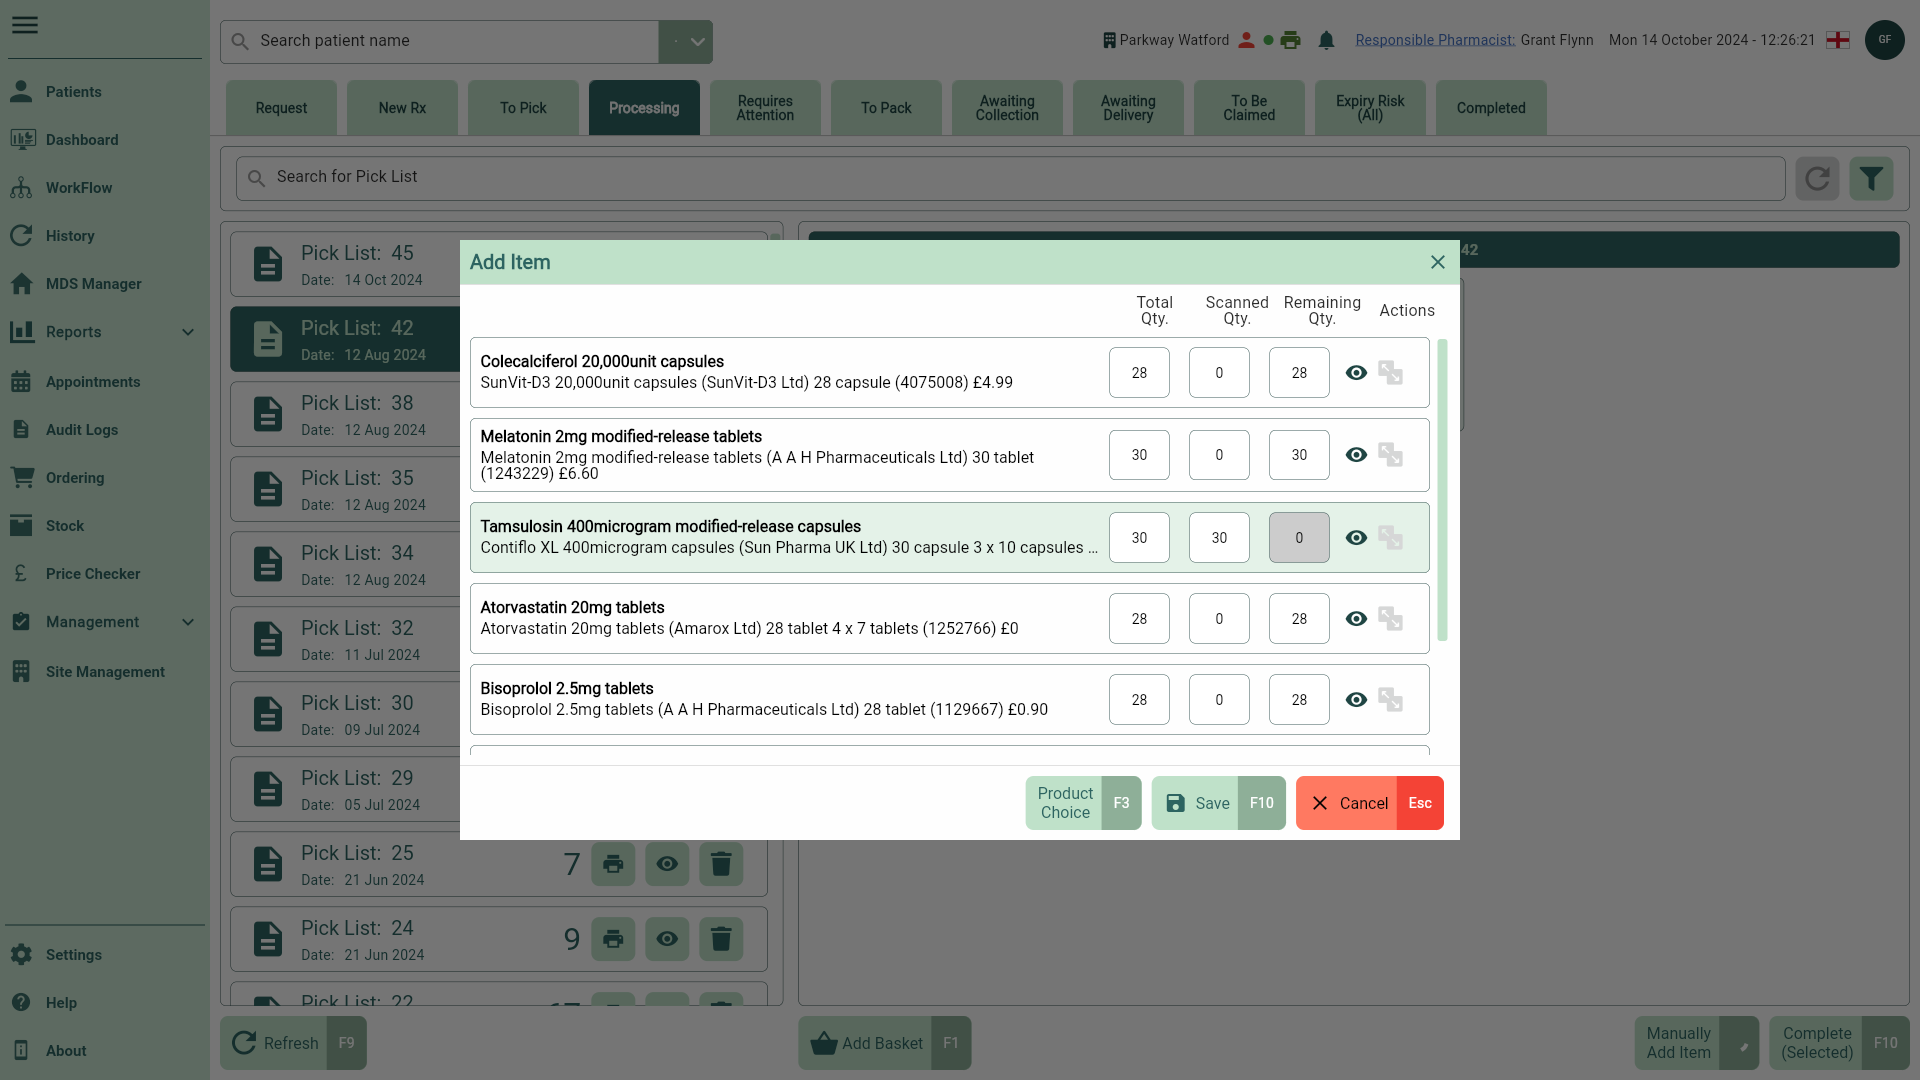
- Once you are happy with your update(s), select the [Save - F10] button to save. The Add Item window closes and you're returned to the Processing tab.
Once complete, the script(s) will be flagged as Accuracy check required and moved to the Requires Attention tab in Workflow for review. While you can view these scripts in the patient’s chosen fulfilment tab, they cannot be marked as collected or delivered until the check is completed. You can learn how to complete the accuracy check using our Completing accuracy checks article.