Reprinting labels in To Pack
You can reprint bag and dispensing labels from the To Pack tab on Workflow.
You will be prompted to select a printer if you do not have printers configured in your application settings. Learn how to configure printers by following our Configuring printers and label reports article.
Reprinting unbagged drug labels
Print drug labels for all unbagged items.
- To begin, select the To Pack tab in Workflow by selecting Workflow from the left-nav and the To Pack tab.
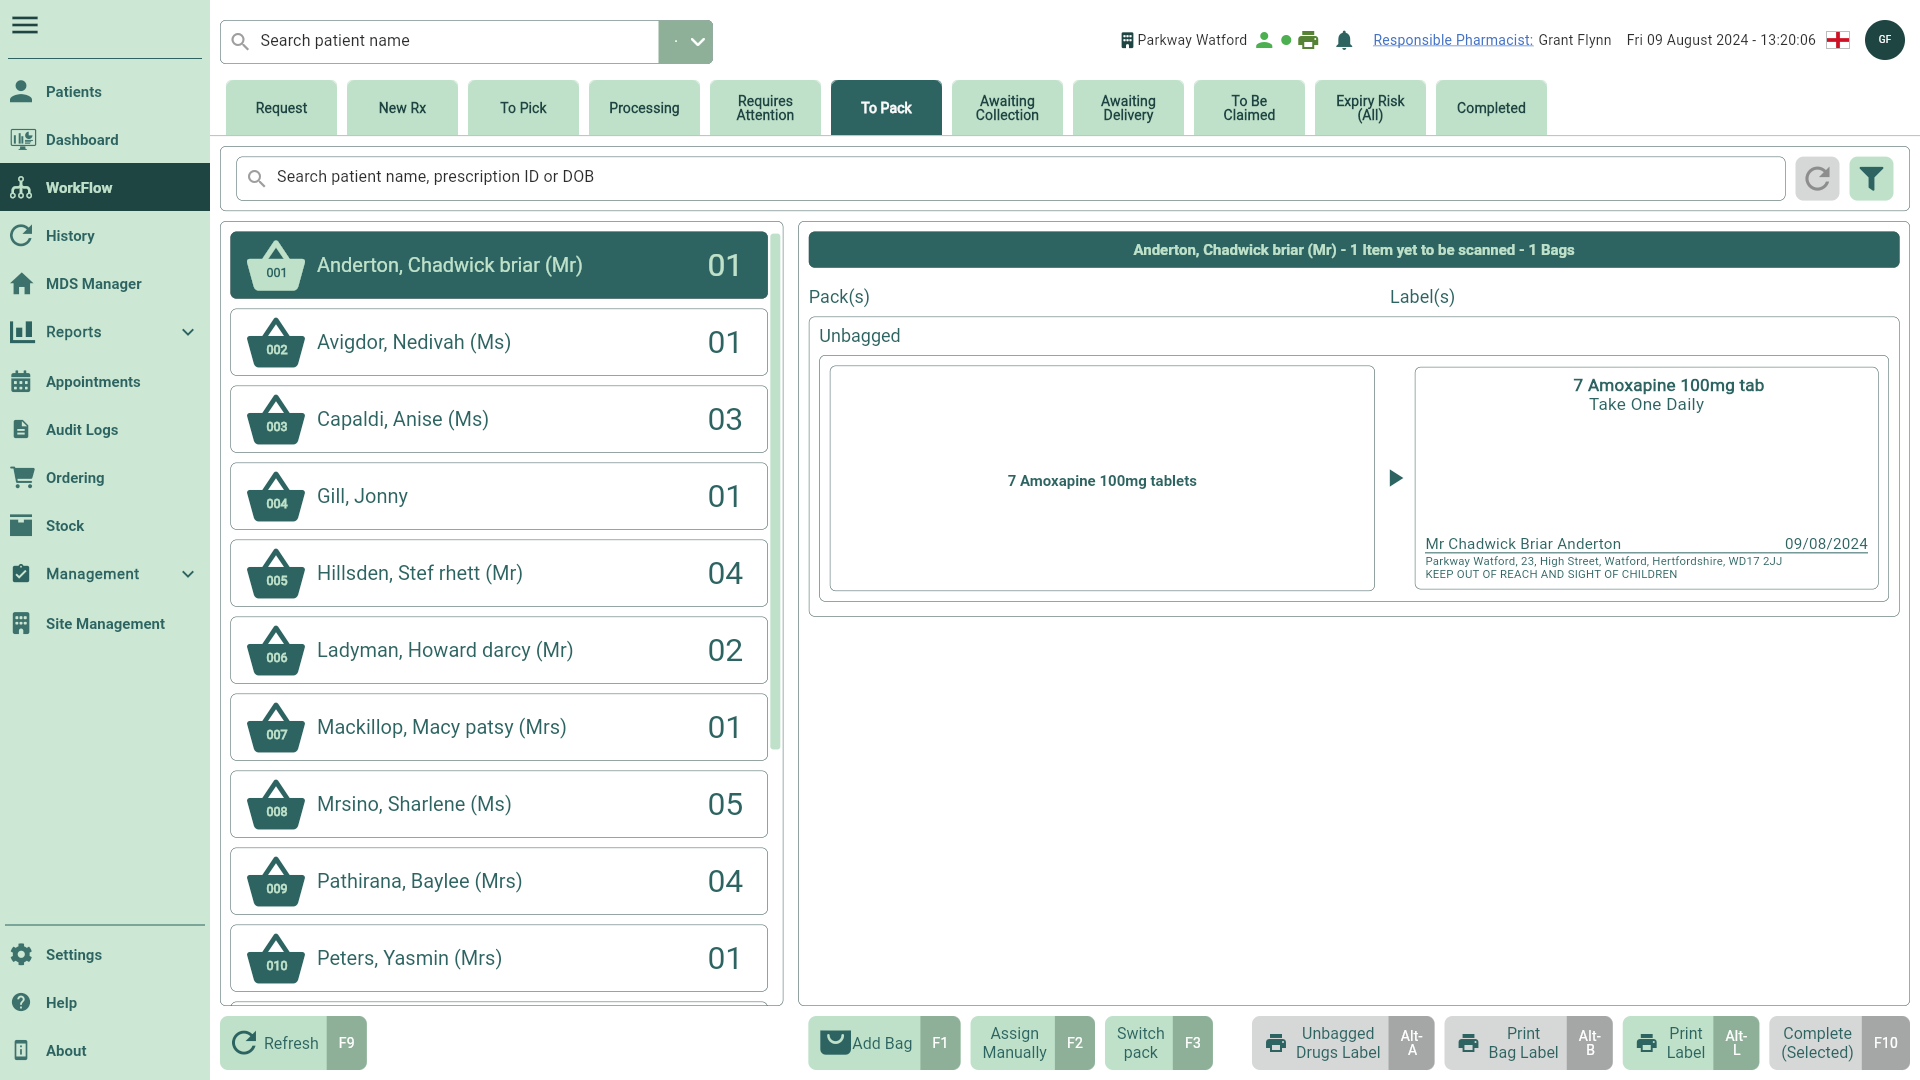
- Locate and select the required patient pack list from the left panel, if required you can use the filters to refine the grid.
You may need to select the [Refresh - F9] button on the To Pack Workflow tab to see any recent pack lists.
- Select the Unbagged dispensing label(s) on the right panel.
You must ensure an unbagged label is selected to enable the [Unbagged Drugs Label - Alt-A] button.

- Select the [Unbagged Drugs Label - Alt-A] button to print your labels.
Reprinting bag labels
Print a bag label for a highlighted bag.
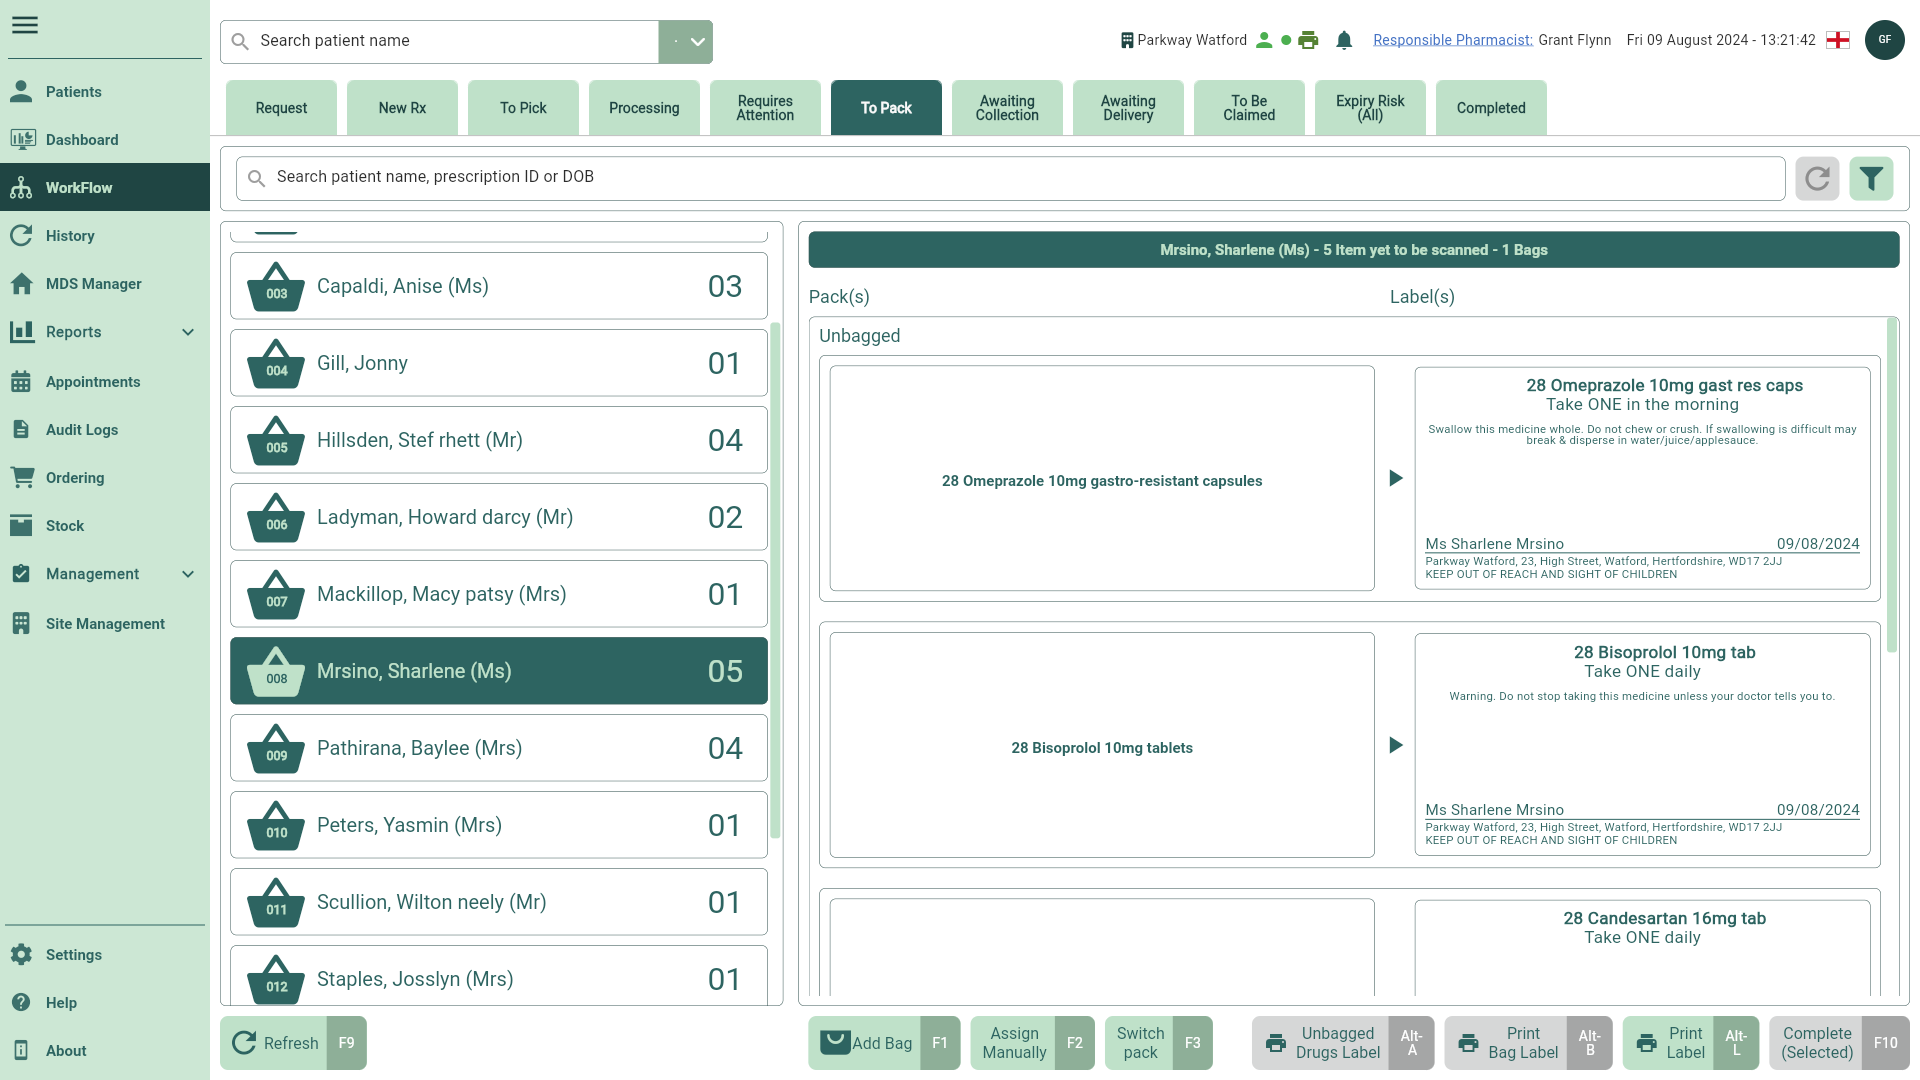
- To begin, select the To Pack tab in Workflow by selecting Workflow from the left-nav and the To Pack tab.
- Locate and select the required patient pack list from the left panel, if required you can use the filters to refine the grid.
You may need to select the [Refresh - F9] button on the To Pack Workflow tab to see any recent pack lists.
- Select the [Add Bag - F1] button to assign a bag to your pack list.
You must ensure a bag is assigned to enable the [Print Bag Label - Alt-B] button.
- Select the [Print Bag Label - Alt-B] button to print a bag label.
Reprinting dispensing labels
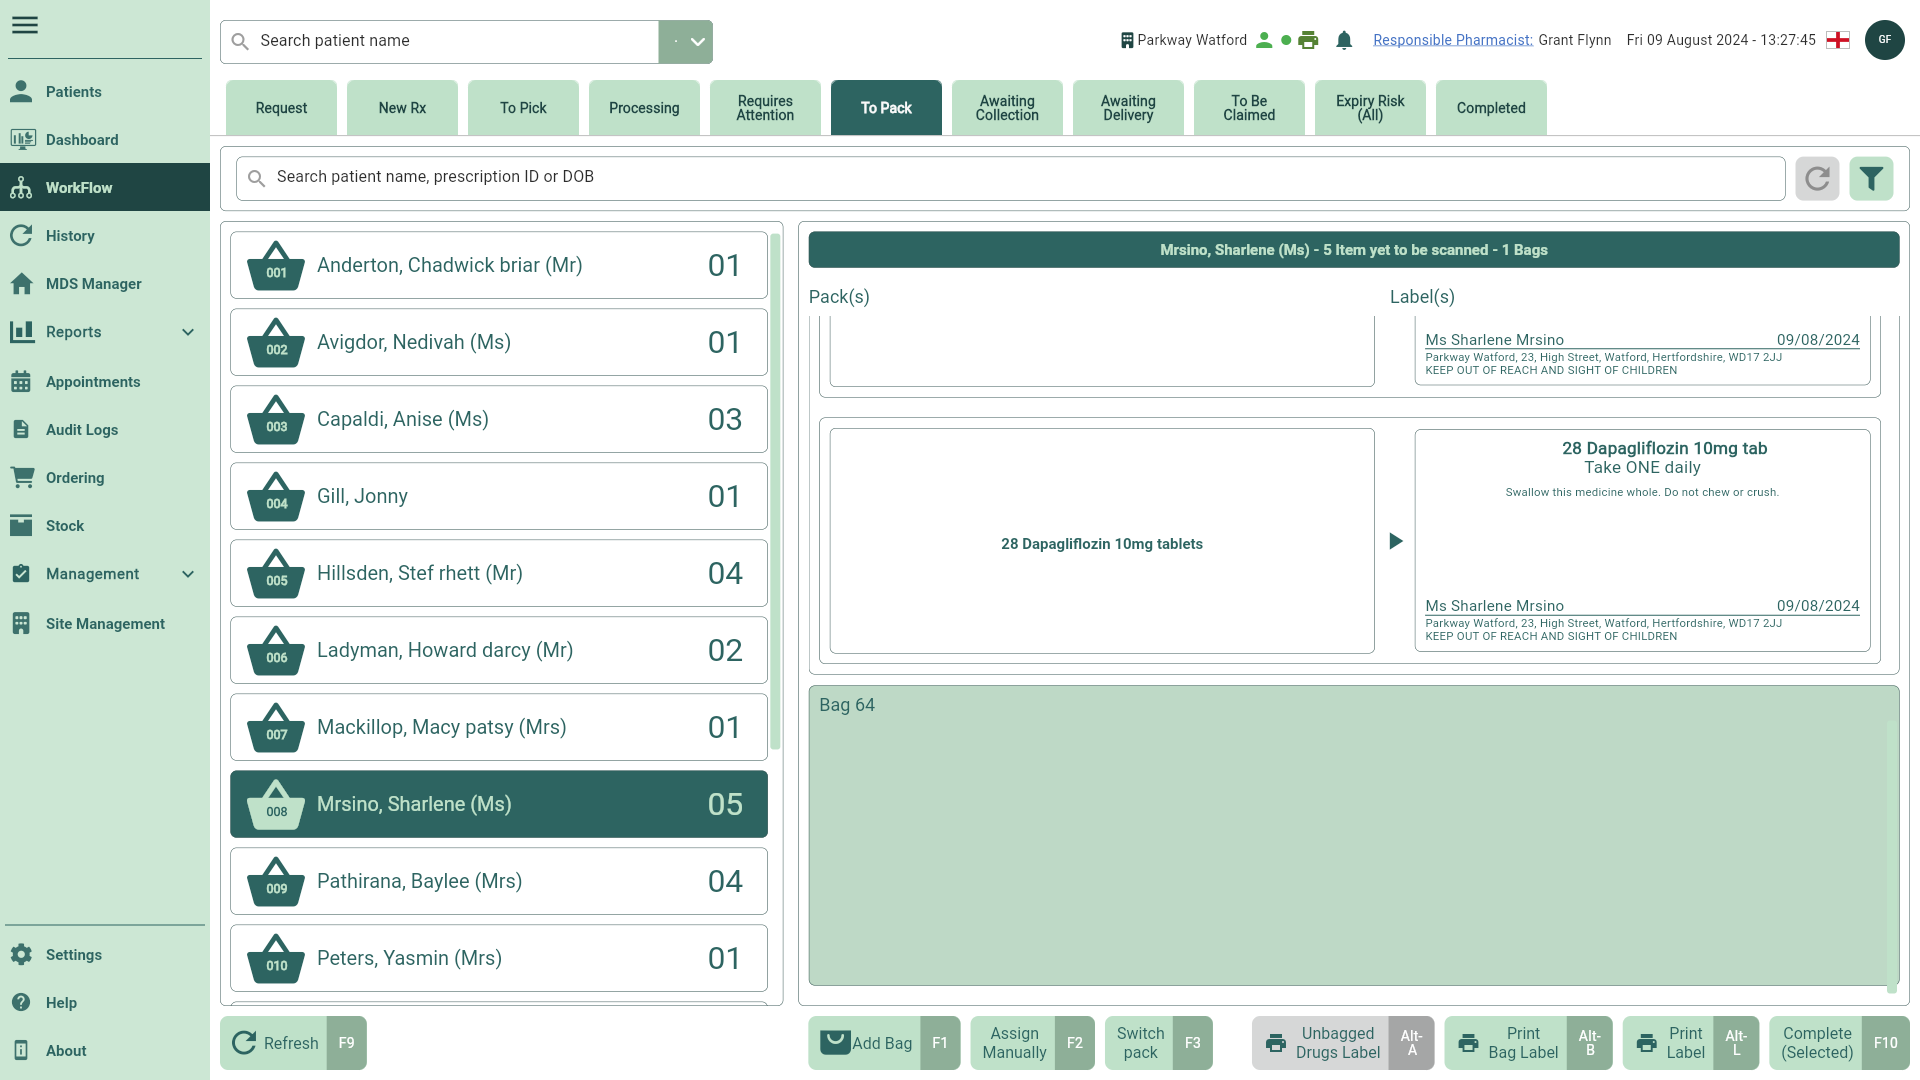
- To begin, select the To Pack tab in Workflow by selecting Workflow from the left-nav and the To Pack tab.
- Locate and select the required patient pack list from the left panel, if required you can use the filters to refine the grid.
You may need to select the [Refresh - F9] button on the To Pack Workflow tab to see any recent pack lists.
- Select the [Print Label - Alt-L] button. The Print Label window displays.
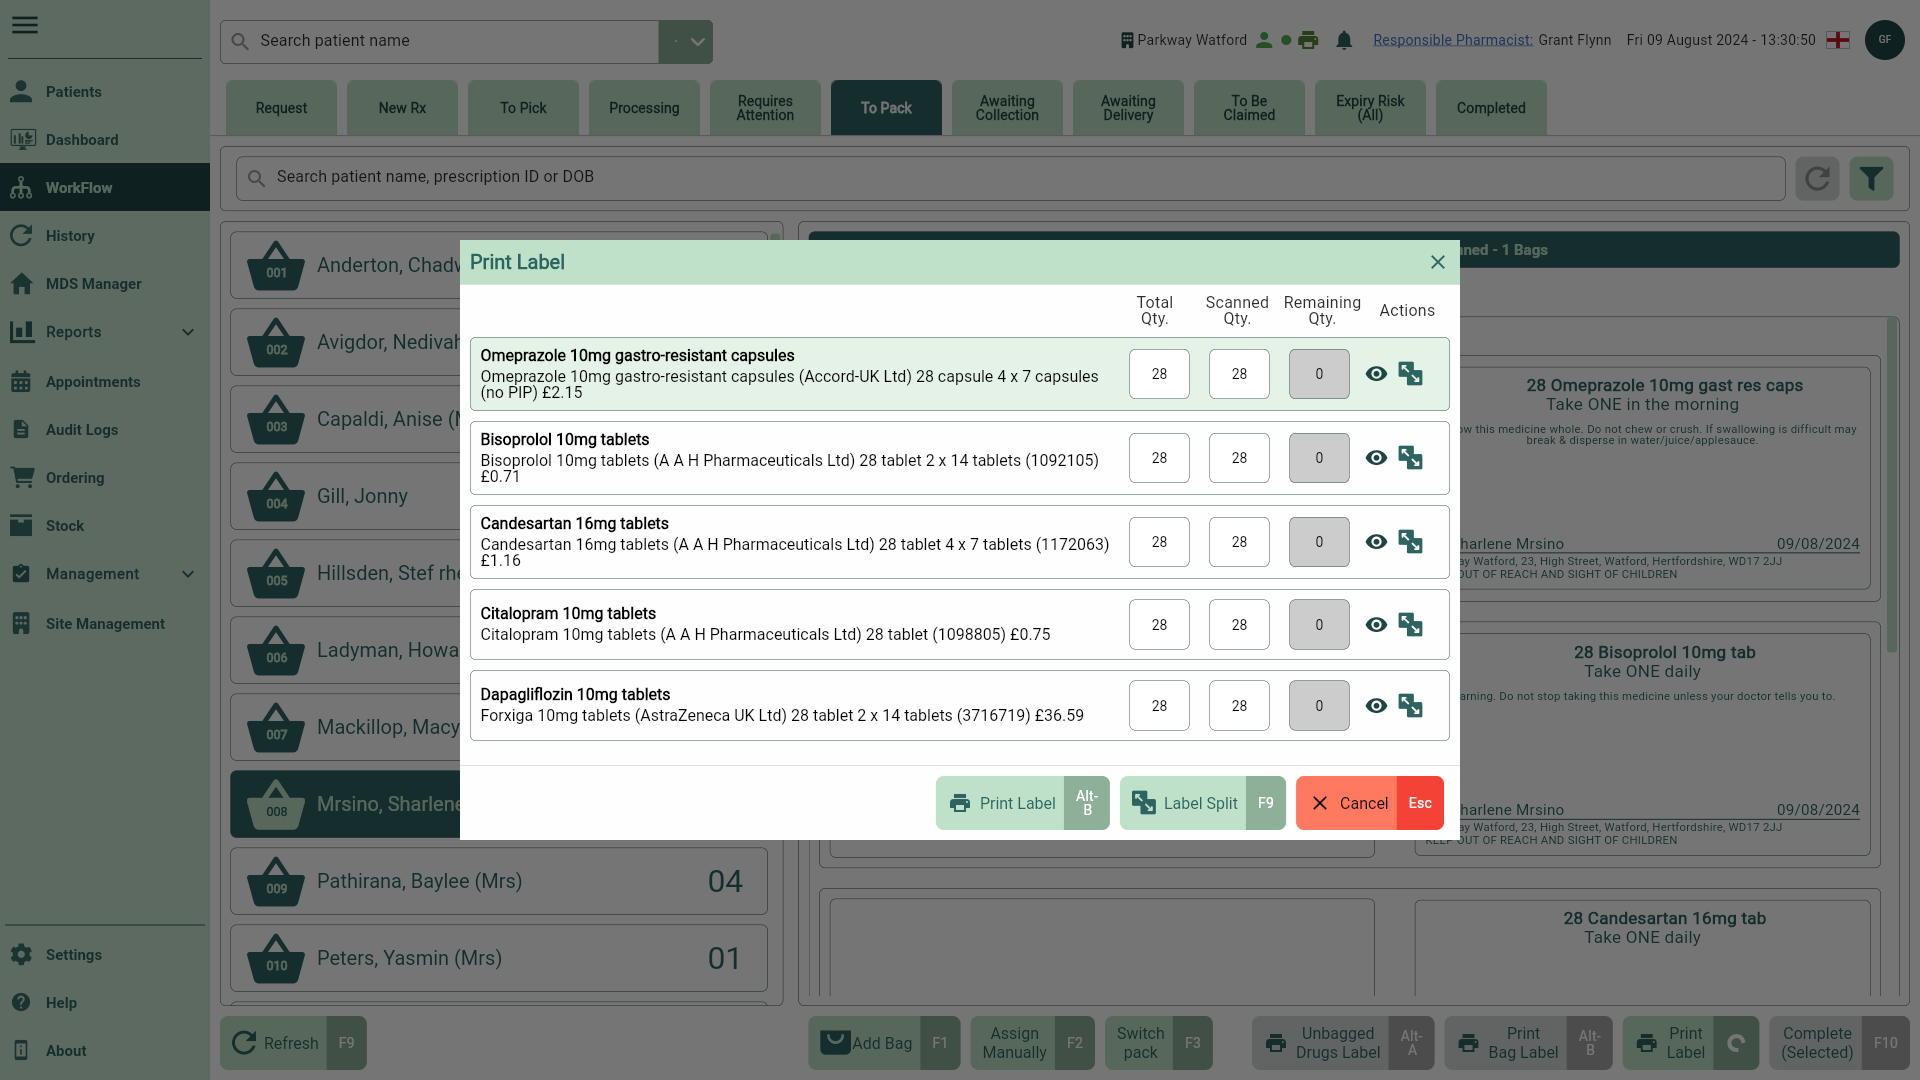
- Highlight the required item, then use the fields below to perform the available actions:
| Field | Description |
|---|---|
| View | To preview how your label will look, select the  View icon in the Actions column. Your label will display information such as patient demographics, item quantity, dosage and any advisory warnings. View icon in the Actions column. Your label will display information such as patient demographics, item quantity, dosage and any advisory warnings. |
| [Label Split - F9] | Select the [Label Split - F9] button or the  Label Split icon in the Actions column if you need to change the number of labels being printed. This will open the Label Split window. You can print the total dispensed quantity on a single label, split the quantity over several labels or add extra labels if required. Label Split icon in the Actions column if you need to change the number of labels being printed. This will open the Label Split window. You can print the total dispensed quantity on a single label, split the quantity over several labels or add extra labels if required. |
| [Print Label - Alt-B] | Select the [Print Label - Alt-B] button to reprint your label. |
| [Cancel - Esc] | If you no longer wish to print labels, select the [Cancel - Esc] button to close the window. |
Learn how to amend the number of labels being printed from the Label Split window
If you need to split the dispensed quantity across multiple labels, or add extra labels follow steps below:
- Highlight the item in the Print label window and then select the [Label Split – F9] button or the adjacent Label Split icon in the Actions column. The Label Split window displays.
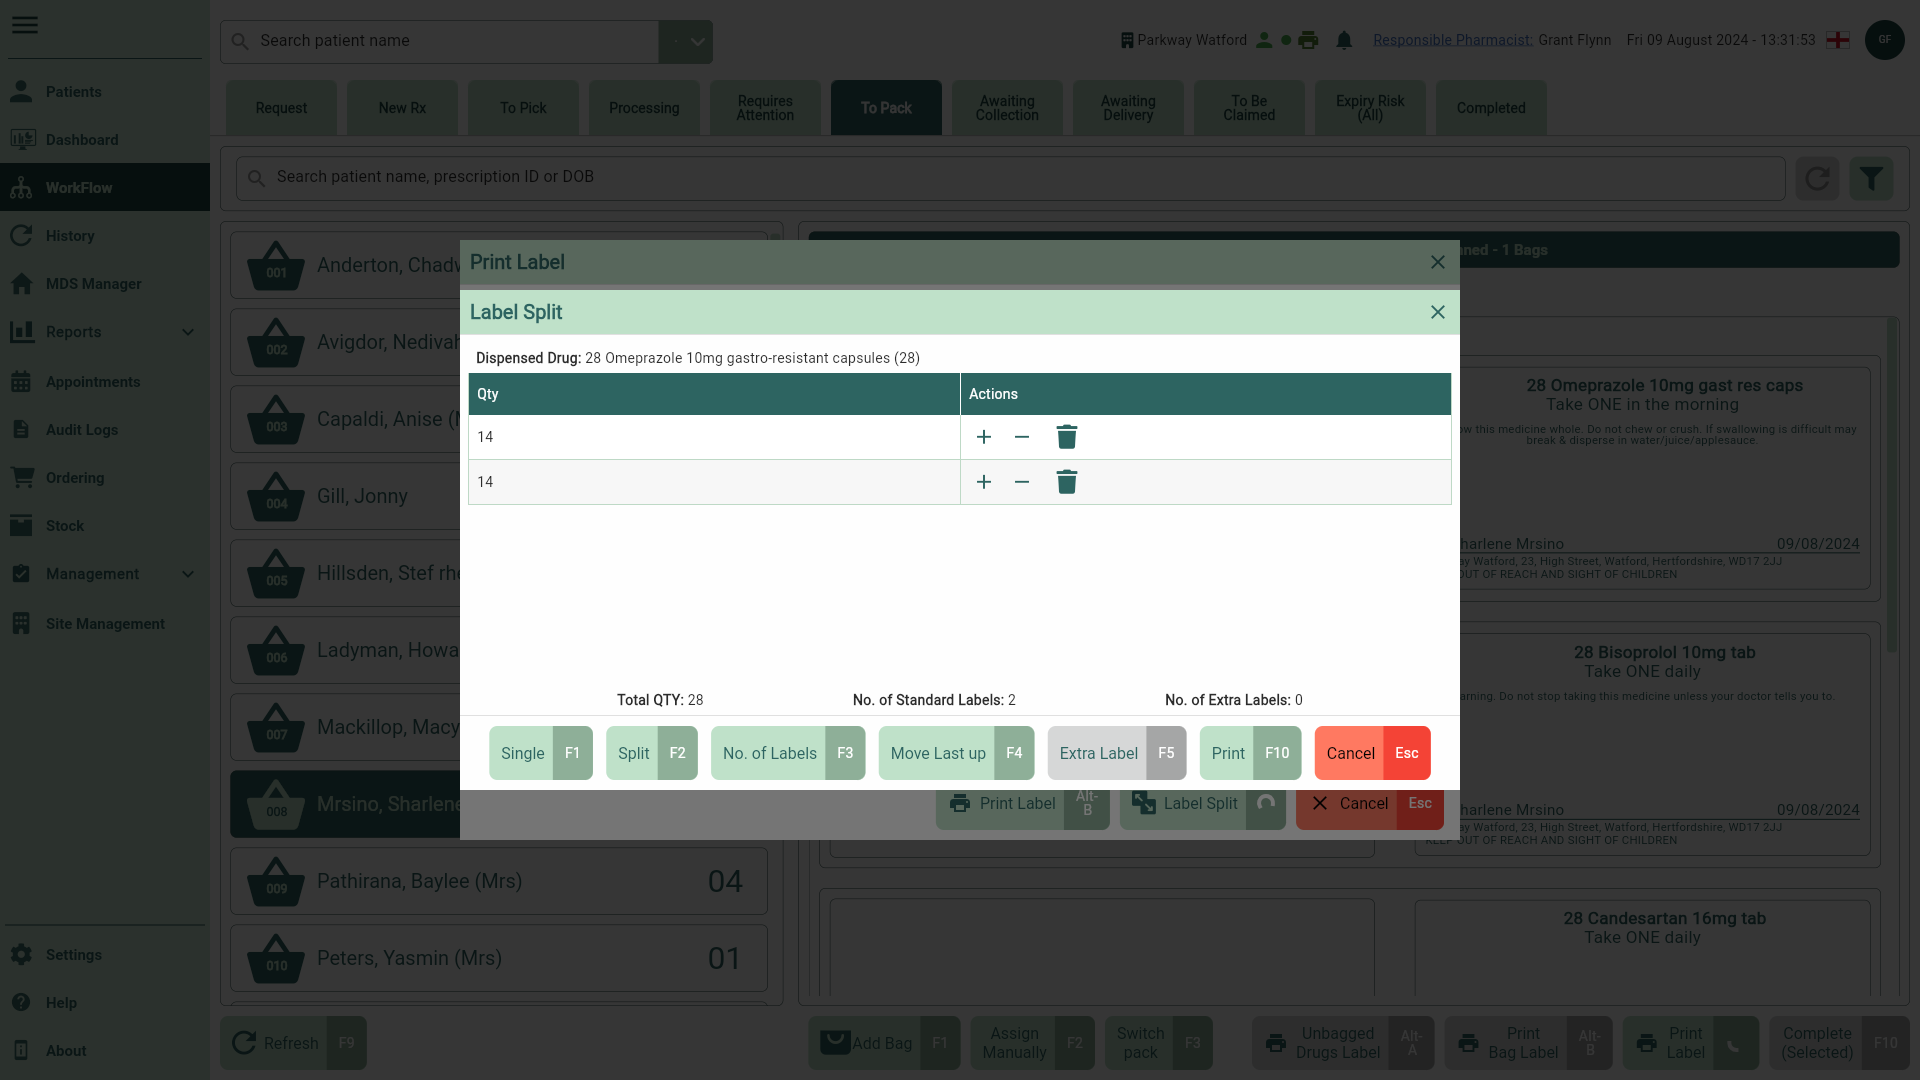
Each standard label is represented in a single row with a quantity to be printed. You can add an extra label by selecting the  Add icon, with the total number of additional labels shown in the totals summary. To reduce the extra label count by one, select the
  Minus icon. To remove a row, select the
  Delete icon. Note: the Delete icon is disabled if only one label remains in the grid.
From here, use the available function keys to manage your label preferences:
[Single – F1]: Select to print the total quantity onto one label.
[Split – F2]: Add an additional row to the grid, the total quantity is 'split' and divided by the total number of rows.
[No. of Labels – F3]: Select to manually enter a numerical value which will then automatically split the total quantity across the labels accordingly.
[Move Last Up – F4]: The removed quantity will be added to the total to the row above. The [Move Last Up - F4] button is disabled when only one label is displayed in the grid.
[Extra Label – F5]: Adds an extra label to the selected row. The total number of extra labels are indicated in the totals summary.
- Select the [Print – F10] button to print your labels.