Completing accuracy checks
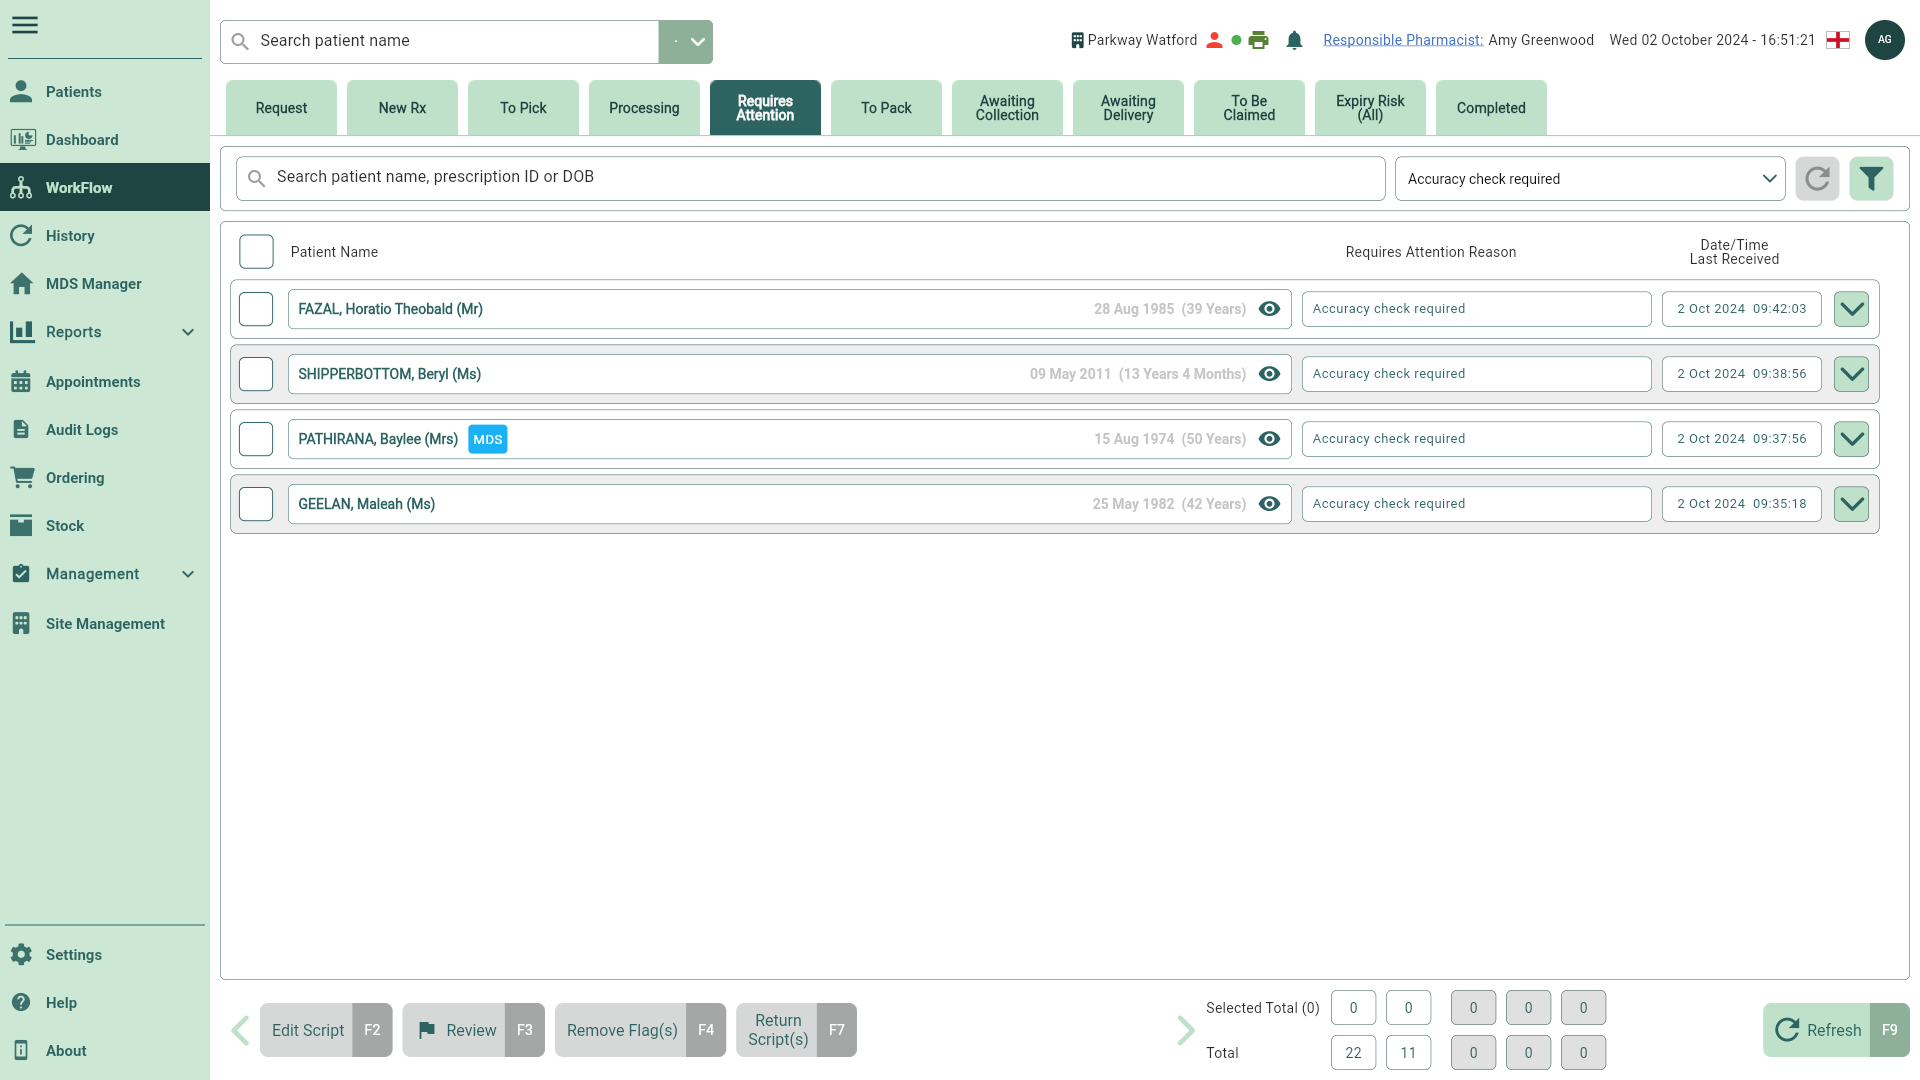
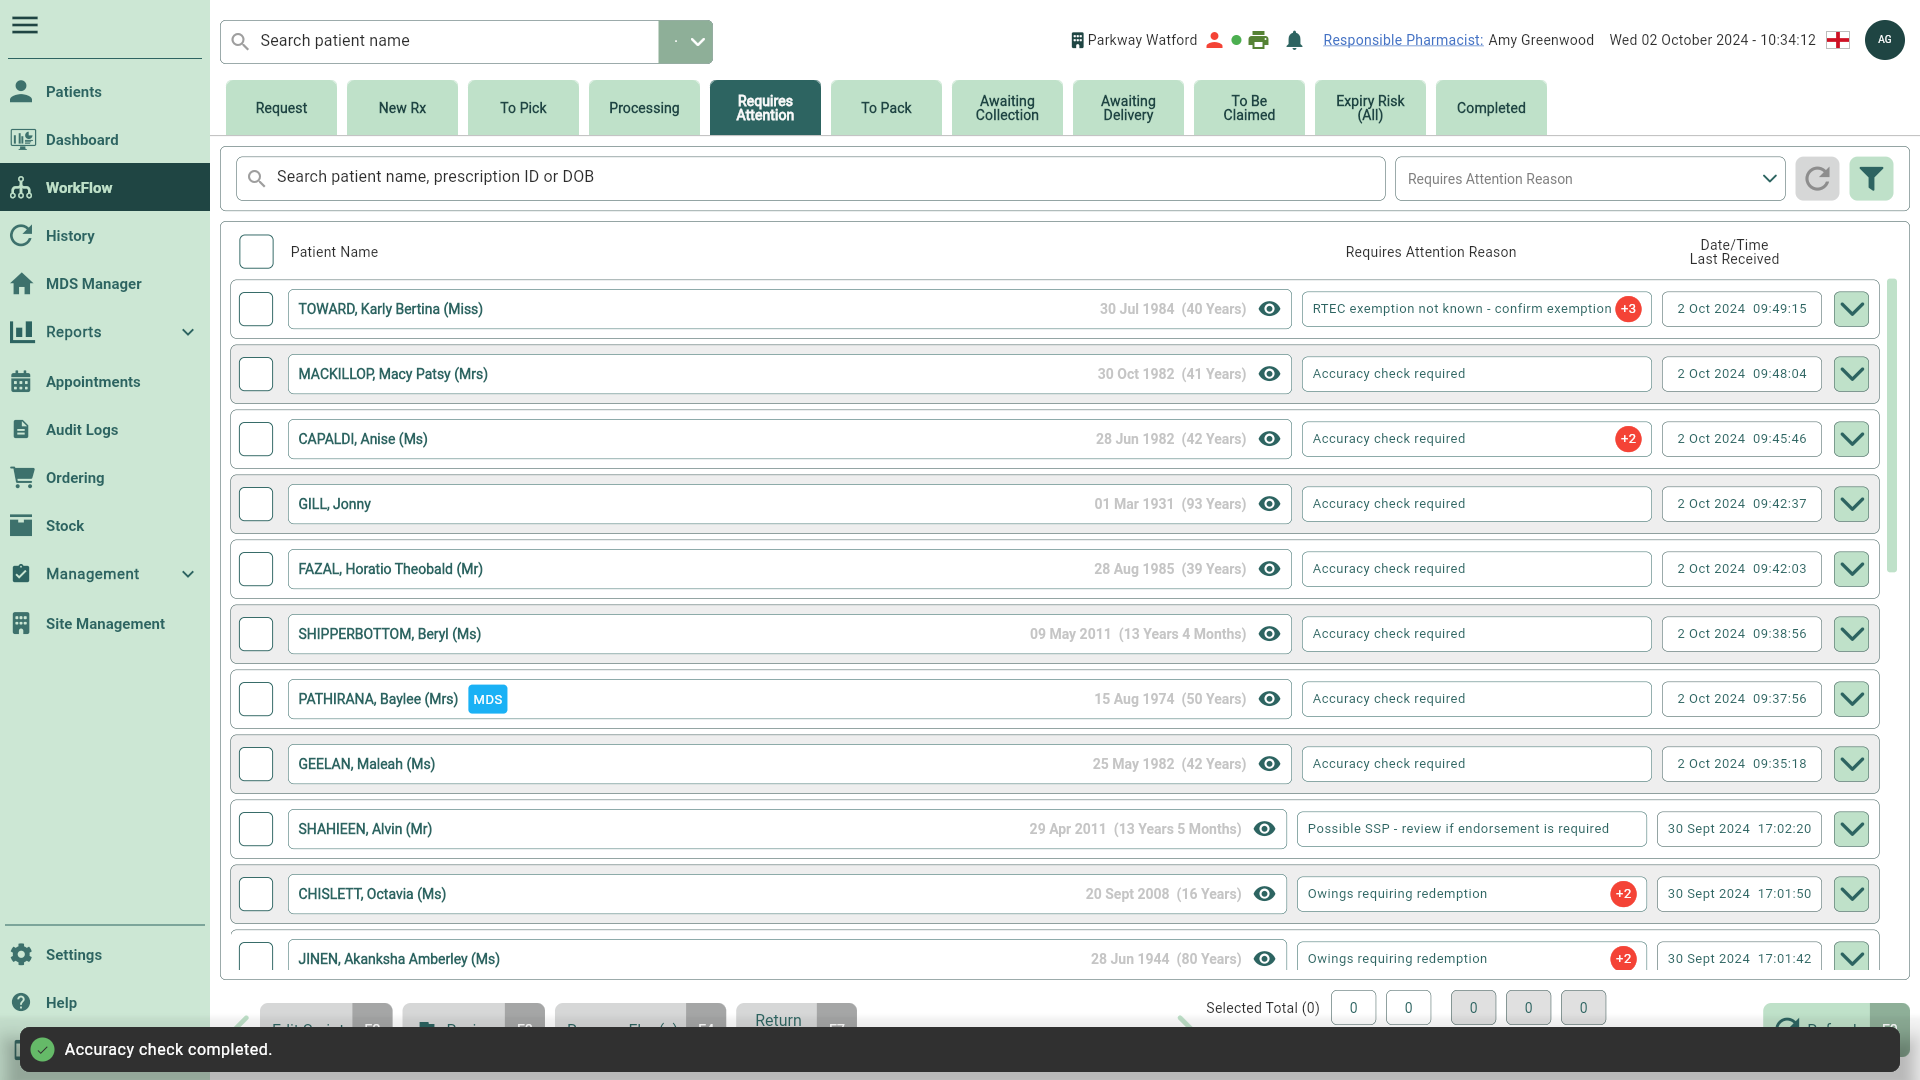
Learn how to complete an accuracy check for scripts that have had items manually added or assigned. These scripts will automatically be flagged as Accuracy check required by Apotec CRM. These scripts cannot be collected or delivered until the check has been completed and the flag is removed. You can find these prescriptions in the Requires Attention tab of Workflow.
Completing an accuracy check
Accuracy checks can only be performed by an ACT or Pharmacist level users.
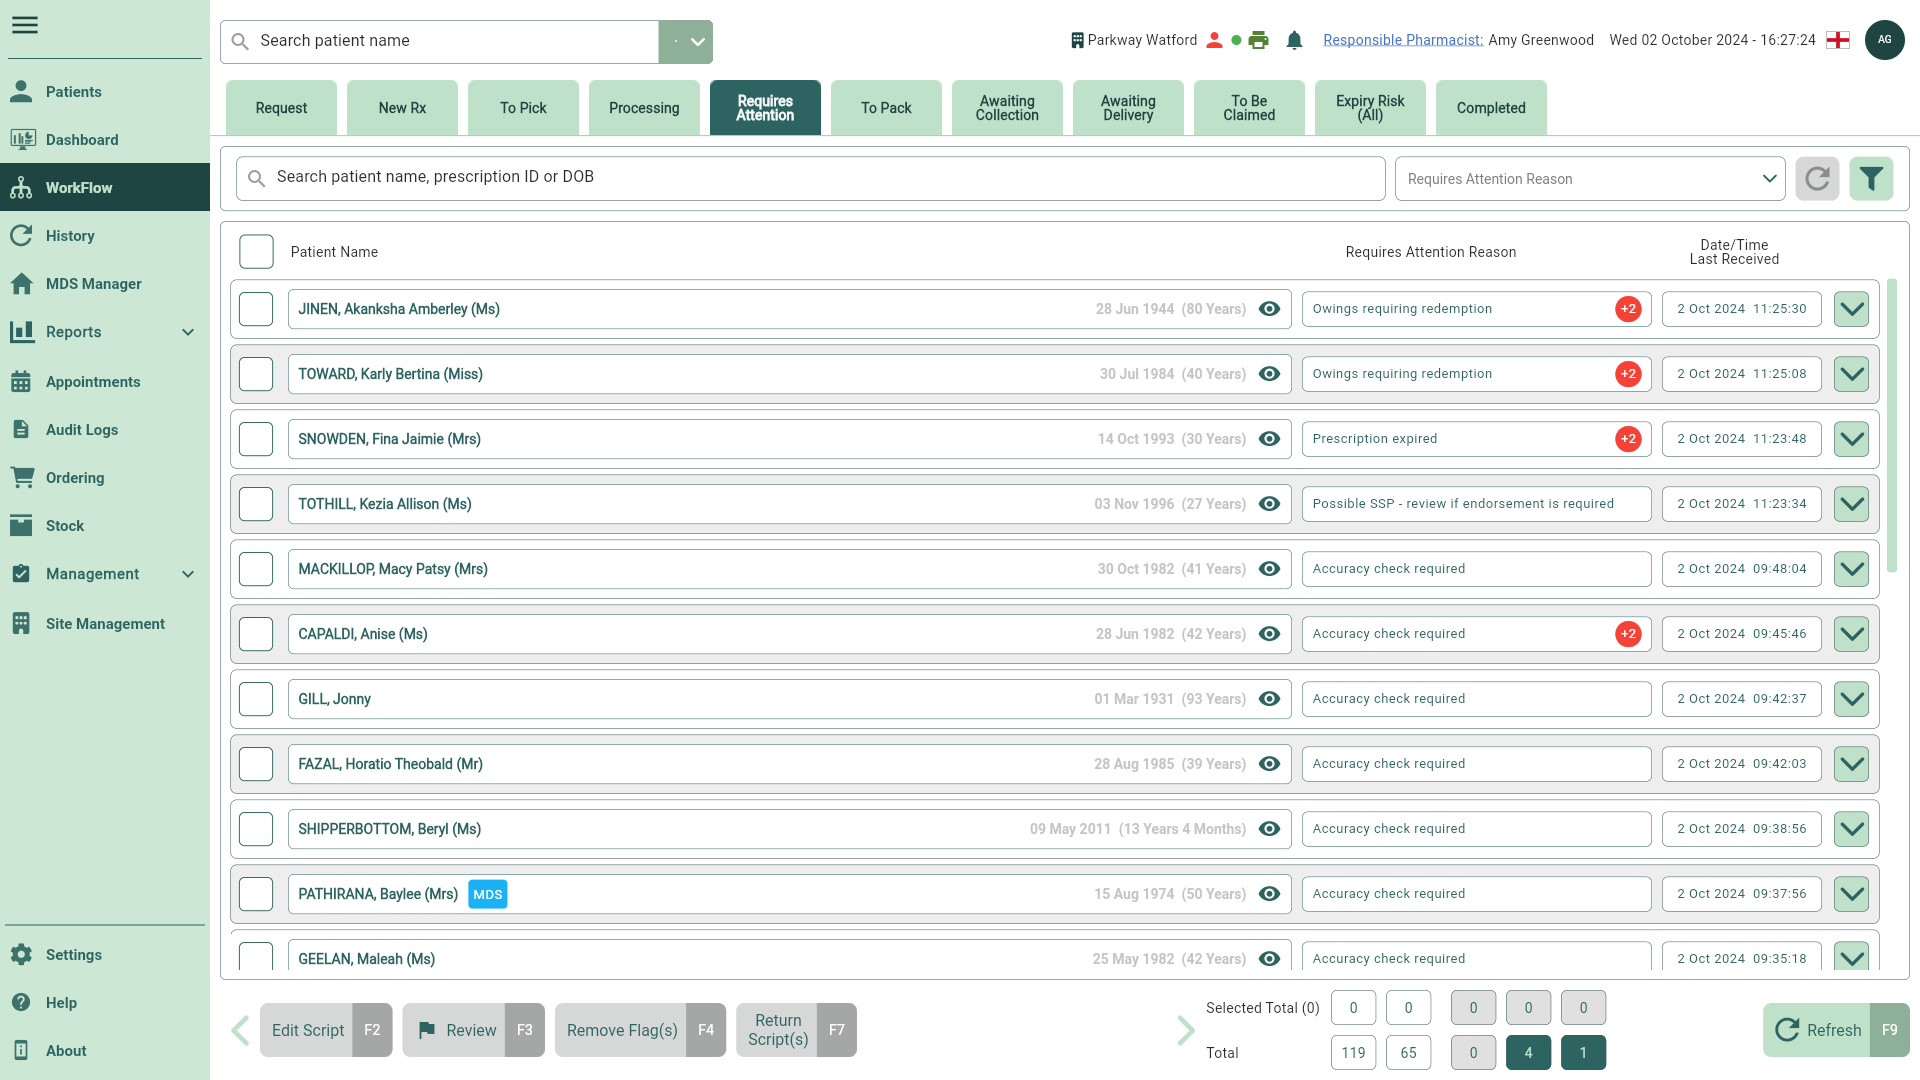
- To begin, select the Requires Attention tab in Workflow by selecting Workflow from the left-nav and the Requires Attention tab.
- Select a patient with the Requires Attention Reason as Accuracy check required.
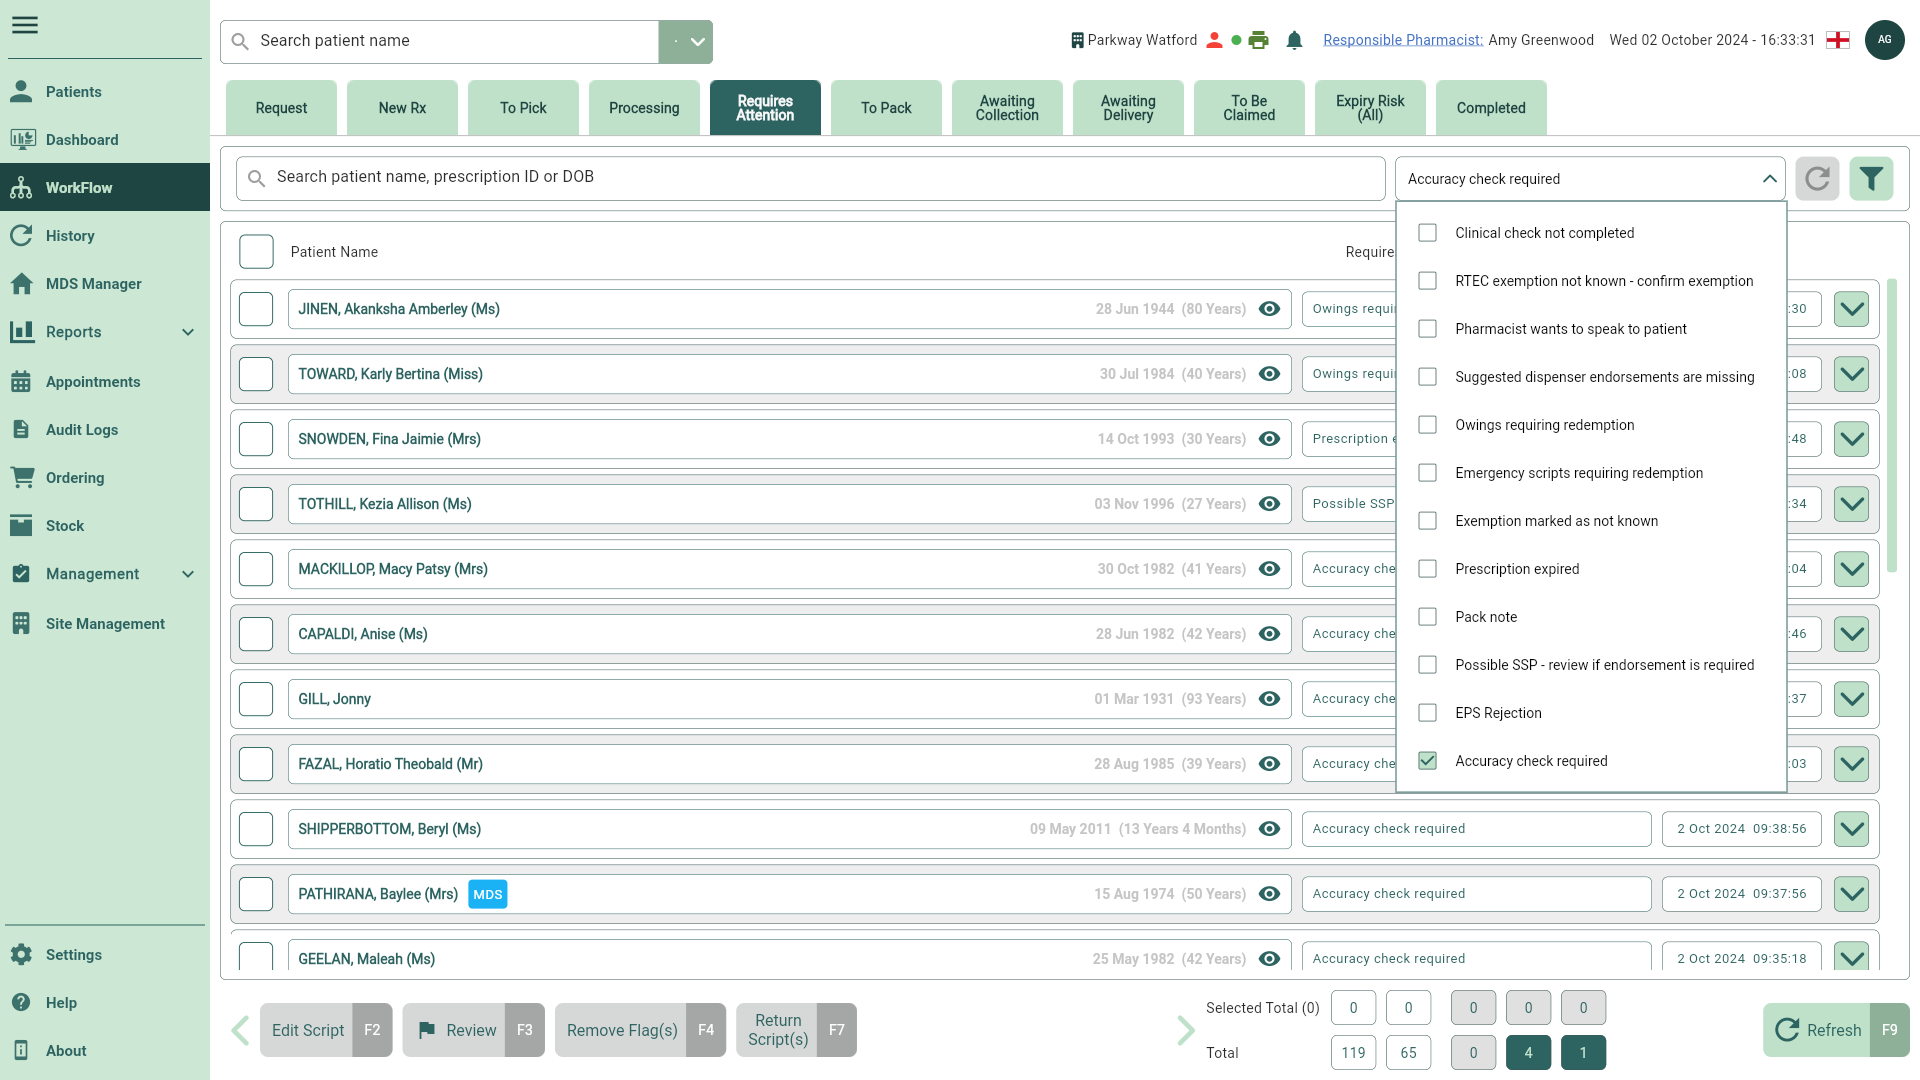
You can use the Requires Attention Reason dropdown to filter the grid to show patient's pending an accuracy check by selecting the Accuracy check required option.
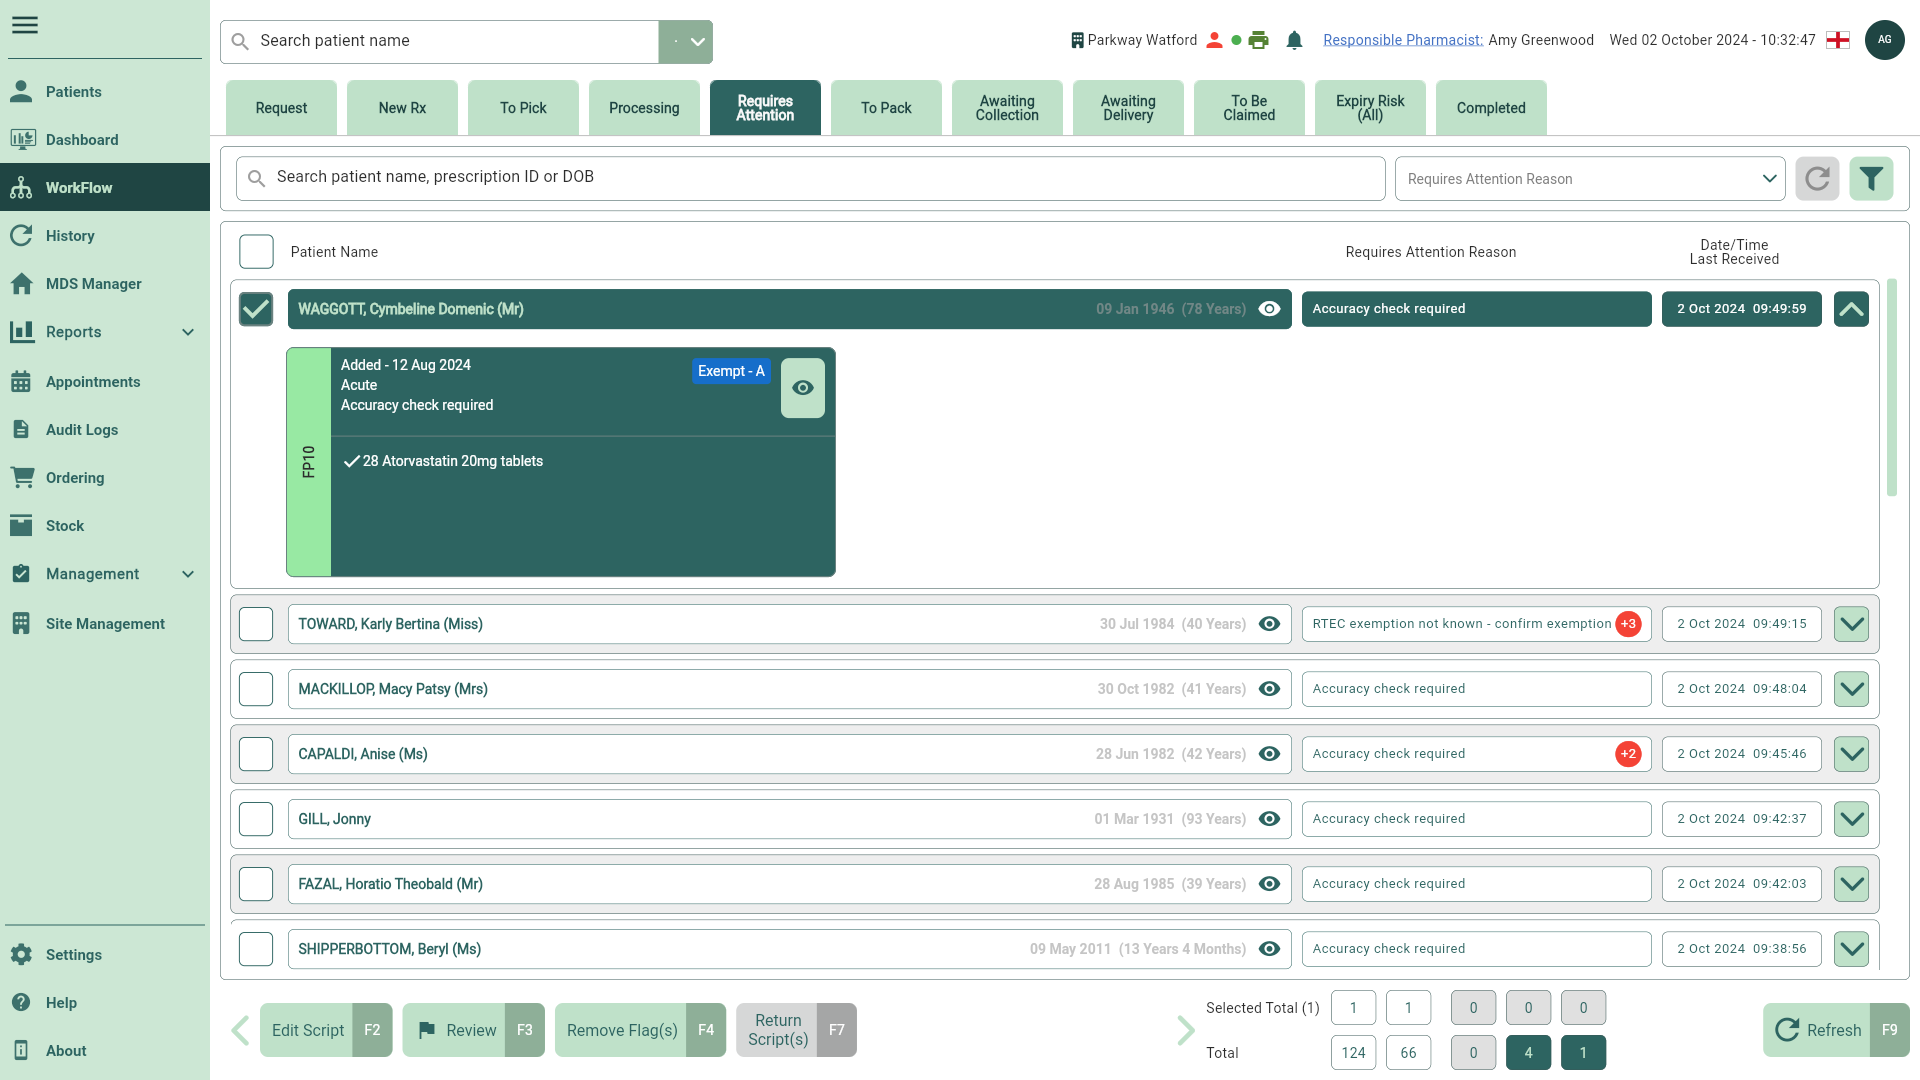
- Select the [Review - F3] button.
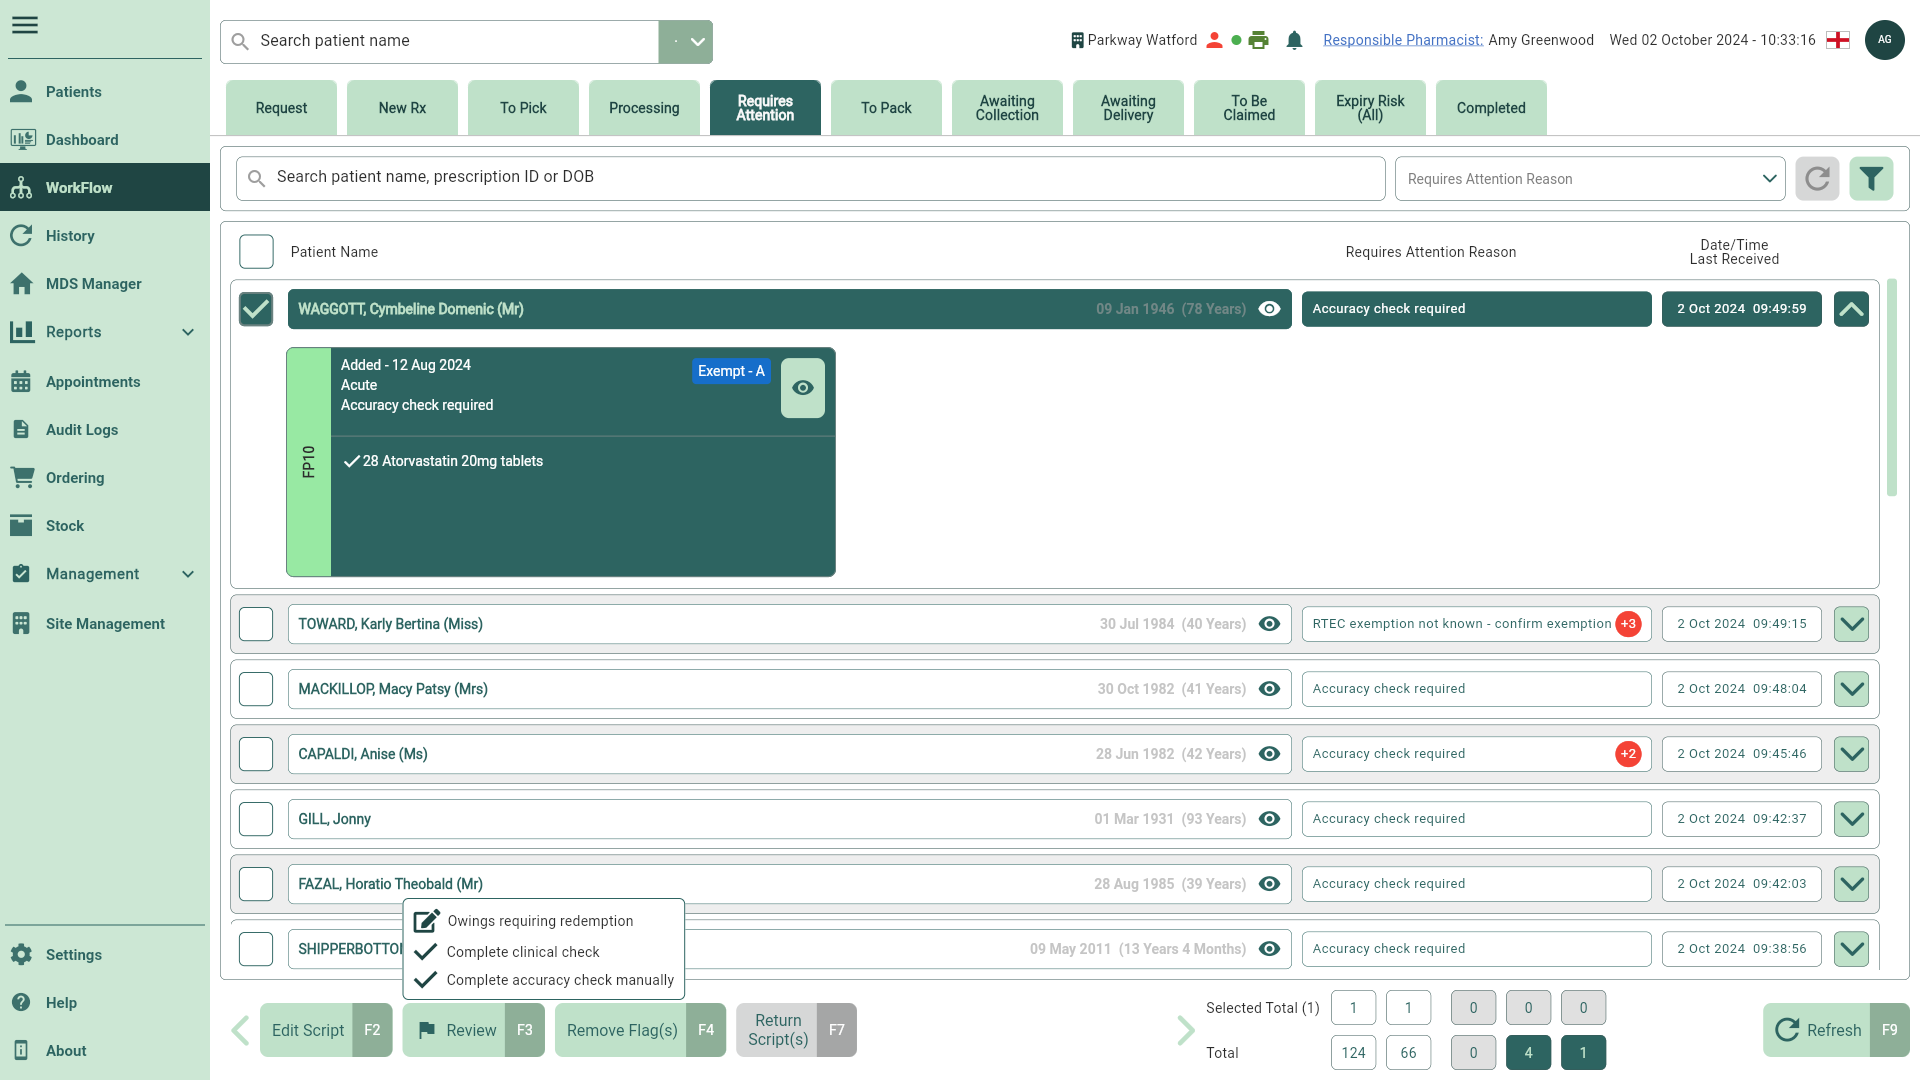
- Select the Complete accuracy check manually option. A snackbar displays confirming your accuracy check has been completed successfully. You are returned to the Requires Attention tab in Workflow. If there are no other Requires Attention Reasons for the patient/prescription, the record is removed from the grid.
Completing batch accuracy checks
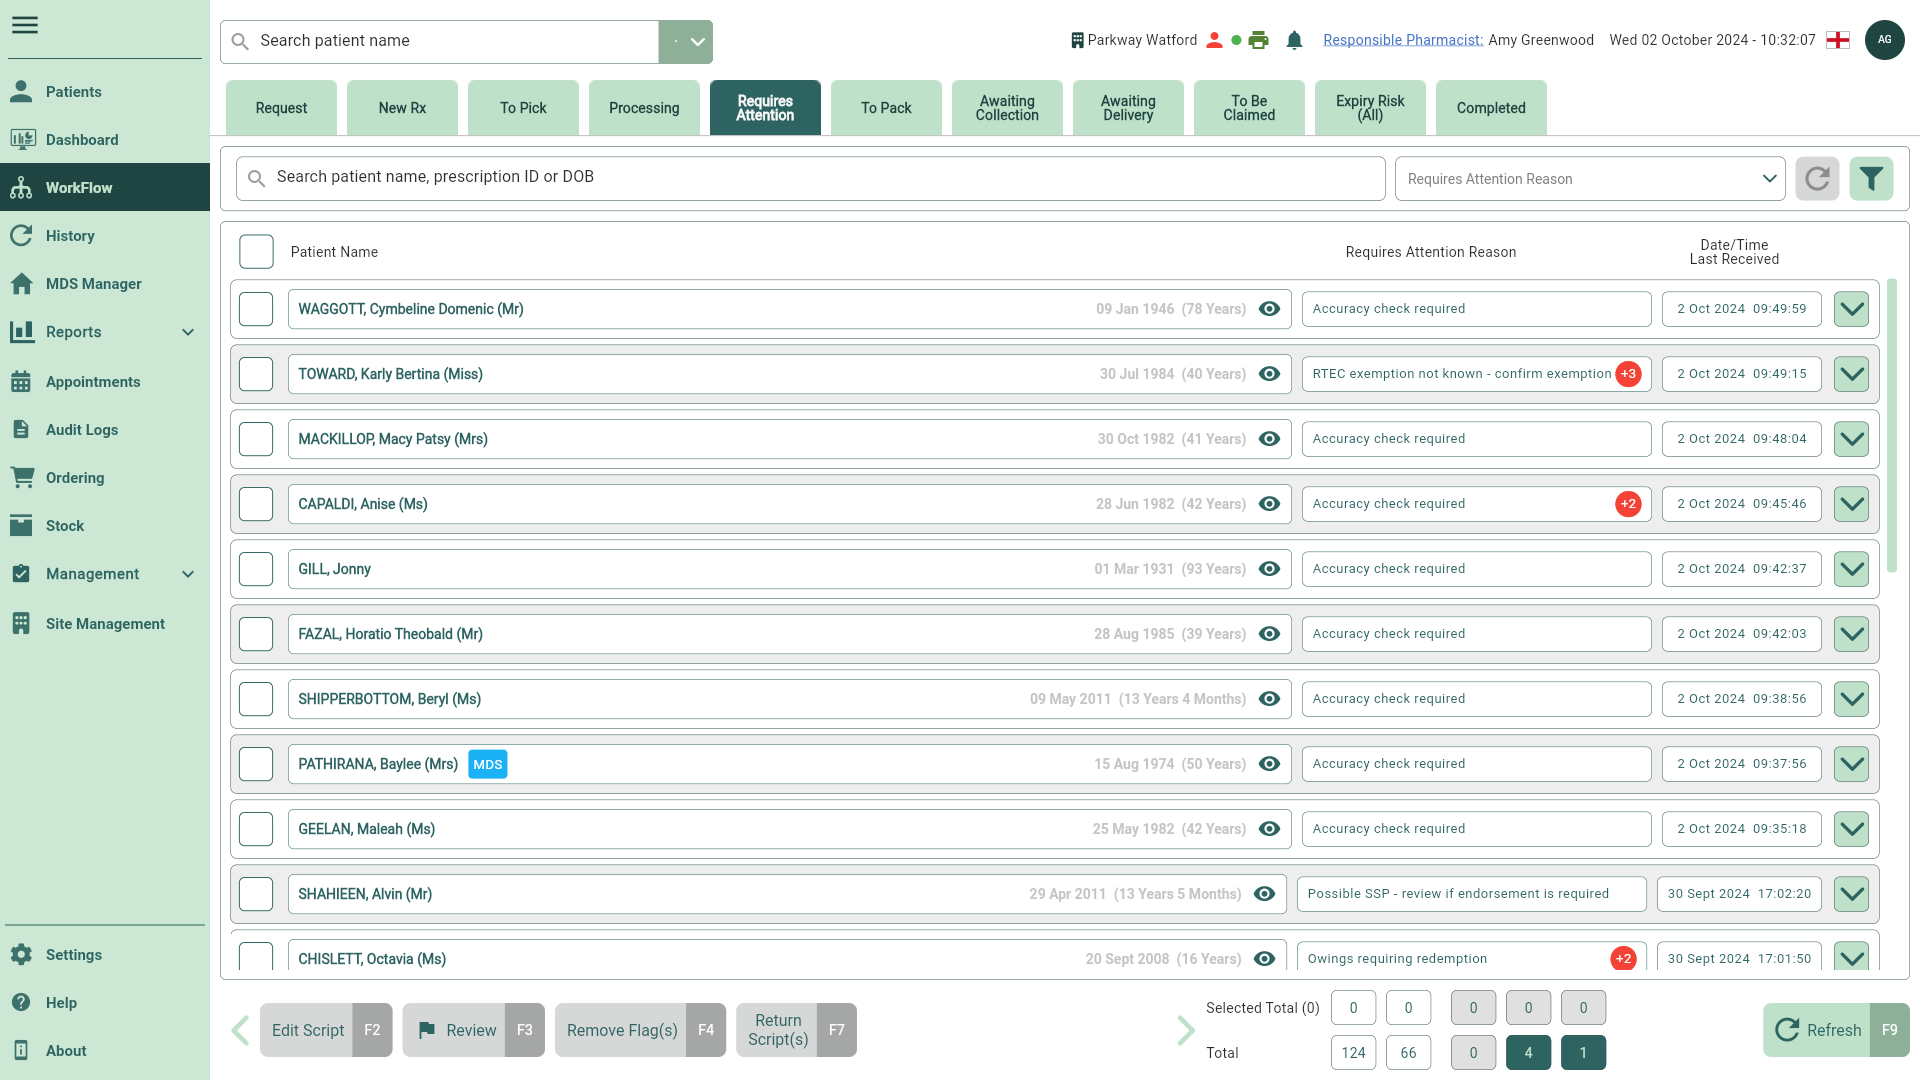
You are able to perform batch accuracy checks on the Requires Attention tab in Workflow.
Accuracy checks can only be performed by an ACT or Pharmacist level users.
- To begin, select the Requires Attention tab in Workflow by selecting Workflow from the left-nav and the Requires Attention tab.
- Select the Accuracy check required check box from the Requires Attention Reason dropdown.
- Select the patients requiring an accuracy check, then select the [Review - F3] button.
Selecting your patients using the select all checkbox will select the maximum number configured in your settings (25 by default). If you select more than the configured amount, you will be prompted to reduce the number of selected patients before proceeding. Learn more about Workflow settings using our Get to know Workflow article.
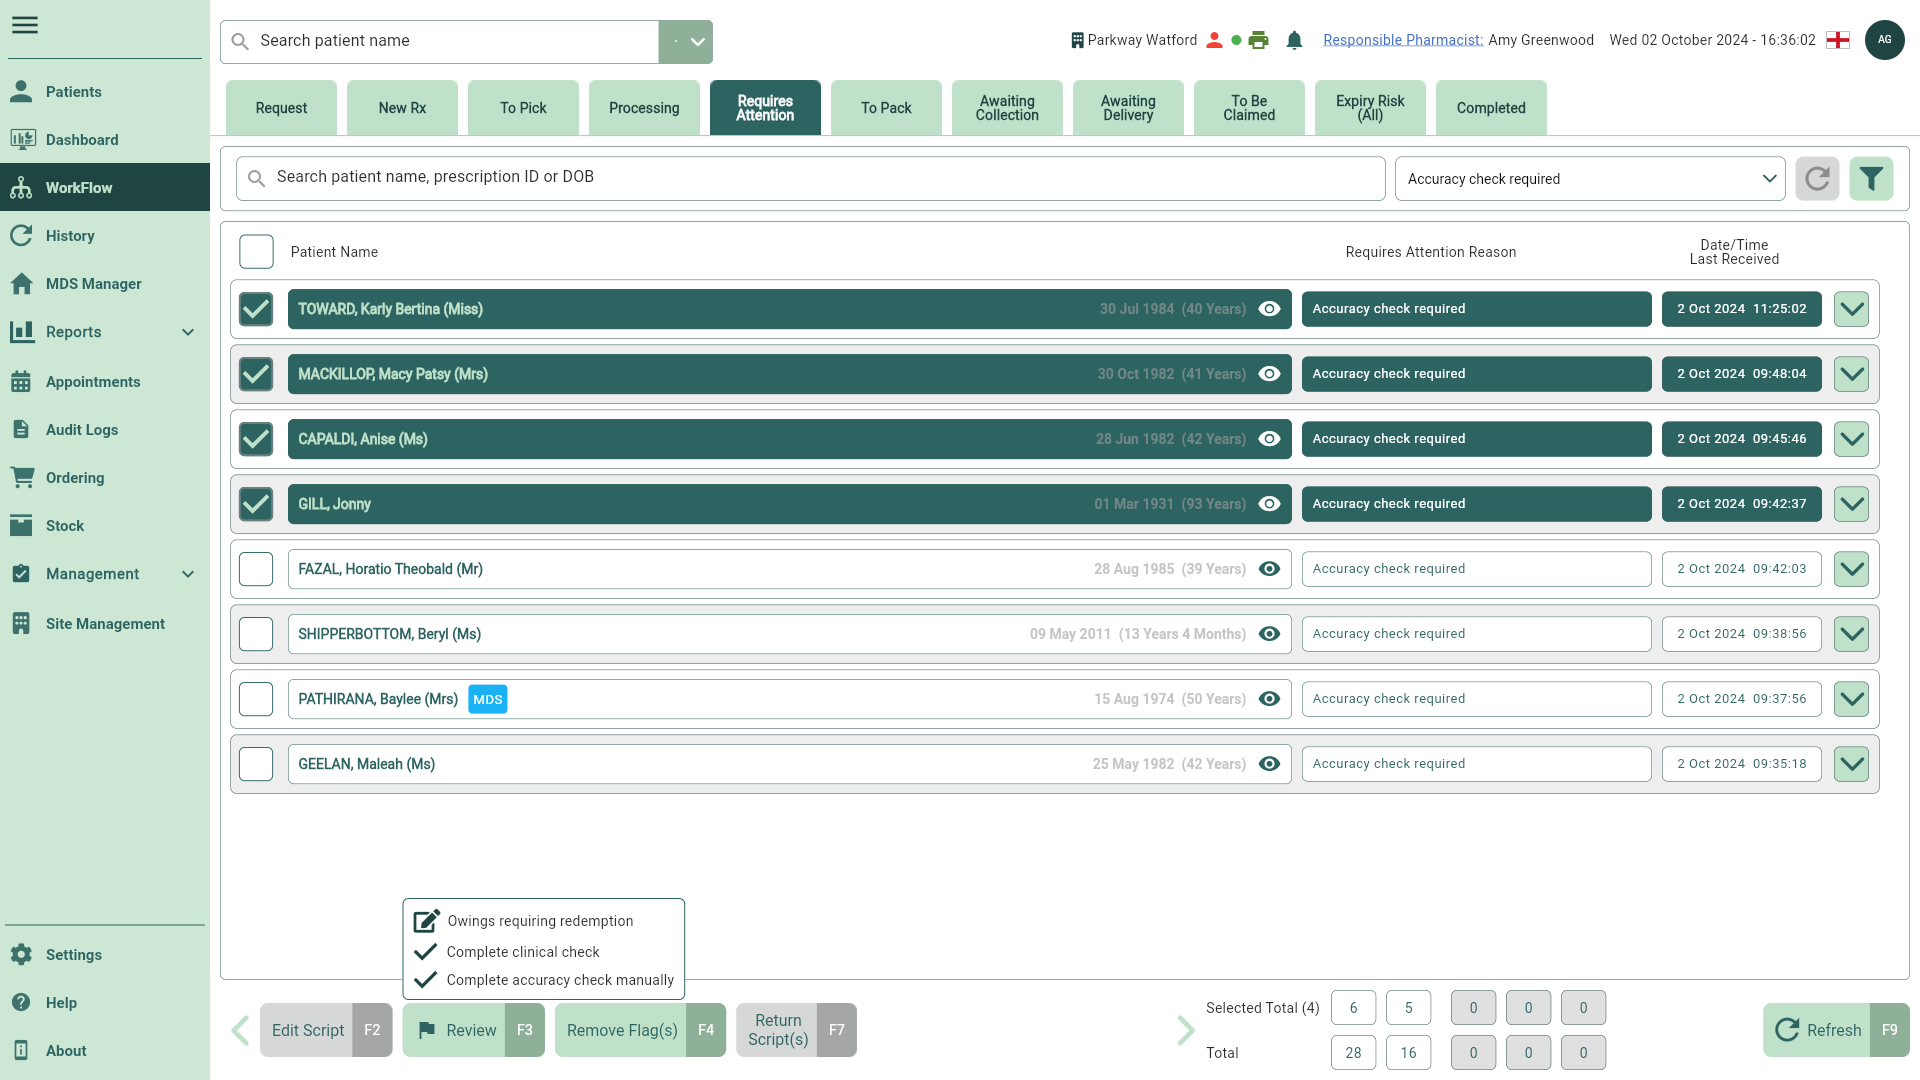
- Select the Complete accuracy check manually menu item. The Complete Accuracy Check prompt displays.
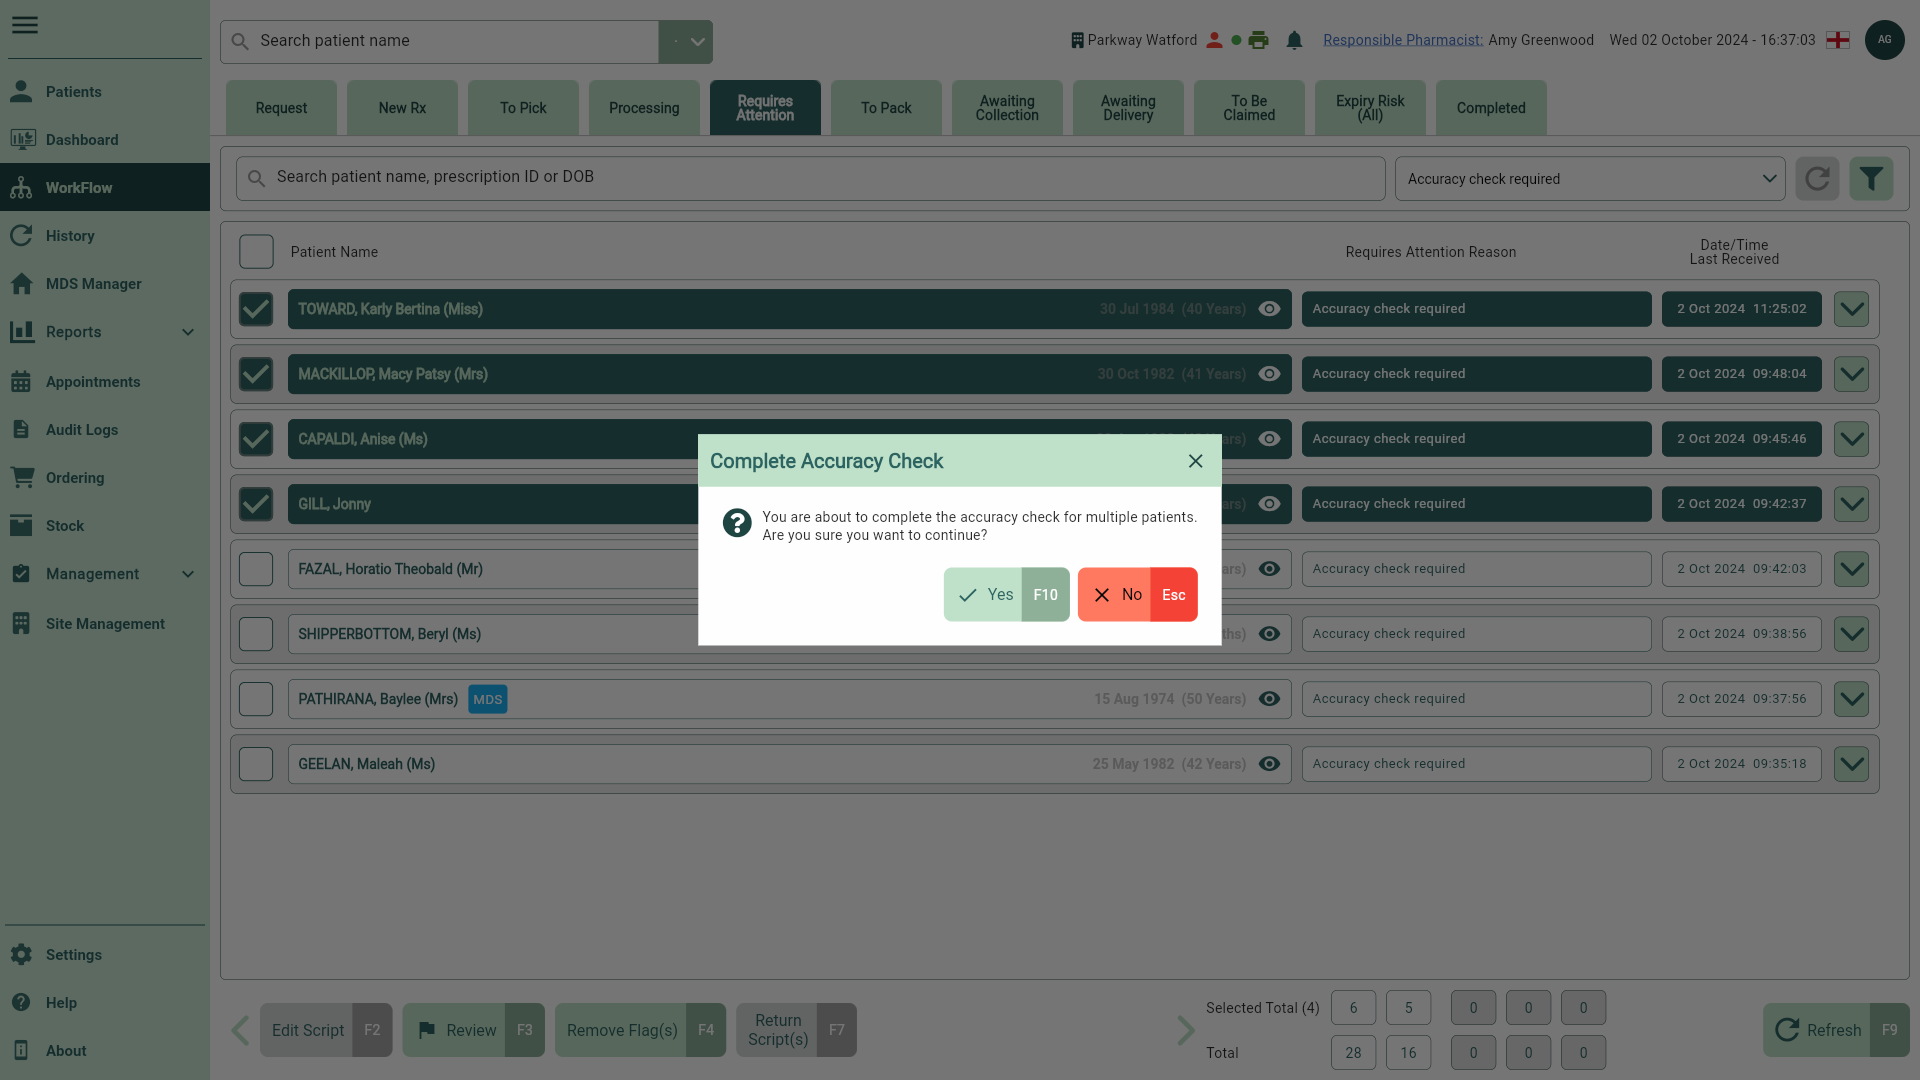
- From here, you can:
- Use the [Yes - F10] button to confirm. A snackbar will display, confirming your accuracy checks have been completed successfully. You are then returned to the Requires Attention tab. If there are no other Requires Attention Reasons for the patient/prescription, the record is removed from the grid.
- Use the [No - Esc] button to cancel, and return to the Requires Attention tab.