Completing processing
Learn how to complete processing by scanning your picked items into their relevant baskets. Once complete your baskets will move to the To Pack tab on Workflow.
If incorrect items are scanned, the Incorrect Item prompt will display. You will be required to rescan the correct item, or manually add the item to the basket.
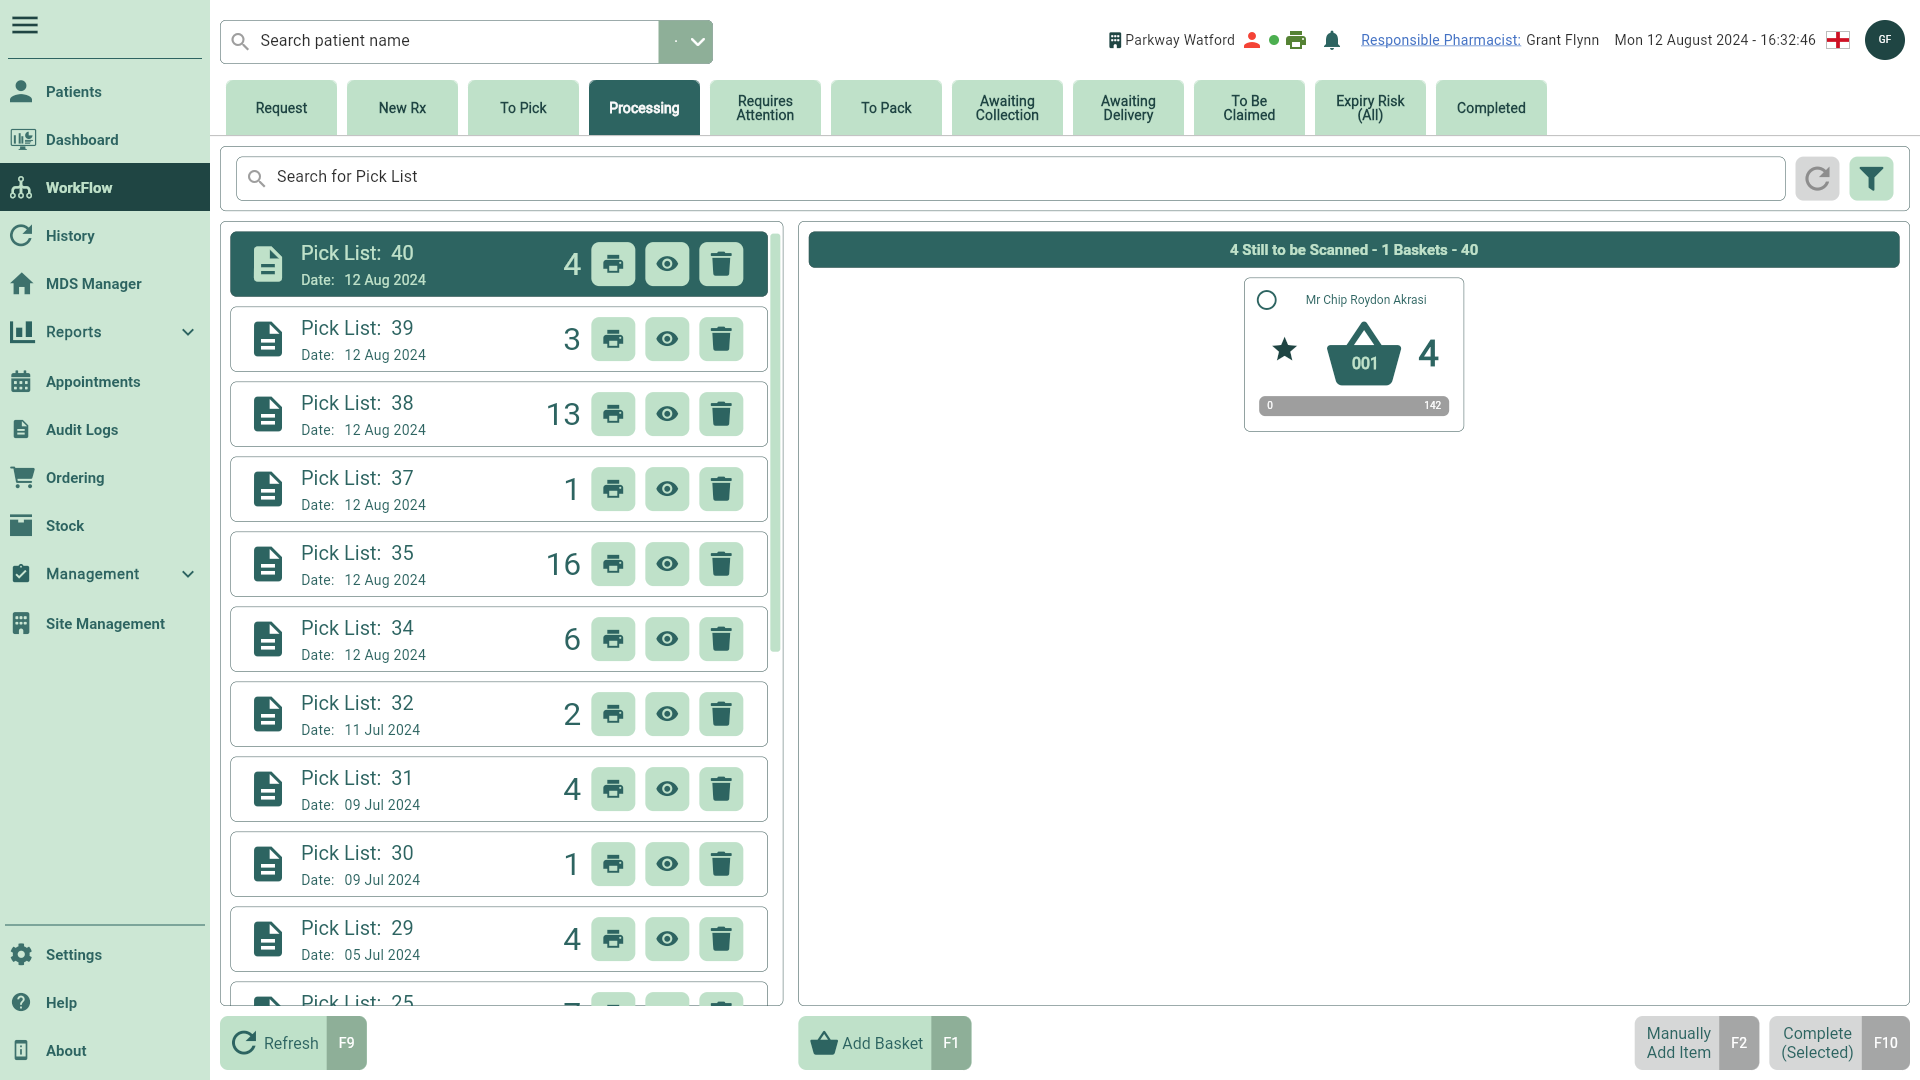
- To begin, select the Processing tab in Workflow by selecting Workflow from the left-nav and the Processing tab. By default the most recent pick list is displayed.
You may need to select the [Refresh - F9] button on the Processing Workflow tab to see any recent pick lists.

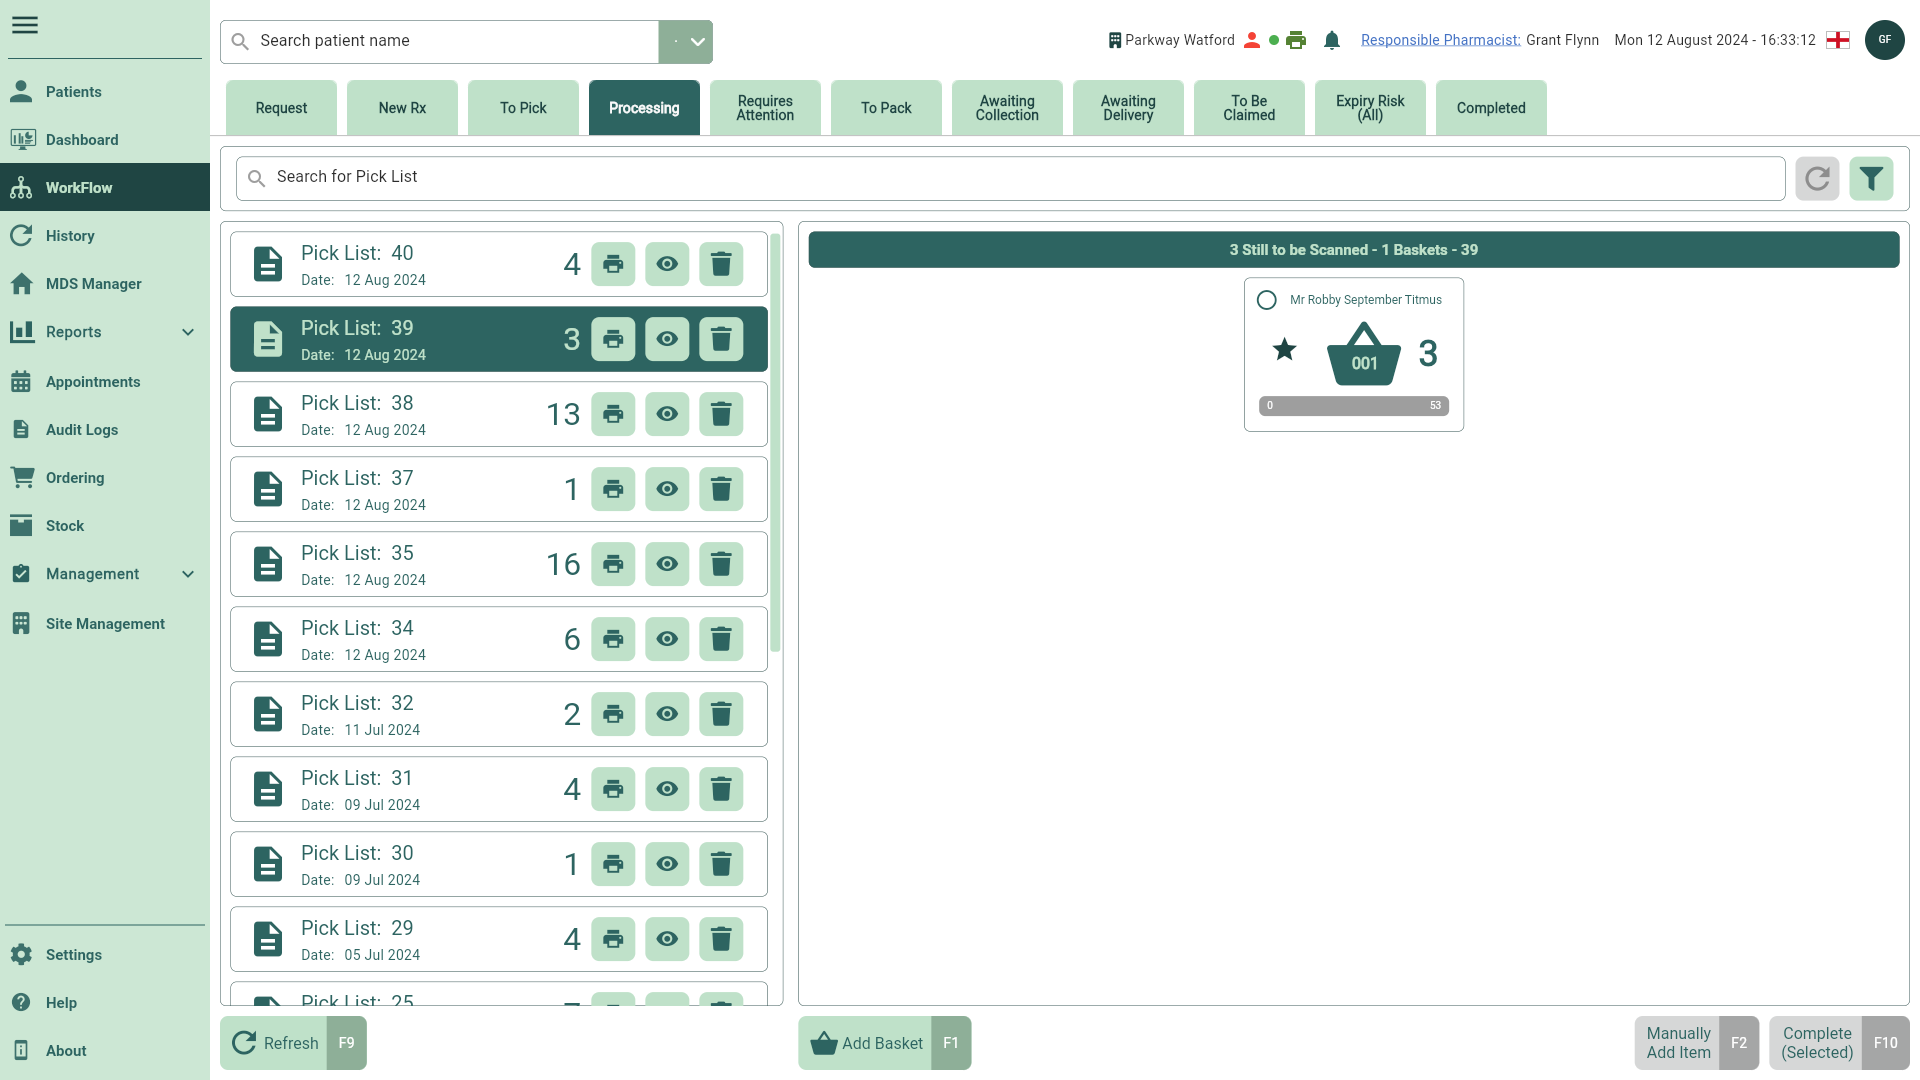
- Locate and select the required Pick List from the left panel, if required you can use the filters to refine the grid.

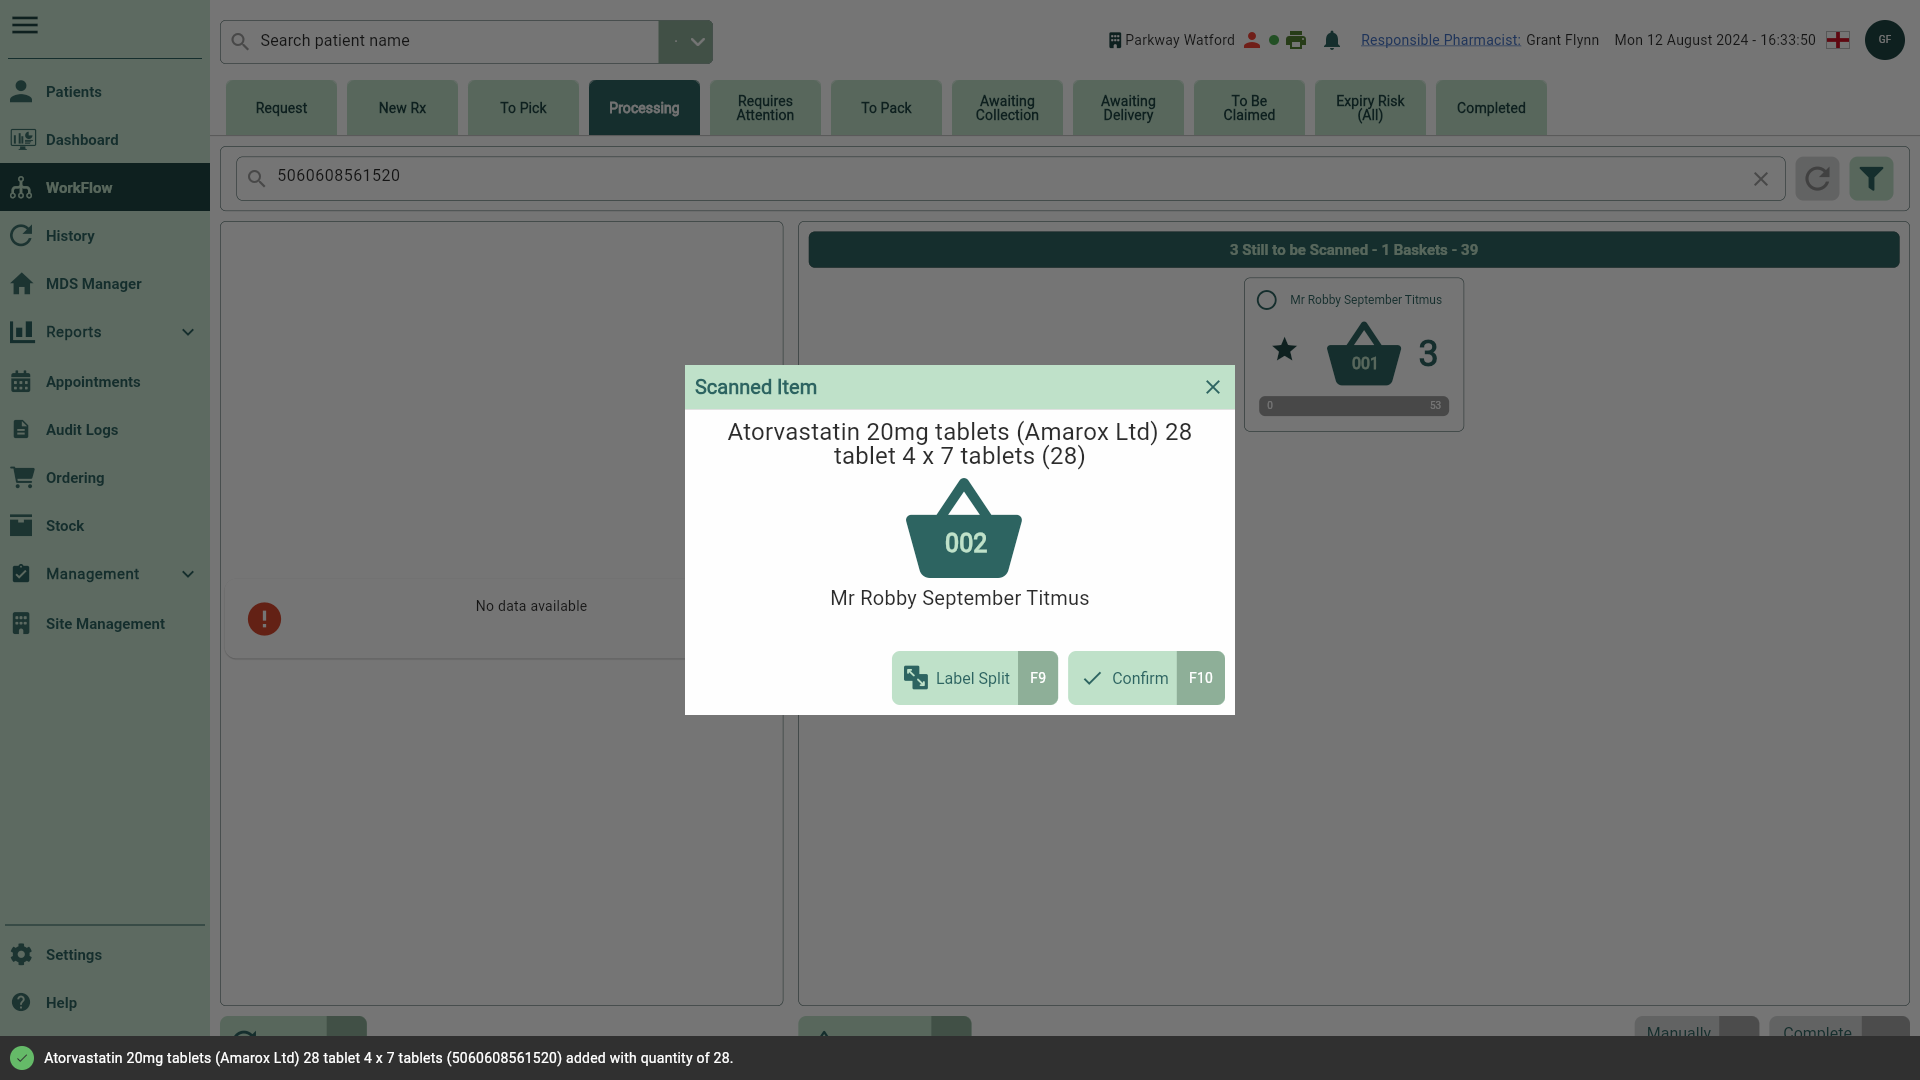
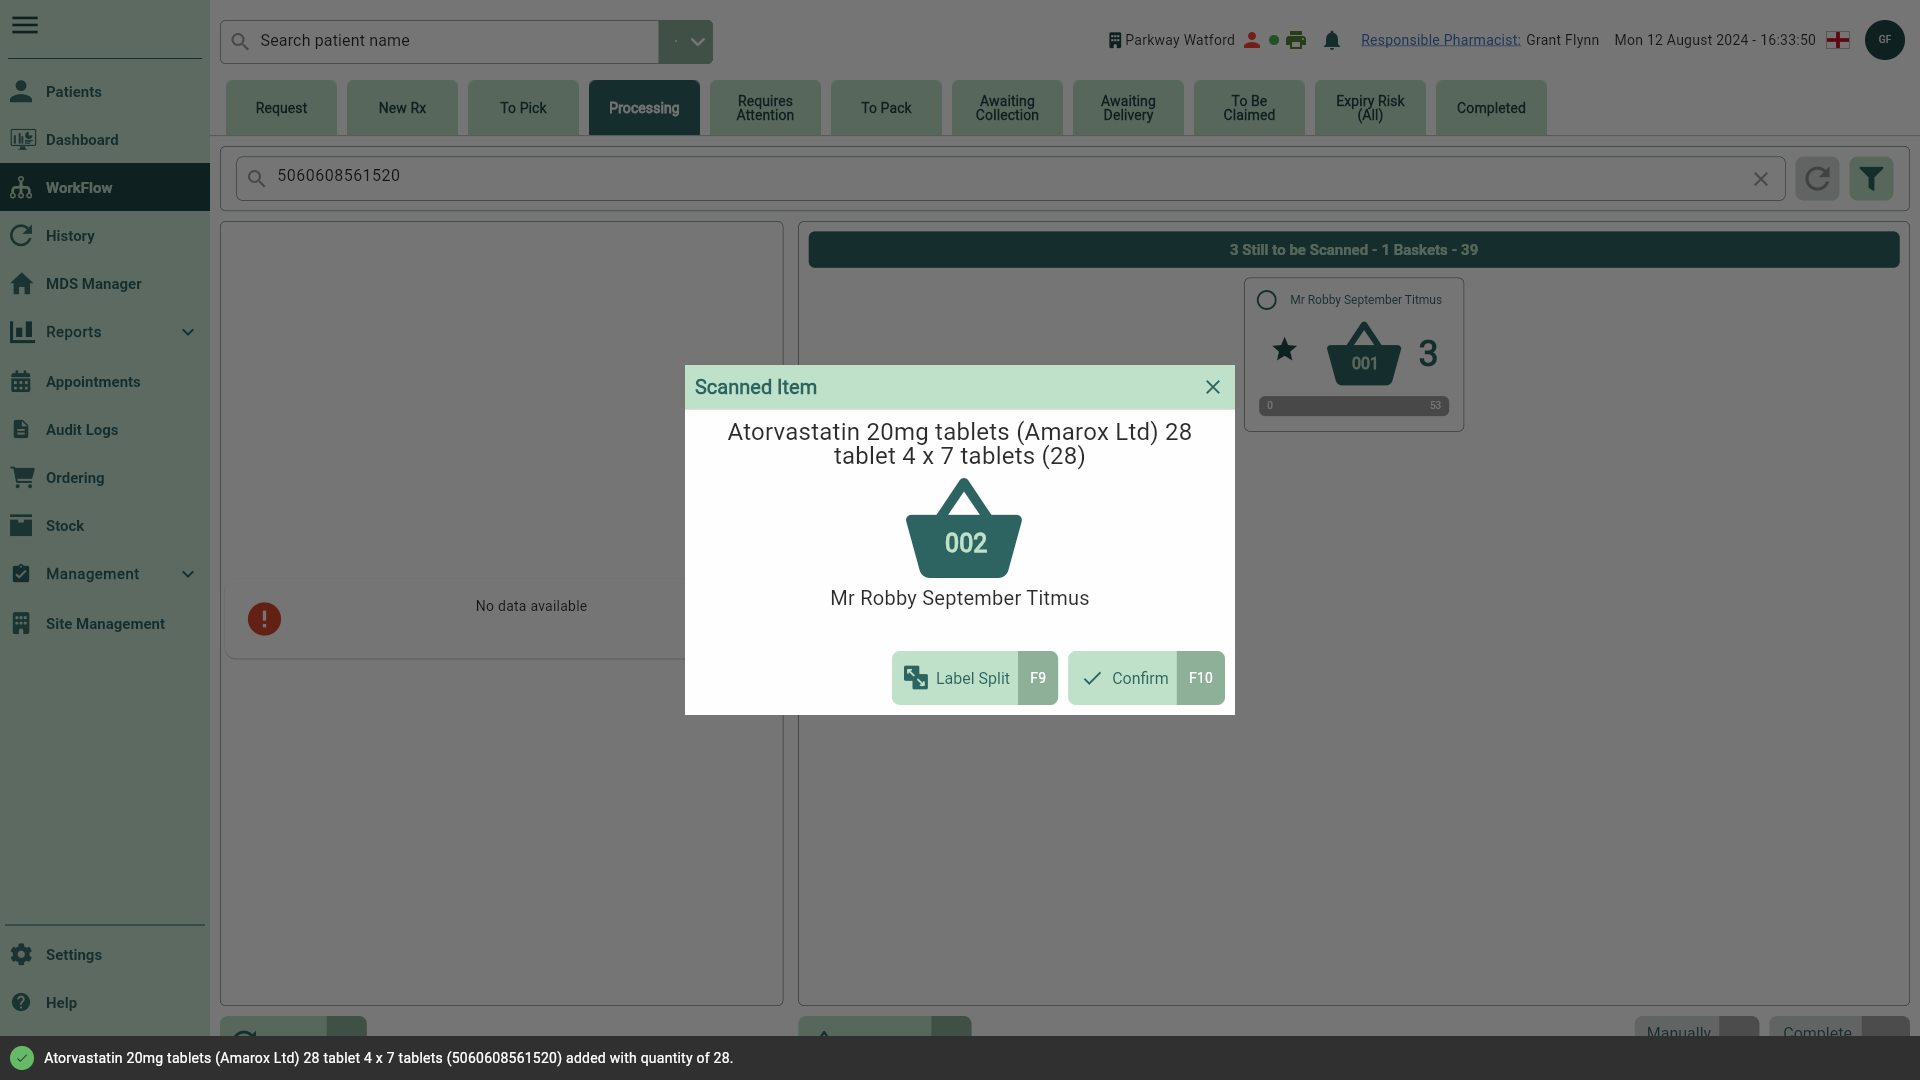
- Scan your item. The Scanned Item prompt displays.
When a split pack (a partial pack of medication) is scanned in the Processing tab, Apotec CRM will automatically mark the prescription as Accuracy check required. The script(s) will be moved to the Requires Attention tab in Workflow for review. While you can view these scripts in the patient’s chosen fulfilment tab, they cannot be marked as collected or delivered until the check is completed. You can learn how to complete the accuracy check using our Completing accuracy checks article.
If a script contains ND items, these will be hidden during processing.

If required you can amend the number of labels that will be printed by selecting the [Label Split - F9] button.
Label Split will be disabled for MDS items, and labels will not be printed at this stage. Hover your cursor over the disabled 
Learn how to amend the number of labels being printed from the Label Split window
If you need to split the dispensed quantity across multiple labels, or add extra labels follow steps below:
- Once your item has been scanned, the Scanned Item prompt will appear. Select the [Label Split — F9] button, and the Label Split window will display.

Each standard label is represented in a single row with a quantity to be printed. You can add an extra label by selecting the 


From here, use the available function keys to manage your label preferences:
[Single – F1]: Select to print the total quantity onto one label.
[Split – F2]: Add an additional row to the grid, the total quantity is 'split' and divided by the total number of rows.
[No. of Labels – F3]: Select to manually enter a numerical value which will then automatically split the total quantity across the labels accordingly.
[Move Last Up – F4]: The removed quantity will be added to the total to the row above. The [Move Last Up - F4] button is disabled when only one label is displayed in the grid.
[Extra Label – F5]: Adds an extra label to the selected row. The total number of extra labels are indicated in the totals summary.
- Select the [Print – F10] button to print your labels.
- To close the prompt and update the basket, select the [Confirm — F10] button or scan the bag label barcode.
- Once all items have been scanned into their respective baskets, highlight all completed baskets and then select the [Complete (Selected) - F10] button to move them to the To Pack tab. A snackbar displays confirming your items have moved To Pack successfully, and your dispensing labels are printed.
If configured in your application settings, the Order Basket may display after processing is complete. You can learn more about the Order Basket in our Dispensing Order Basket article.